I derive more pleasure from my models when they’re combined with appropriate figures and placed in historically accurate settings — obviously within the limitations posed by 1/72 scale. Thus, I was eager to place the Zeros in my collection in a diorama recreating the scene on the Akagi aircraft carrier as its first wave prepared to take off for the attack on Pearl Harbor. This series of posts concerns the construction of such a diorama.
As mentioned in previous posts, the Akagi was the flagship — and one of six aircraft carriers — of the Imperial Japanese Navy’s Kido Butai — the strike force that carried out the attack on Pearl Harbor. The attack was carried out in two waves, each comprising Mitsubishi A6M Zero fighters, Nakajima B5N Kate torpedo and level bombers, and Aichi D3A Val dive bombers. The Akagi contributed nine Zeros and 27 Kate bombers to that first wave. (Akagi’s Val dive bombers participated in the second wave.)
The superb illustration below depicts the Akagi as it prepared to launch its aircraft at Pearl Harbor. Note the nine Zero fighters amidships, parallel to the island, followed by the 27 Kate bombers aft of the midships elevator reaching all the way back to the stern. (NB: I found the unsourced illustration above on the internet. While sourced illustrations of the Akagi abound, this particular one actually depicts the formation of the Zeros and Kates of the first wave as they prepared to take off for Pearl Harbor. I would appreciate information on its source, both so I may provide proper attribution to the artist and perhaps acquire the plate at higher resolution. If you know the source, please contact me.)
The Akagi measured 855 feet from bow to stern but its wooden flight deck was 817 feet. The goal is to represent the 140 feet of the flight deck delimited by the yellow rectangle shown in the illustration below (roughly 1/6 of the entire flight deck).  The project will require nine A6M2 Zero fighters plus one B5N2 Kate — the lone representative of the 27 Kates of the Akagi in the first wave. That leading Kate is significant, however, as it belonged to Commander Mitsuo Fuchida, who was in overall command of all aircraft participating in the attack on Pearl Harbor. For those of us who grew up watching Tora! Tora! Tora! each year, who could forget Fuchida barking the codeword three times into his radio to indicate the Japanese had achieved complete surprise?
The diorama will also require construction of the flight deck, the midships elevator, and the island superstructure. The enormous exhaust funnel on the starboard side, as well as the antiaircraft guns on either side of the carrier, are beyond the scope of this project as they’re located below the flight deck. (Forgive the funky orange outlined text. It was necessary to make the text stand out.)
This series of posts will cover the aircraft, pilots, deck crew, flight deck, and island superstructure. With any luck, the last post will bring all these elements together in a fairly straightforward diorama. Here’s the plan:
Part 2.1: The Actual Zeros
Part 2.2: The Model Zeros
Part 2.3: The Diorama Zeros
Part 2.4: The Decaled Zeros
Part 3.1: The Actual Pilots
Part 3.2: Masanobu Ibusuki
Part 3.3: Japanese Pilots and Crew in 1/72 Scale
Part 4: The Flight Deck
Part 5: The Island
The lagniappe photo below of aircraft preparing to take off from the Akagi provides a good idea of the project.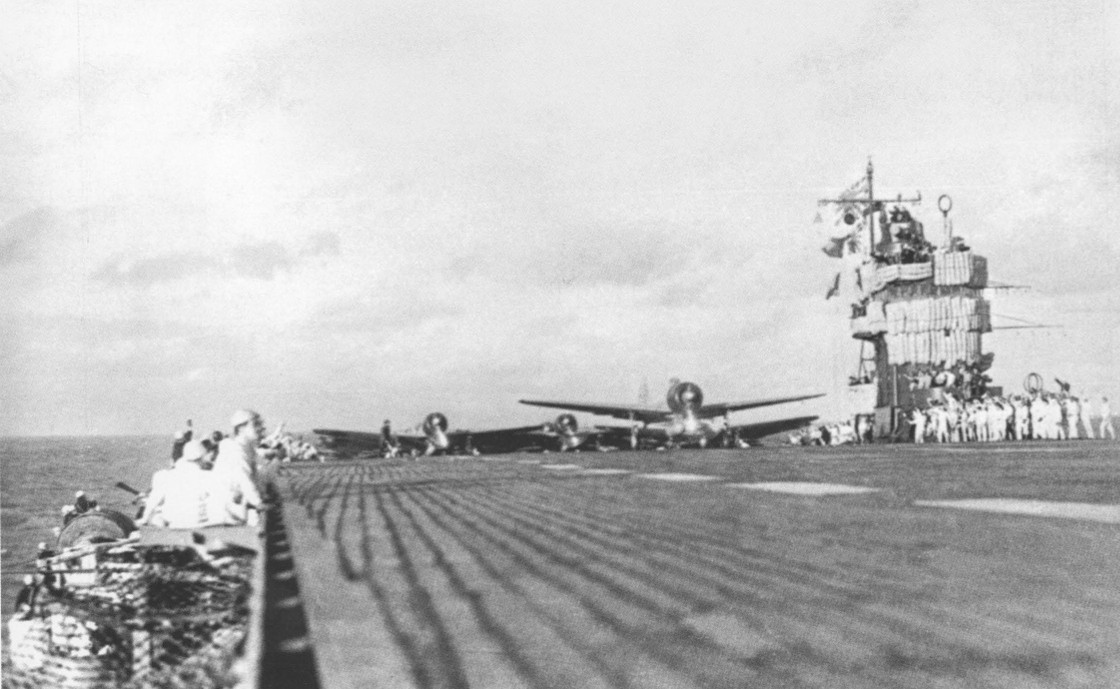 While I intend to complete this project in the next three months, please remember the following stanza from Robert Burns’ immortal Scottish poem Tae a Moose, later popularized in English by John Steinbeck’s novel Of Mice and Men:
“But, Mousie, thou art no thy lane,
In proving foresight may be vain;
The best-laid schemes o’ mice an’ men
Gang aft agley,
An’ lea’e us nought but grief an’ pain,
For promis’d joy!”
Again, thank you for your indulgence and I hope you enjoyed the post. If something looks amiss, please let me know. I would be delighted to correct inaccurate information so that this may be useful to other 1/72 scale collectors and wargamers. As always, comments, questions, corrections, and observations are welcome. Please do contact me if you know the source of the illustration. Stay tuned for a synopsis of the Akagi’s first wave Zeros in the next post.
Anonymous says:
I would like to know the dimensions of the deck in the yellow box.
GuyDeLillio says:
How did you construct the protective white padding? Super Job!