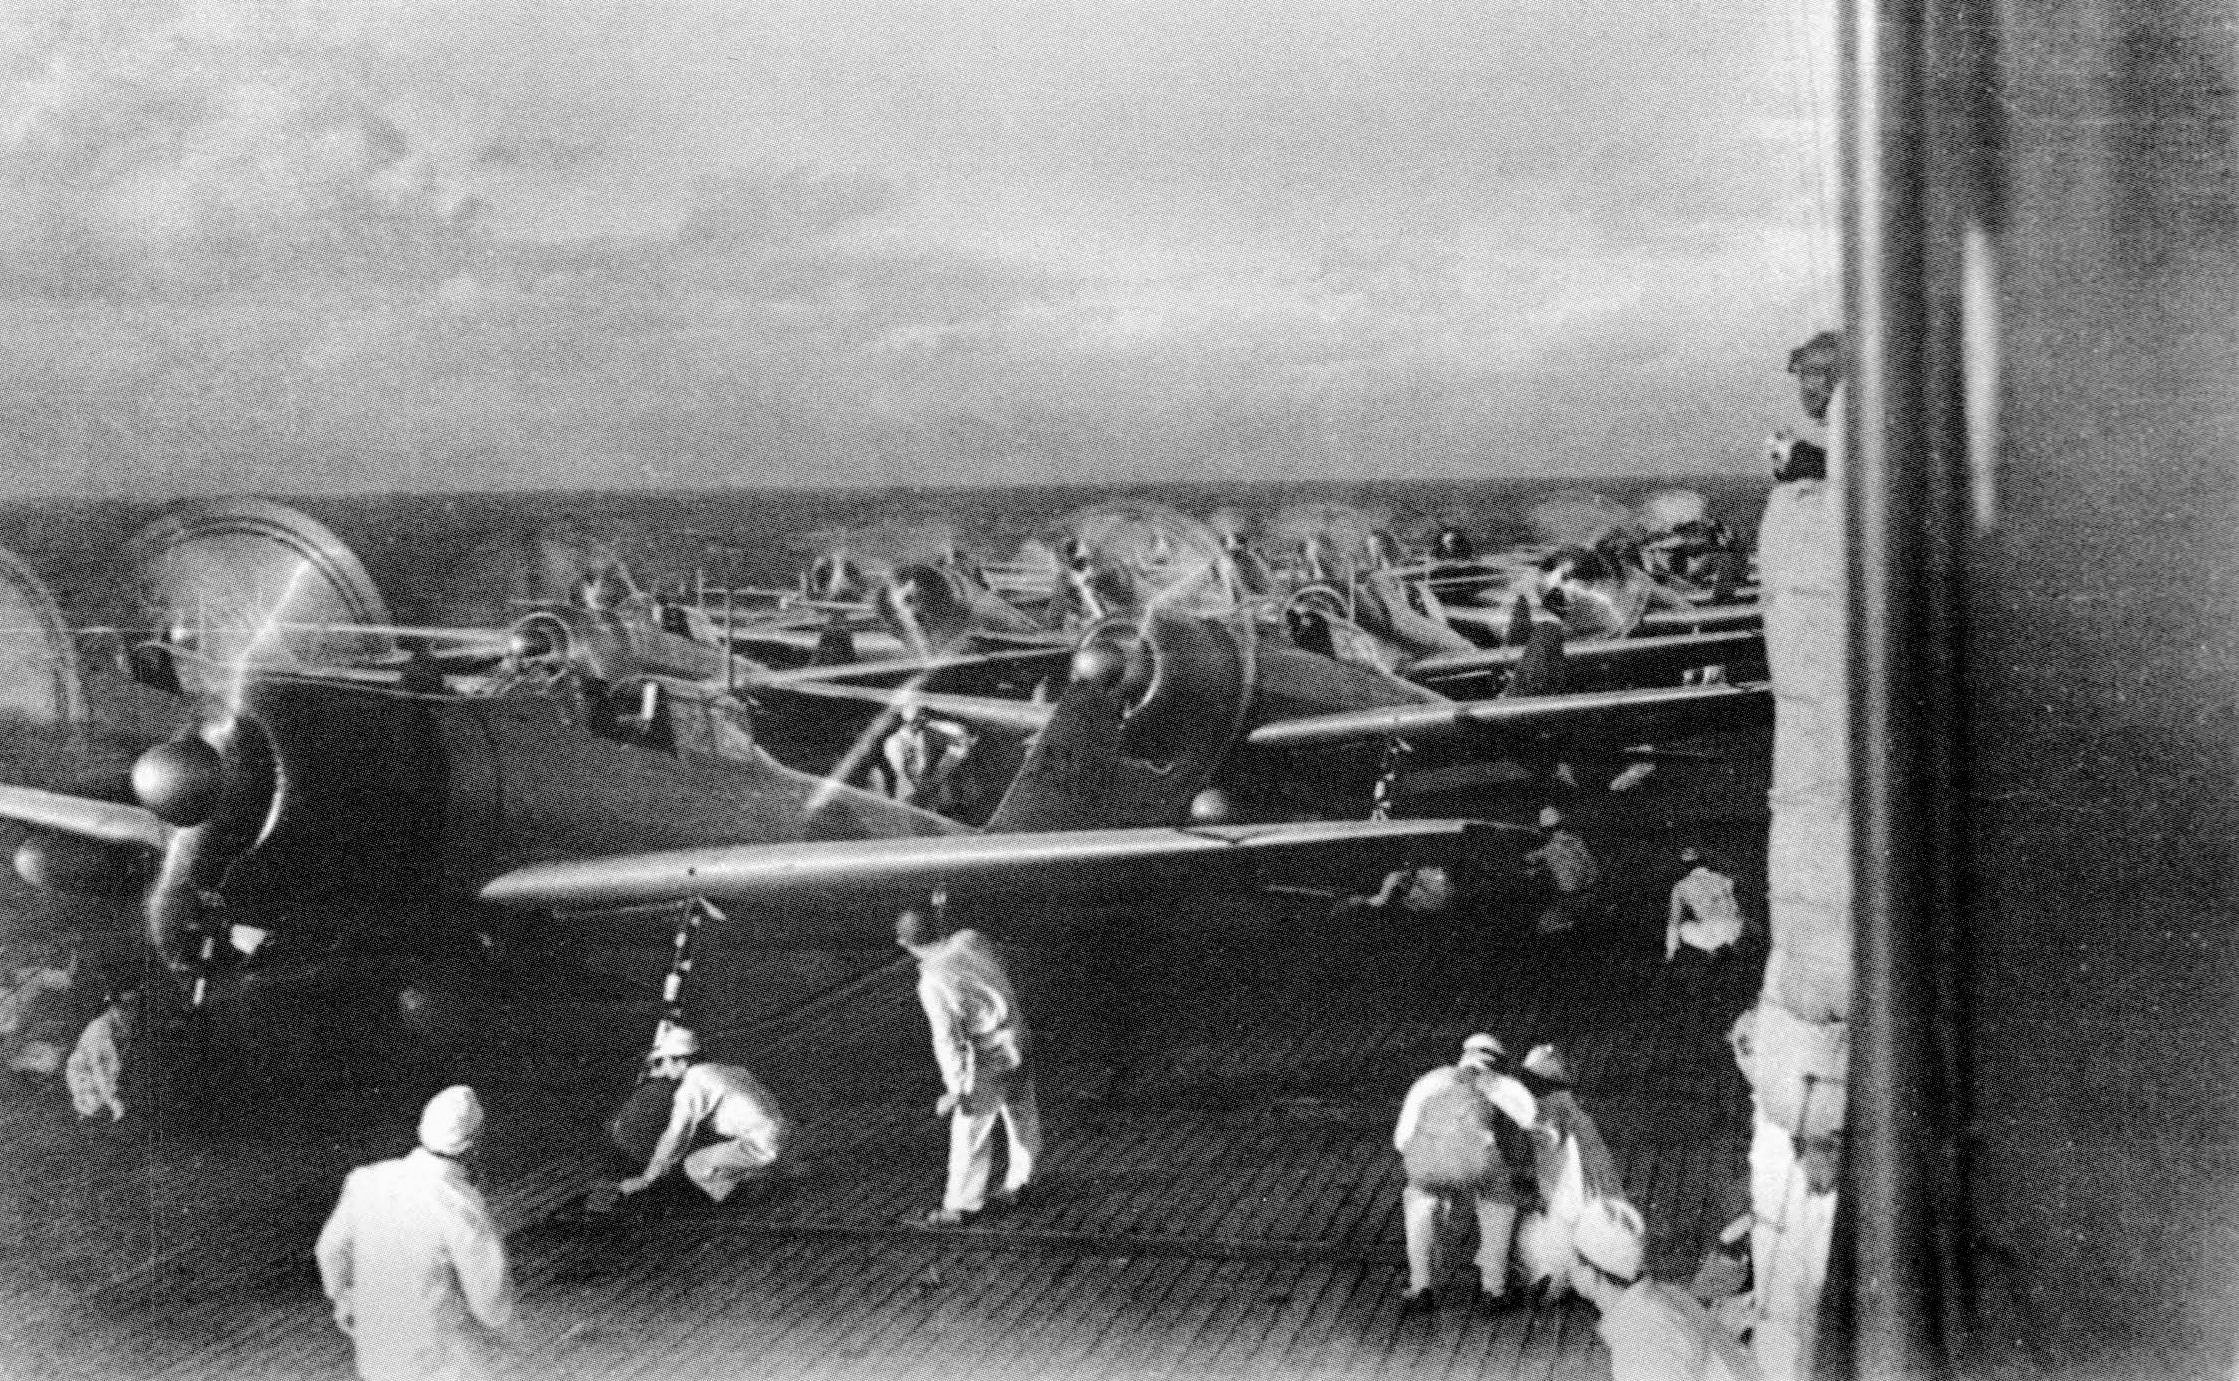
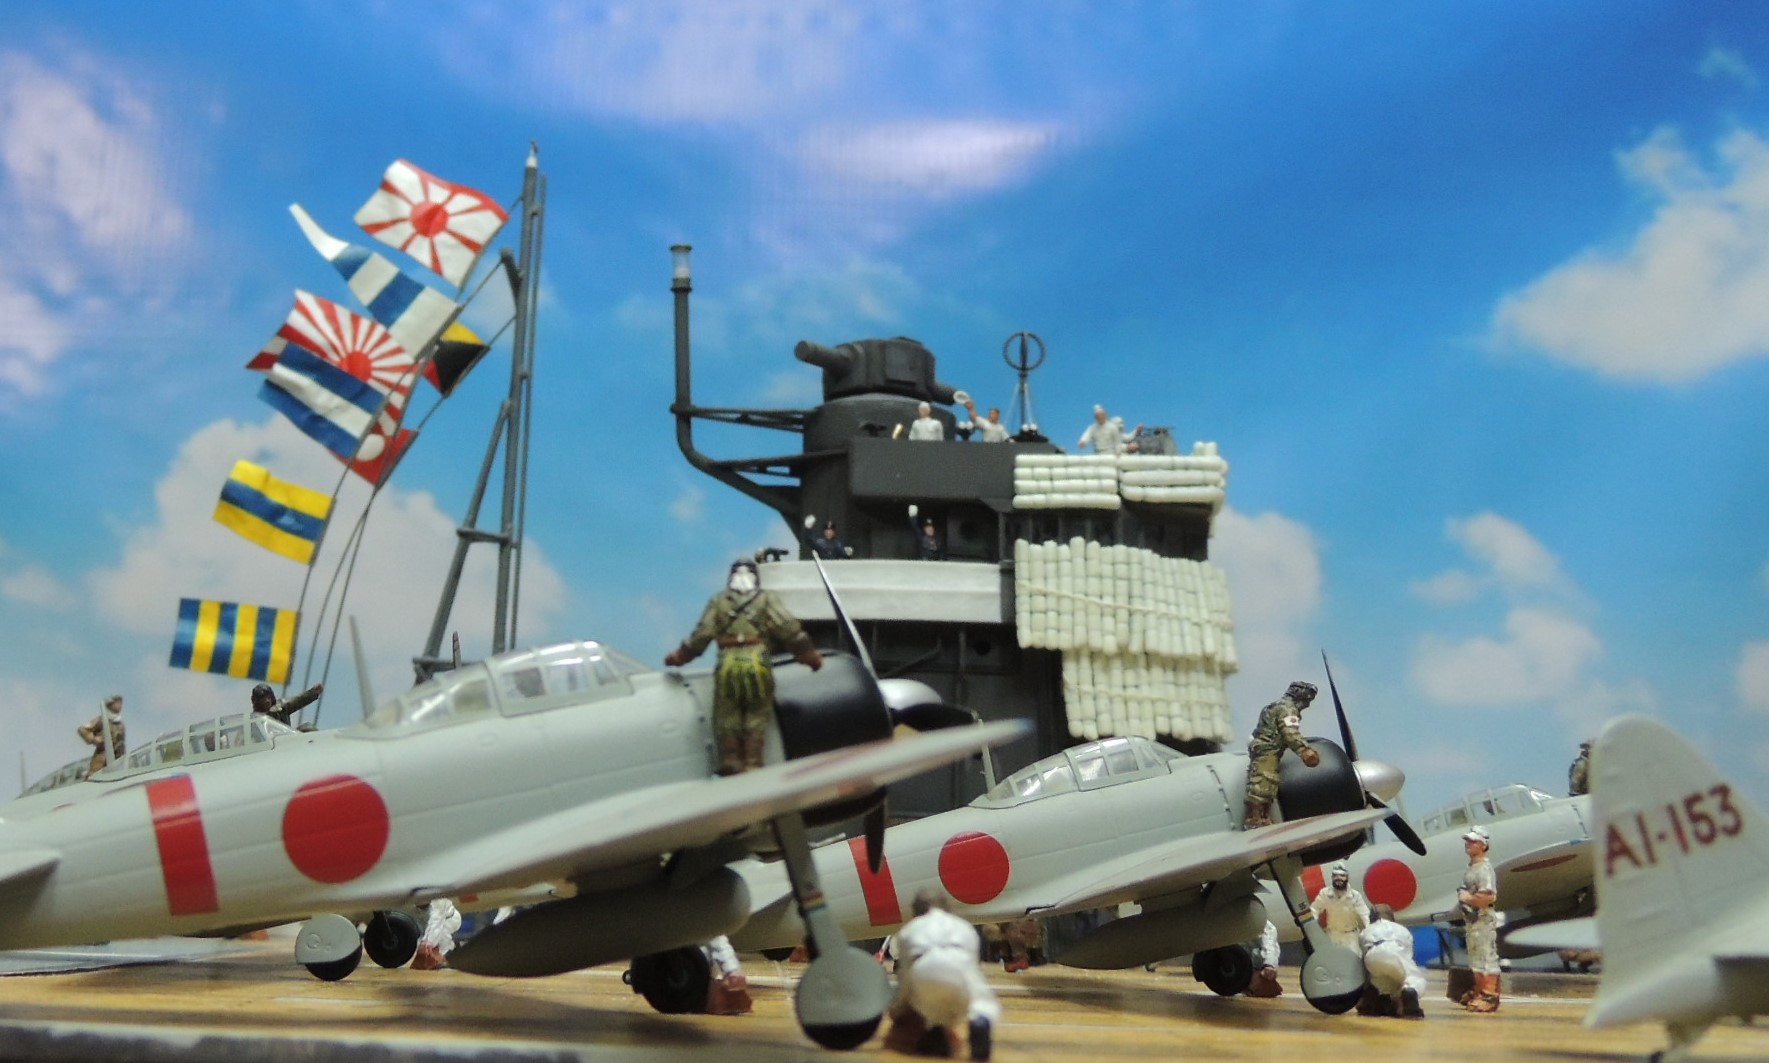
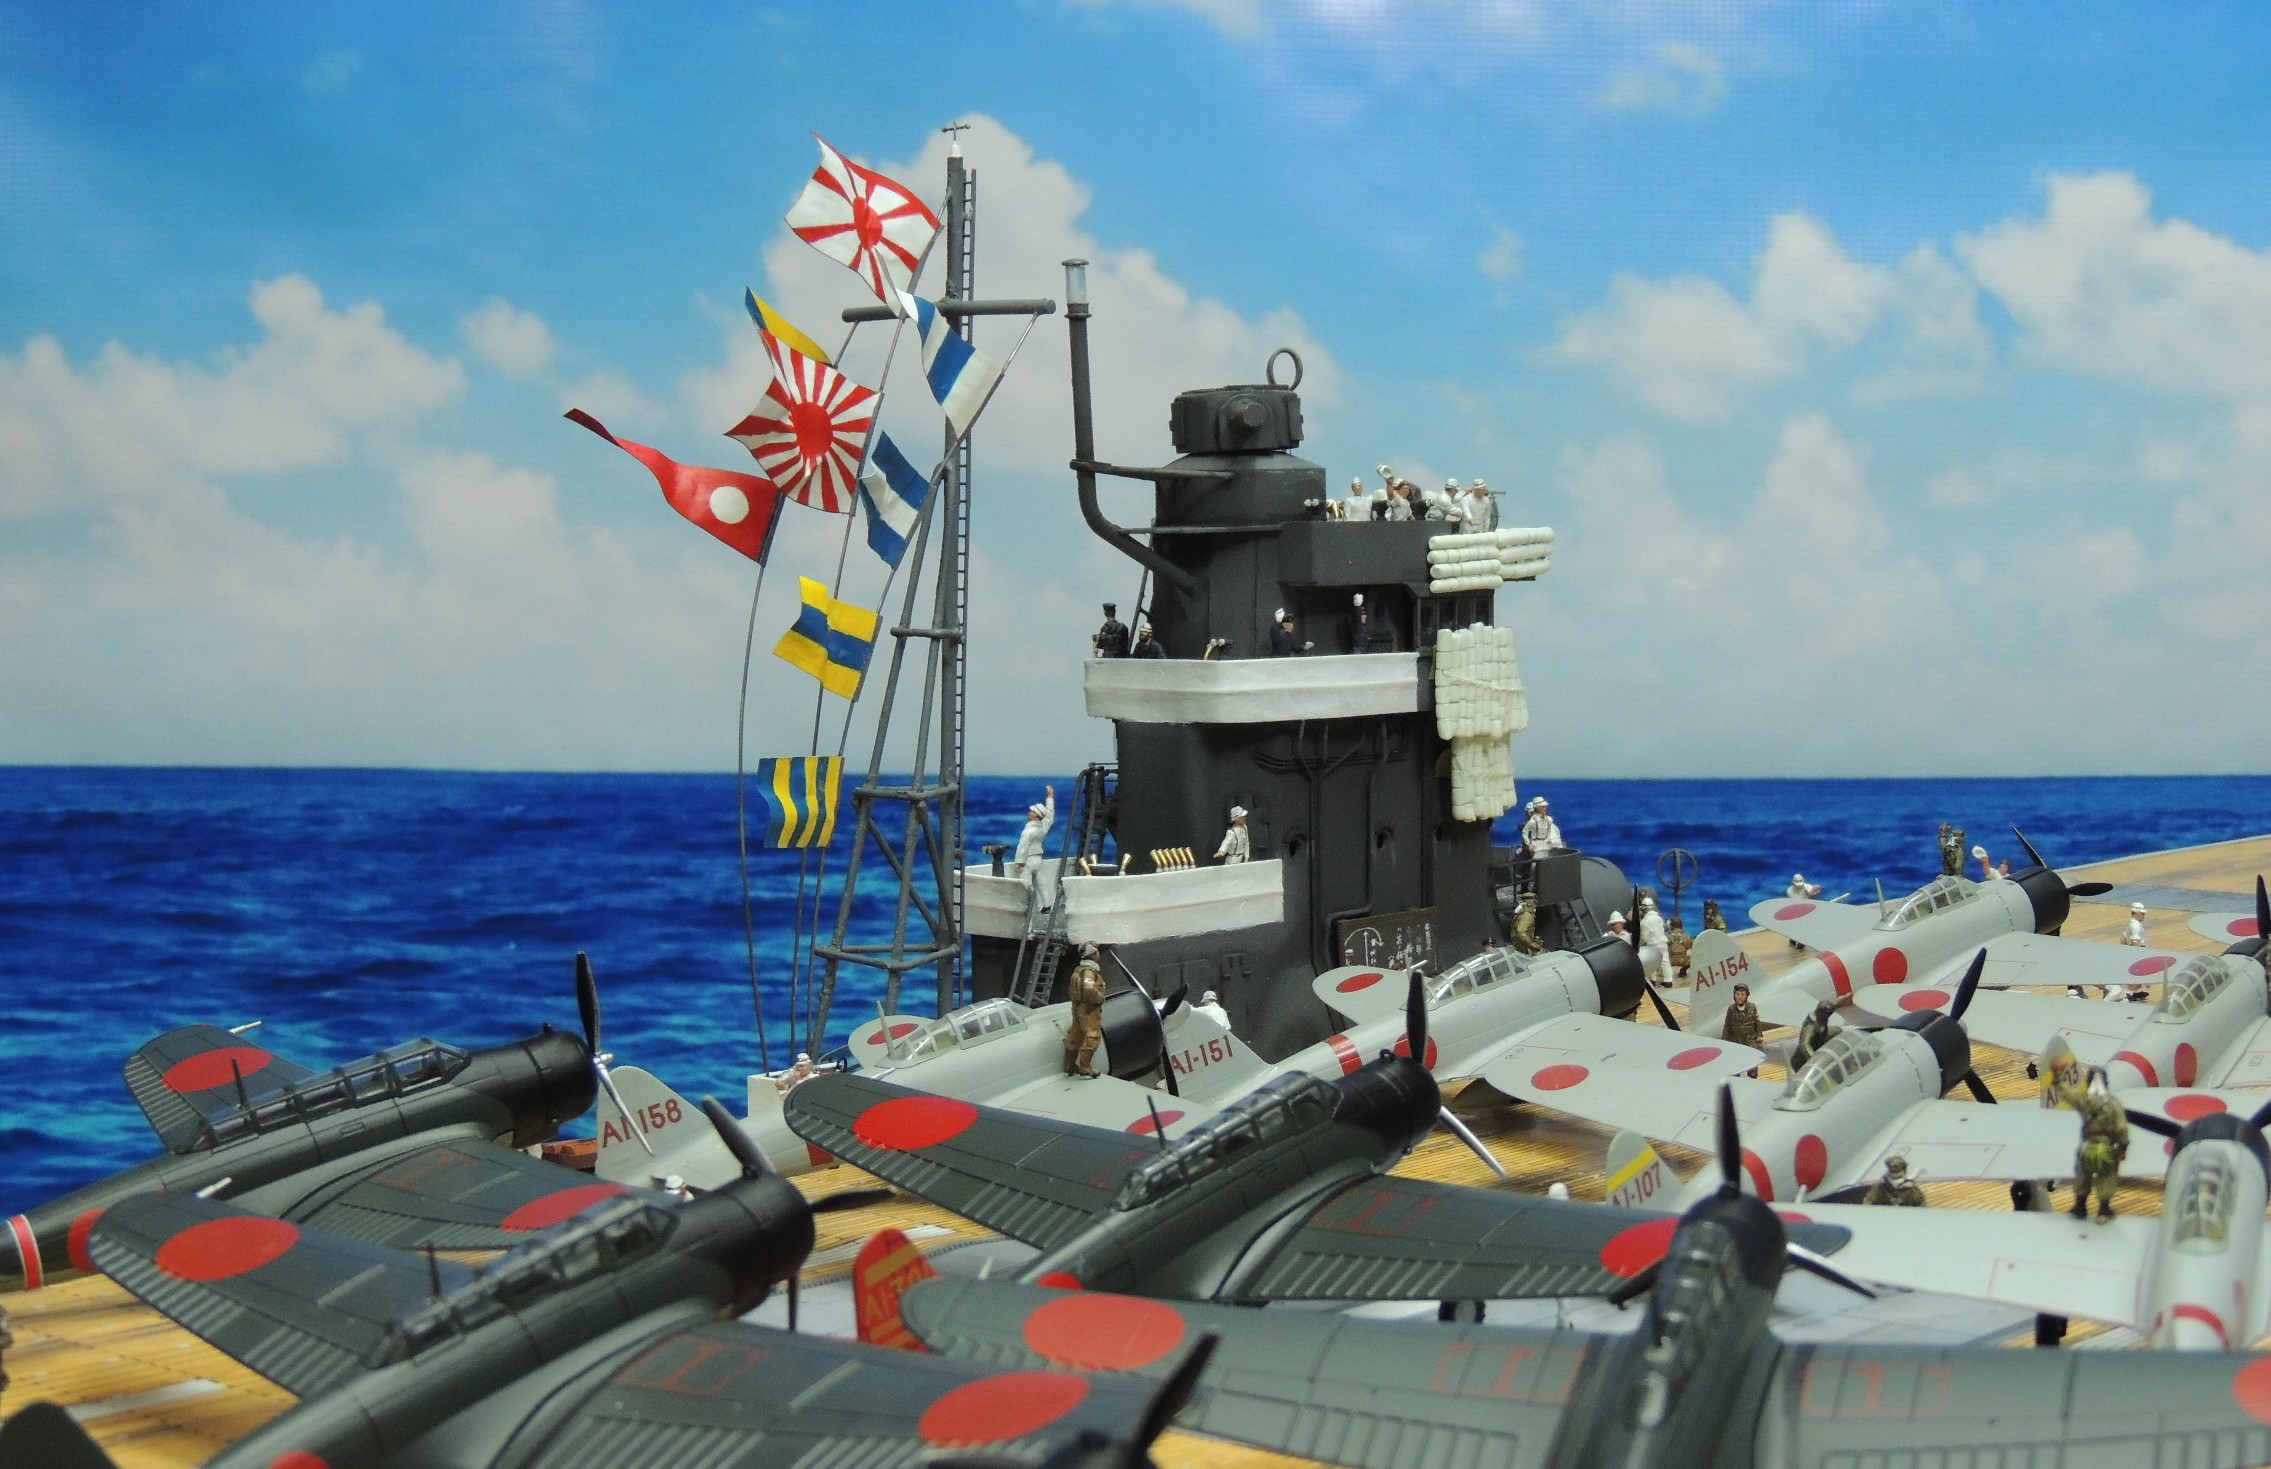
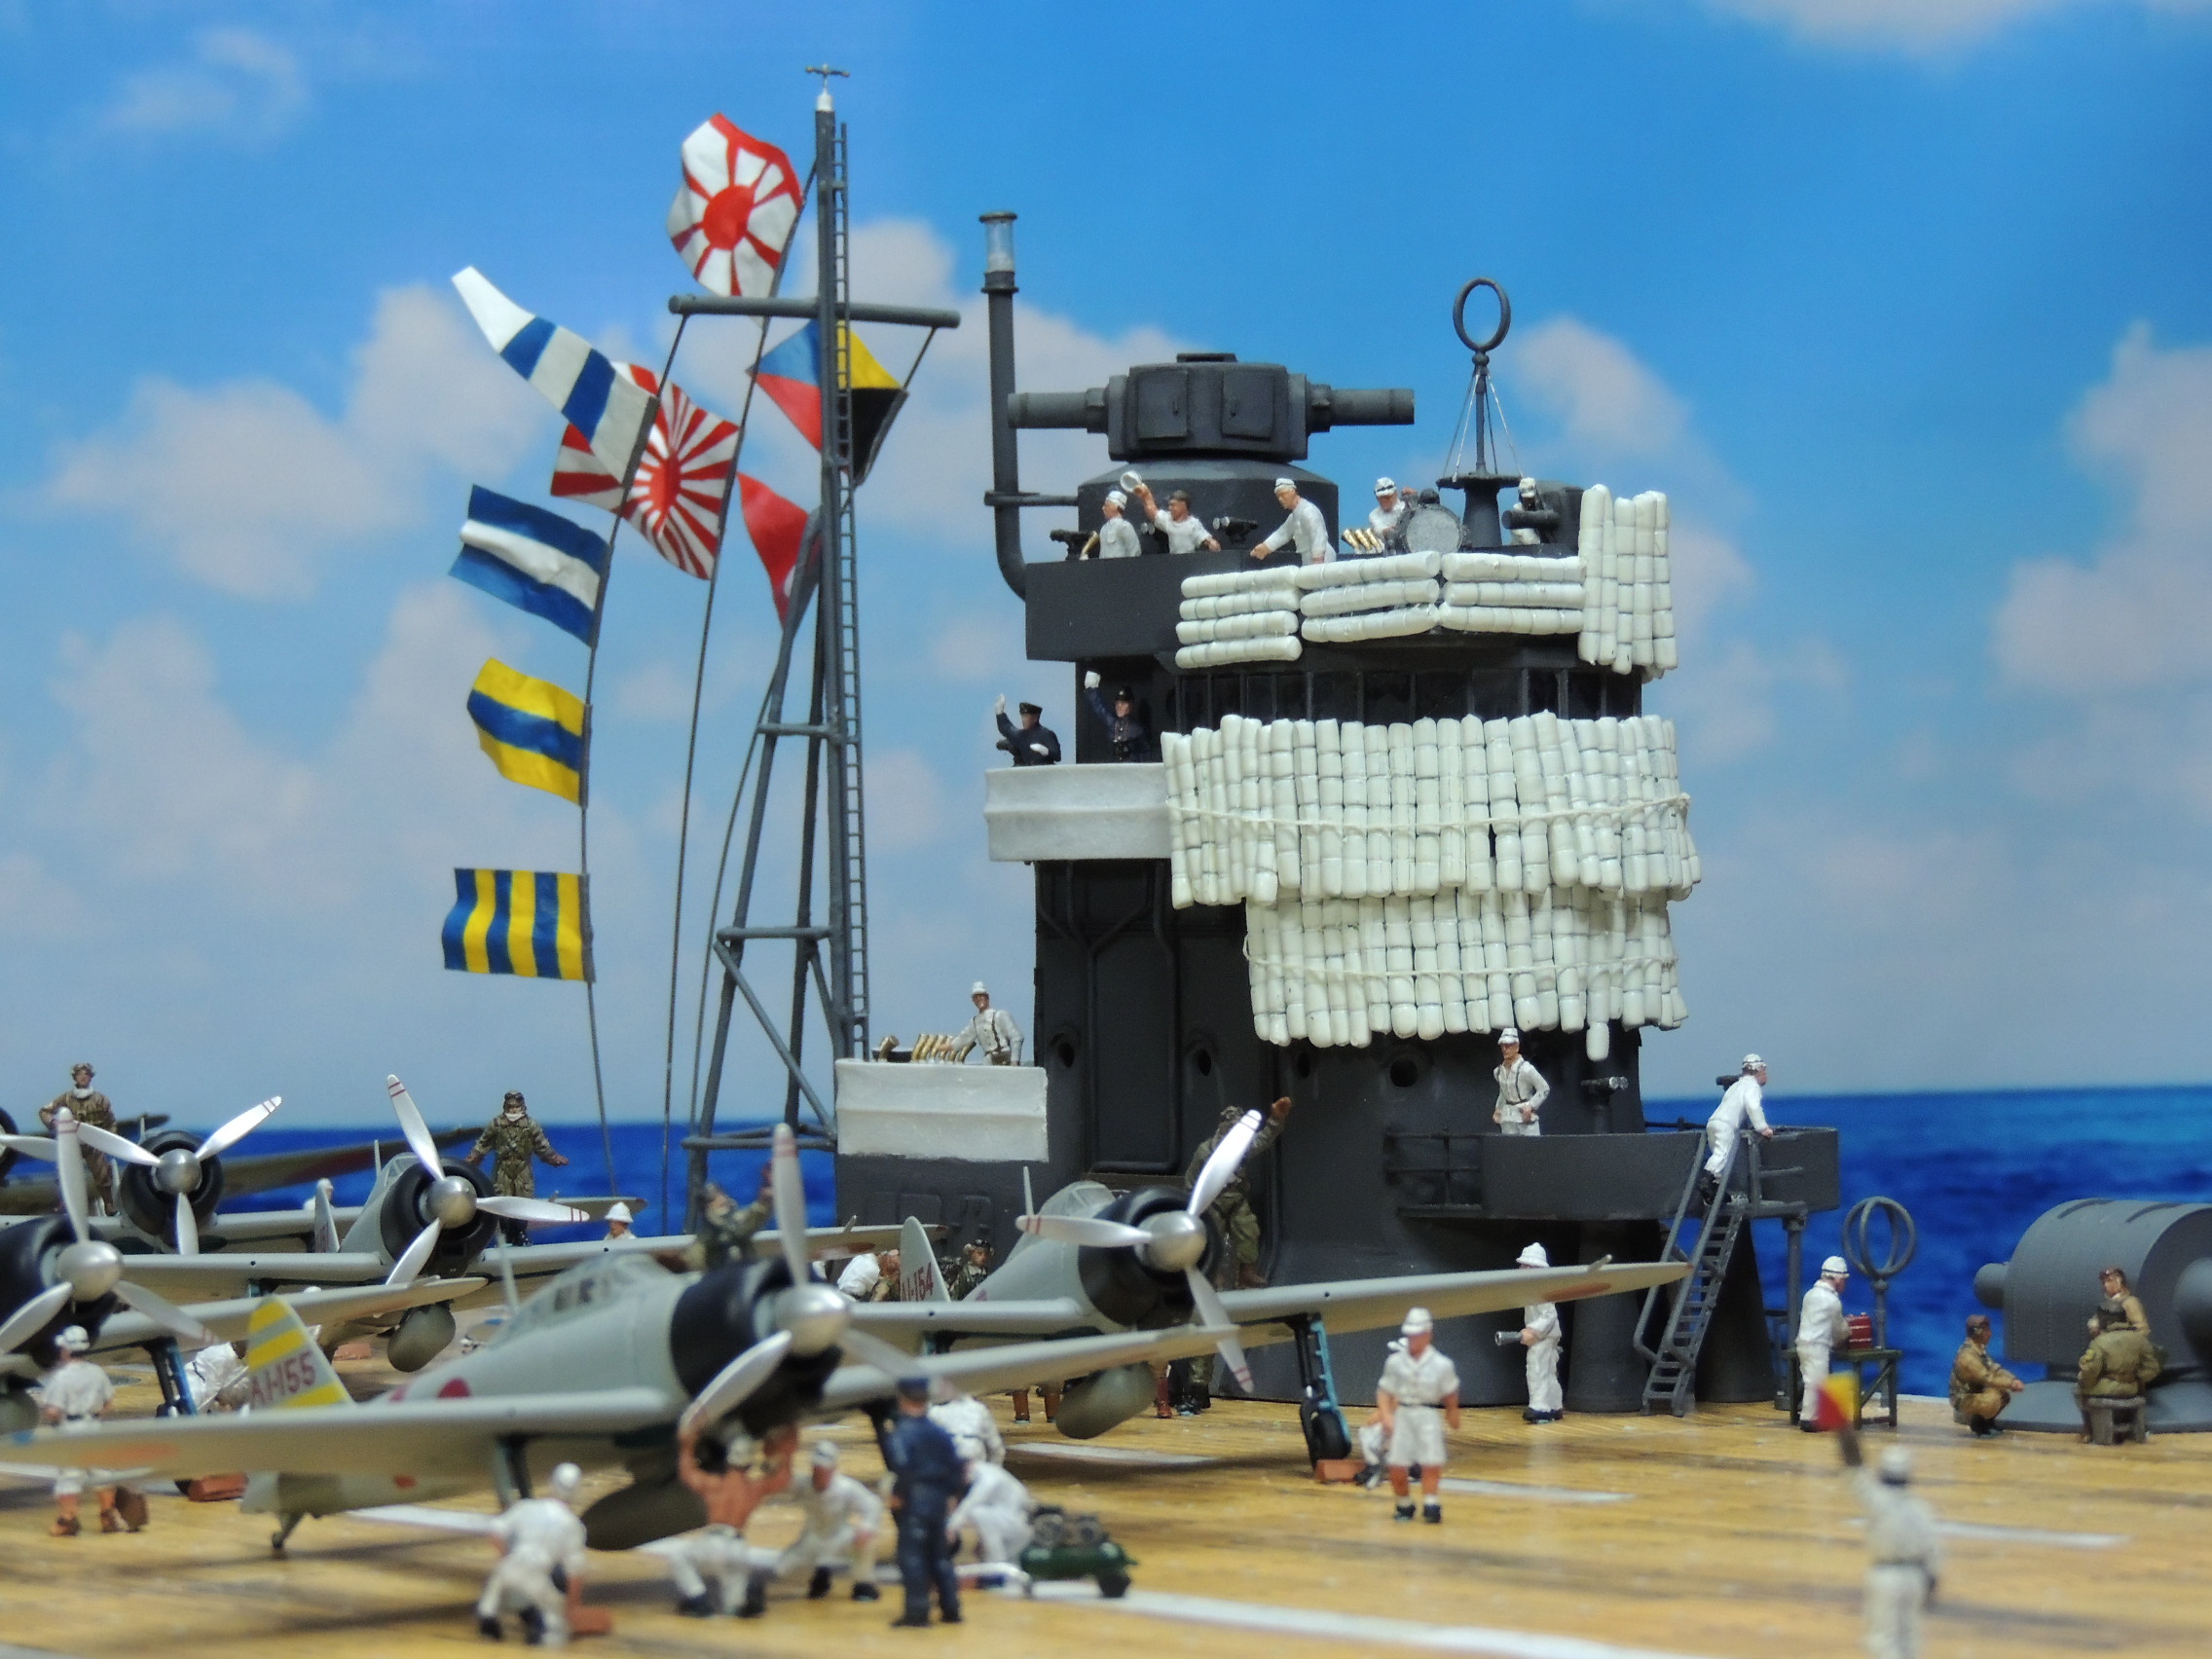
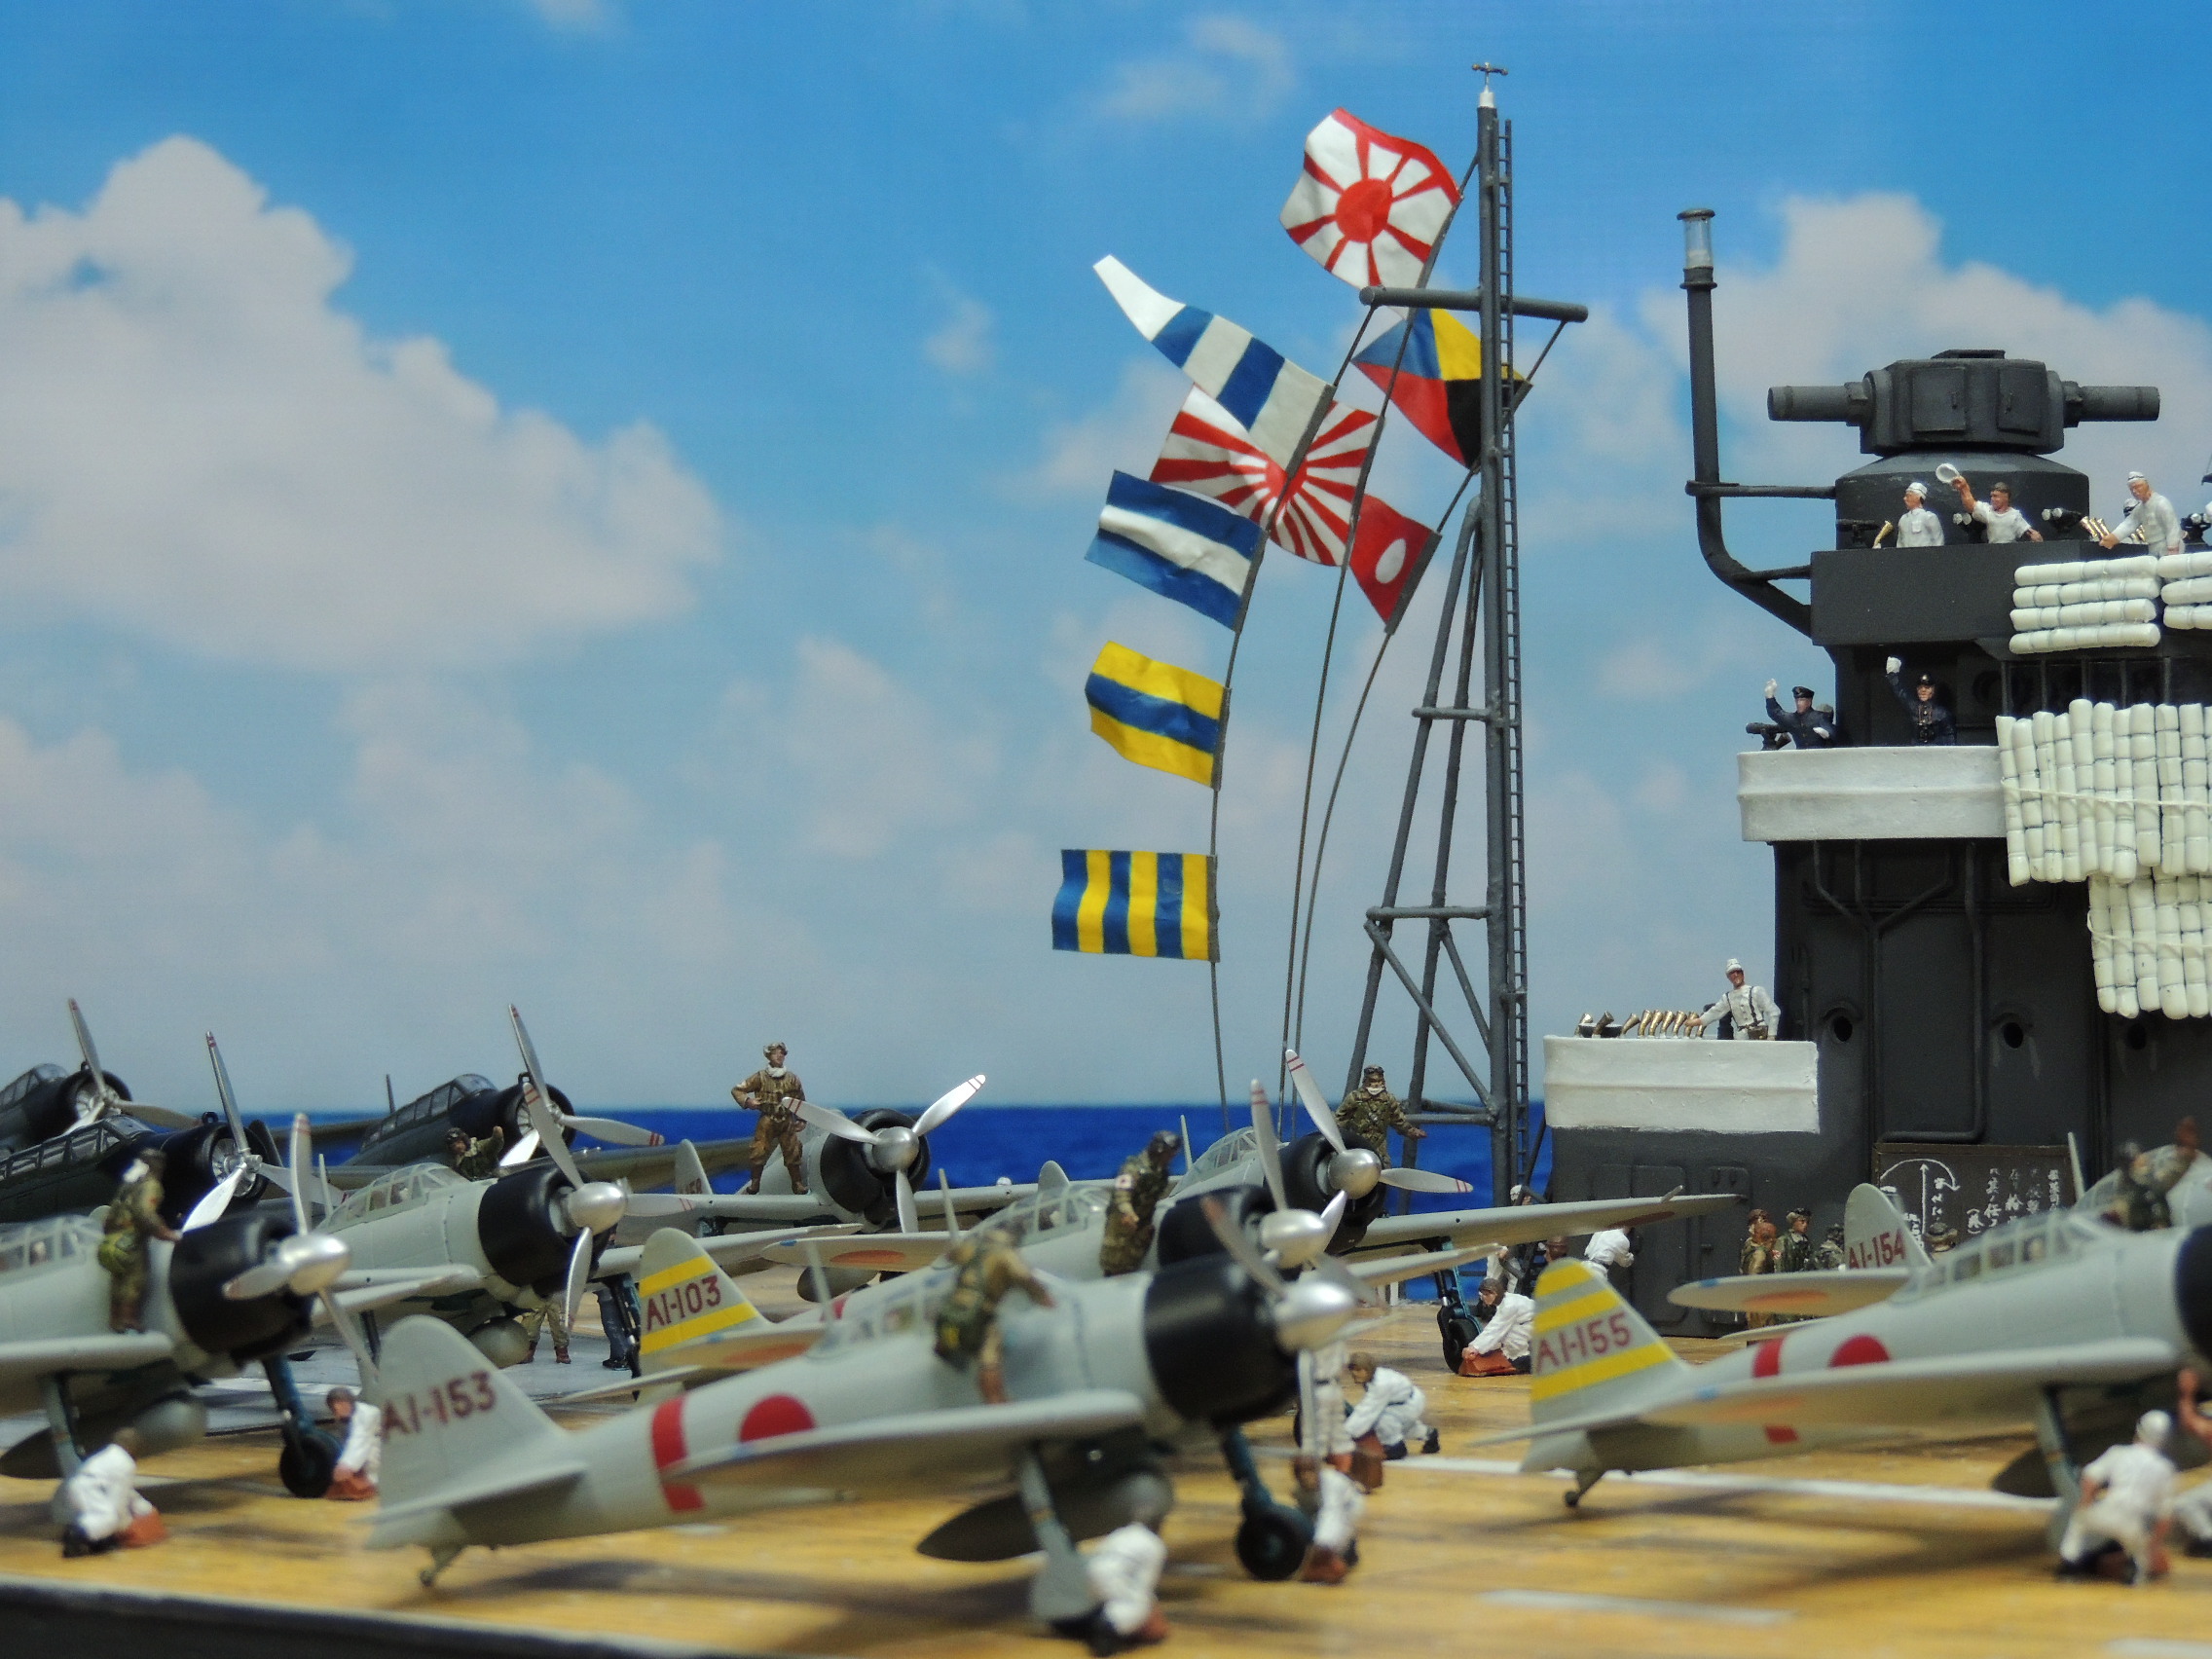
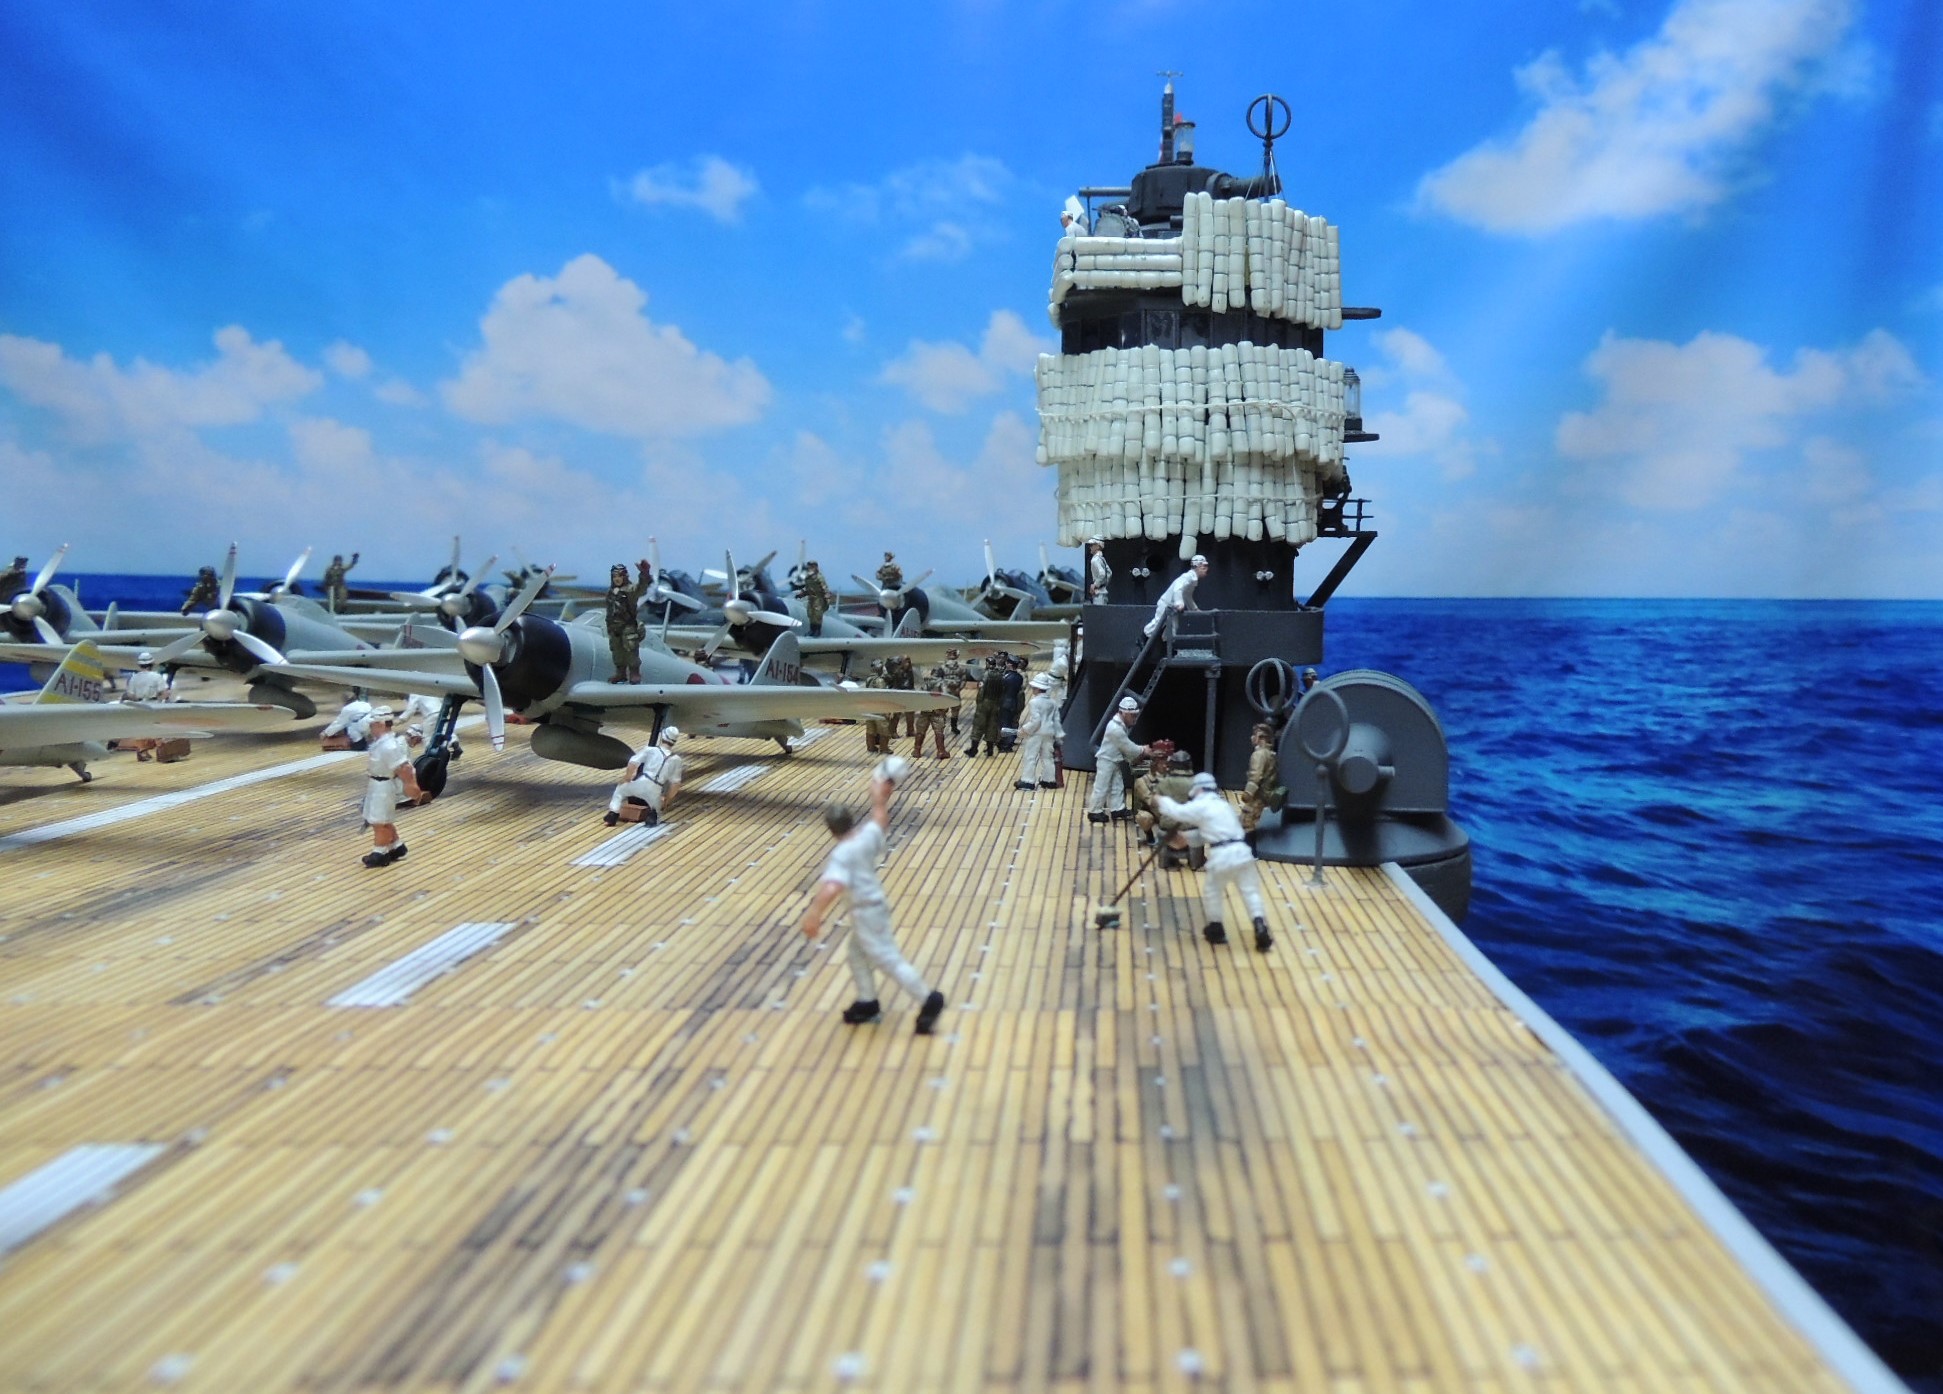
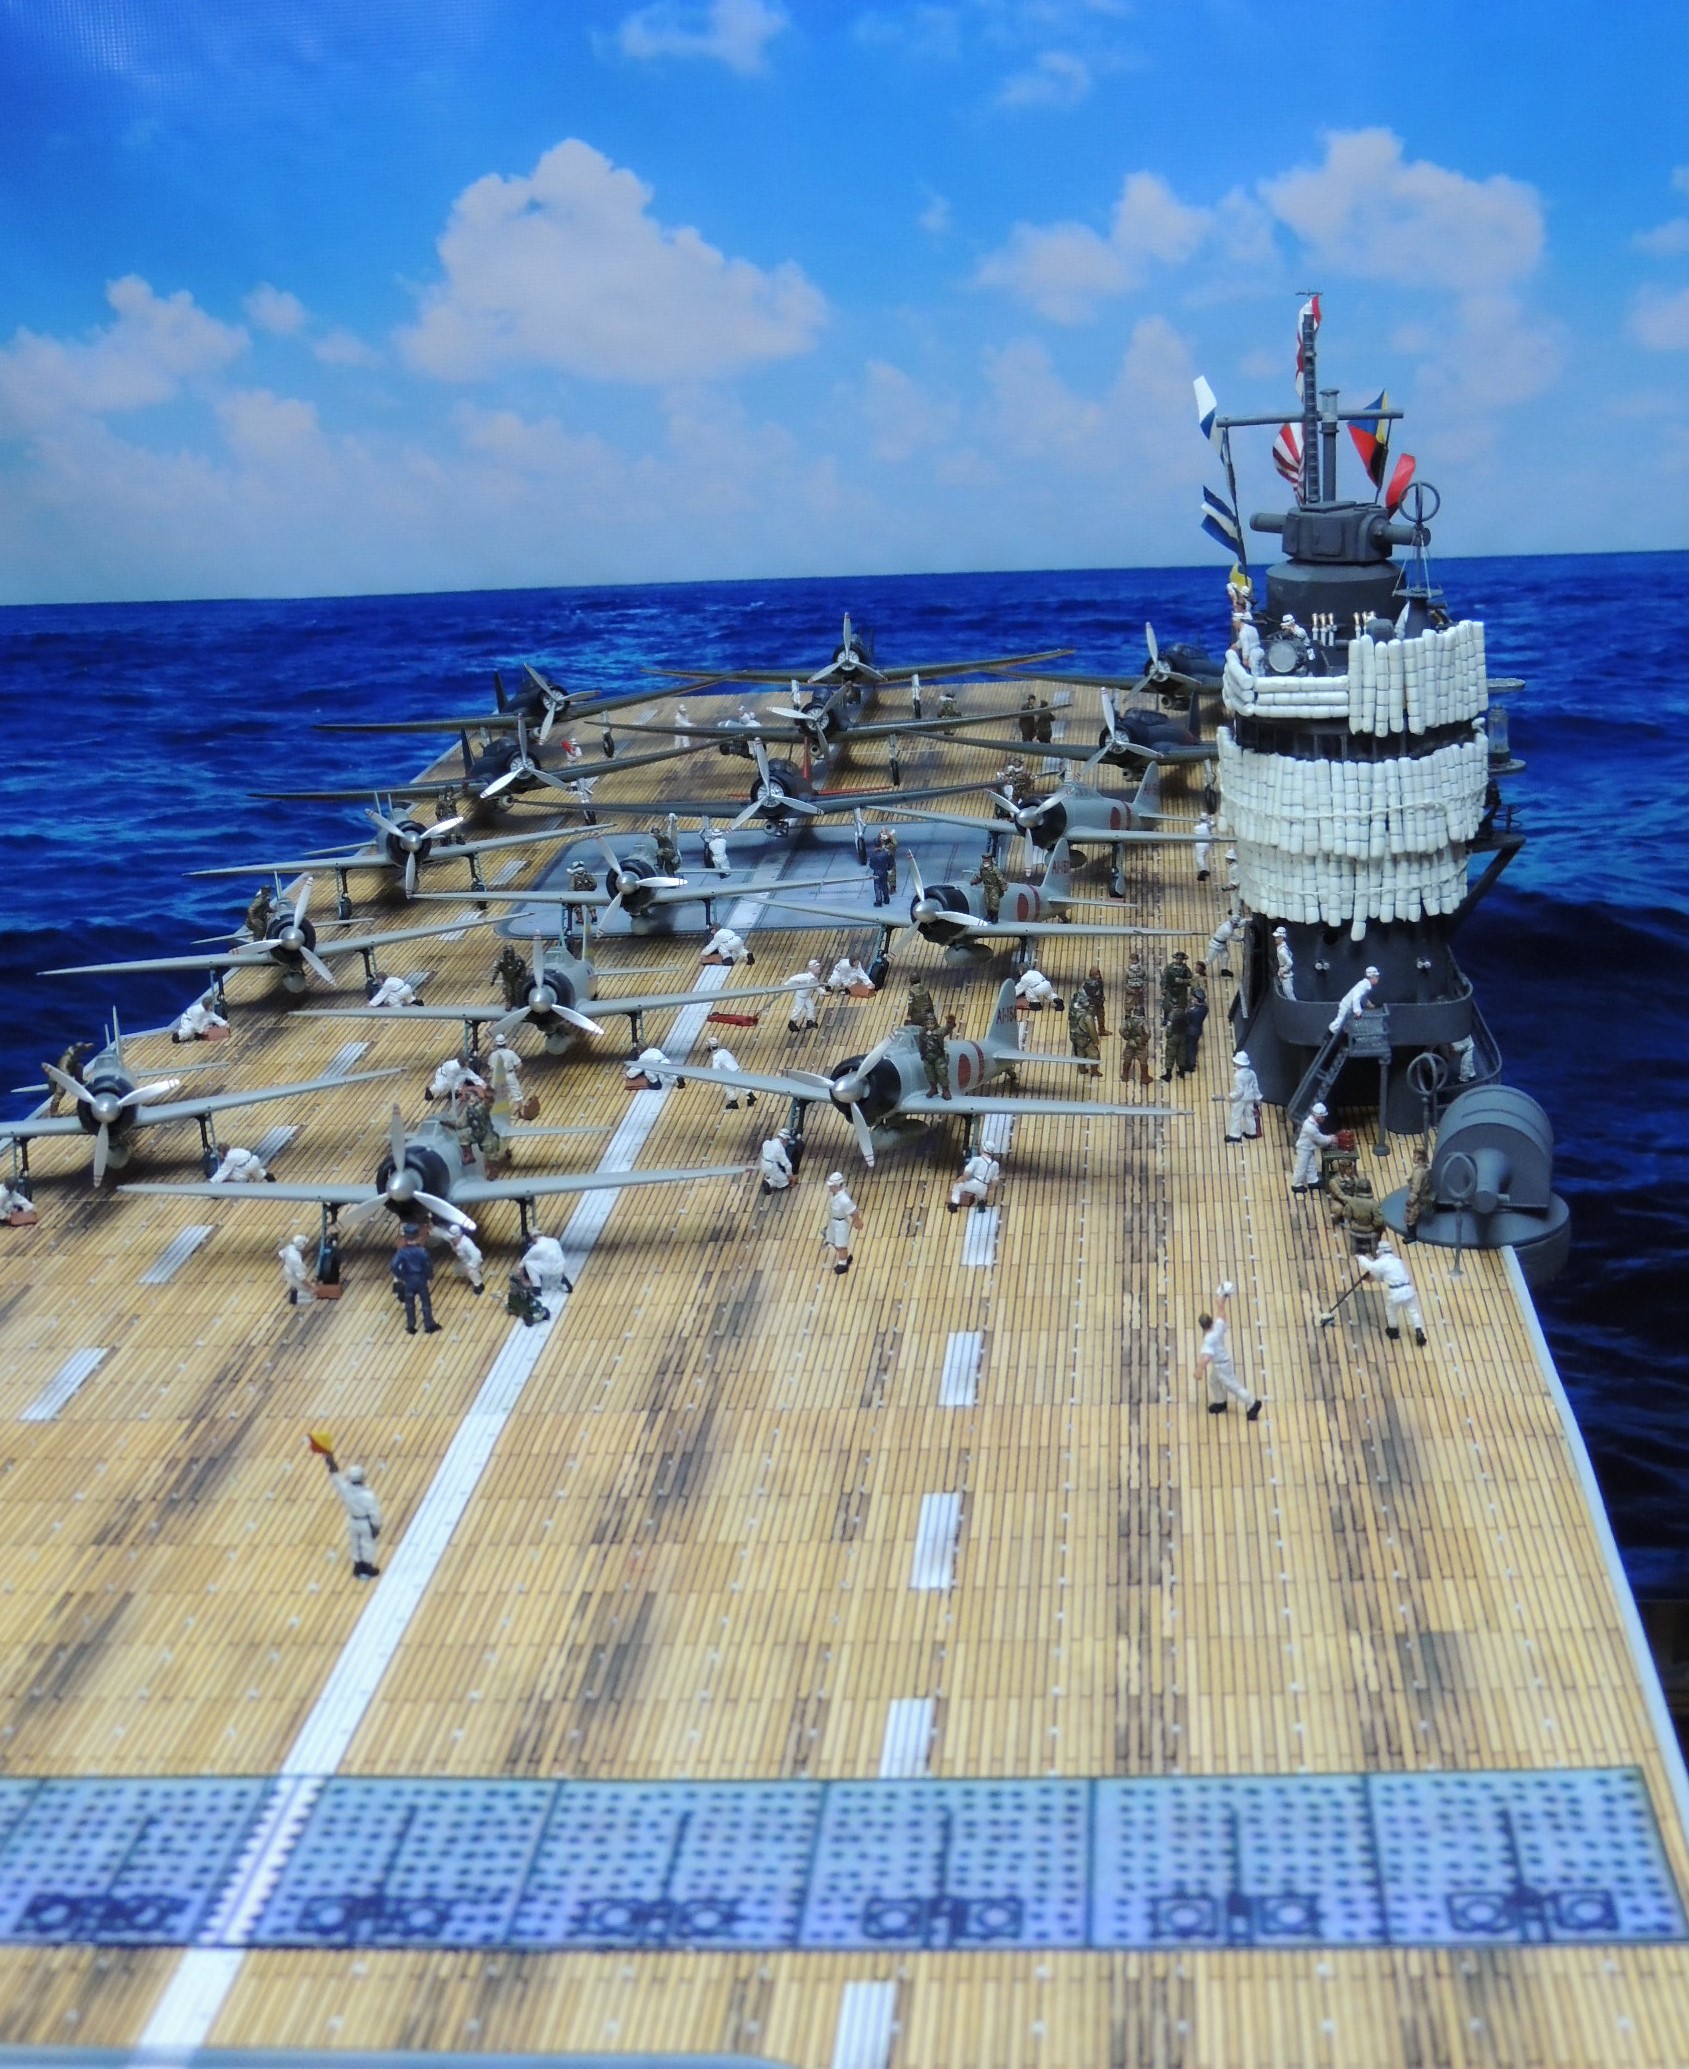
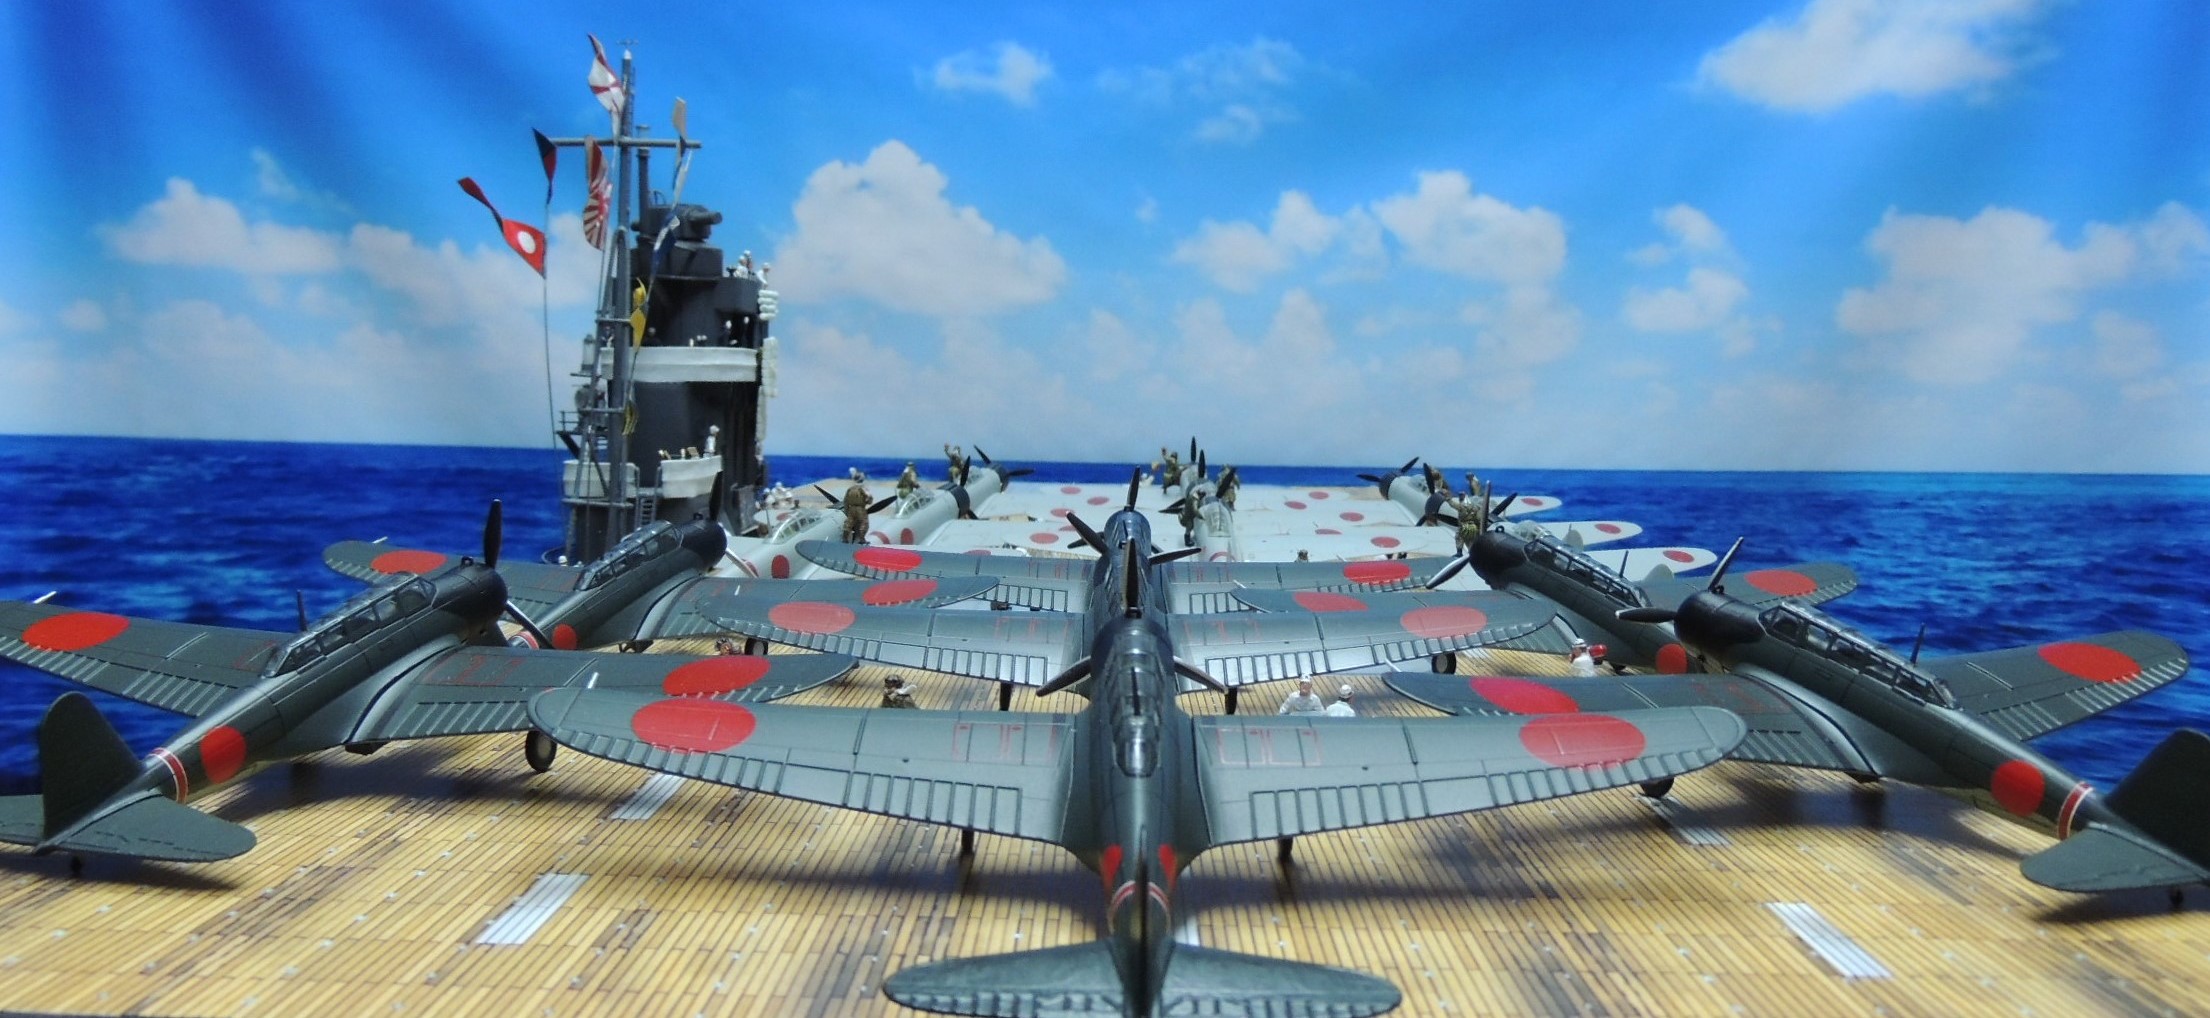
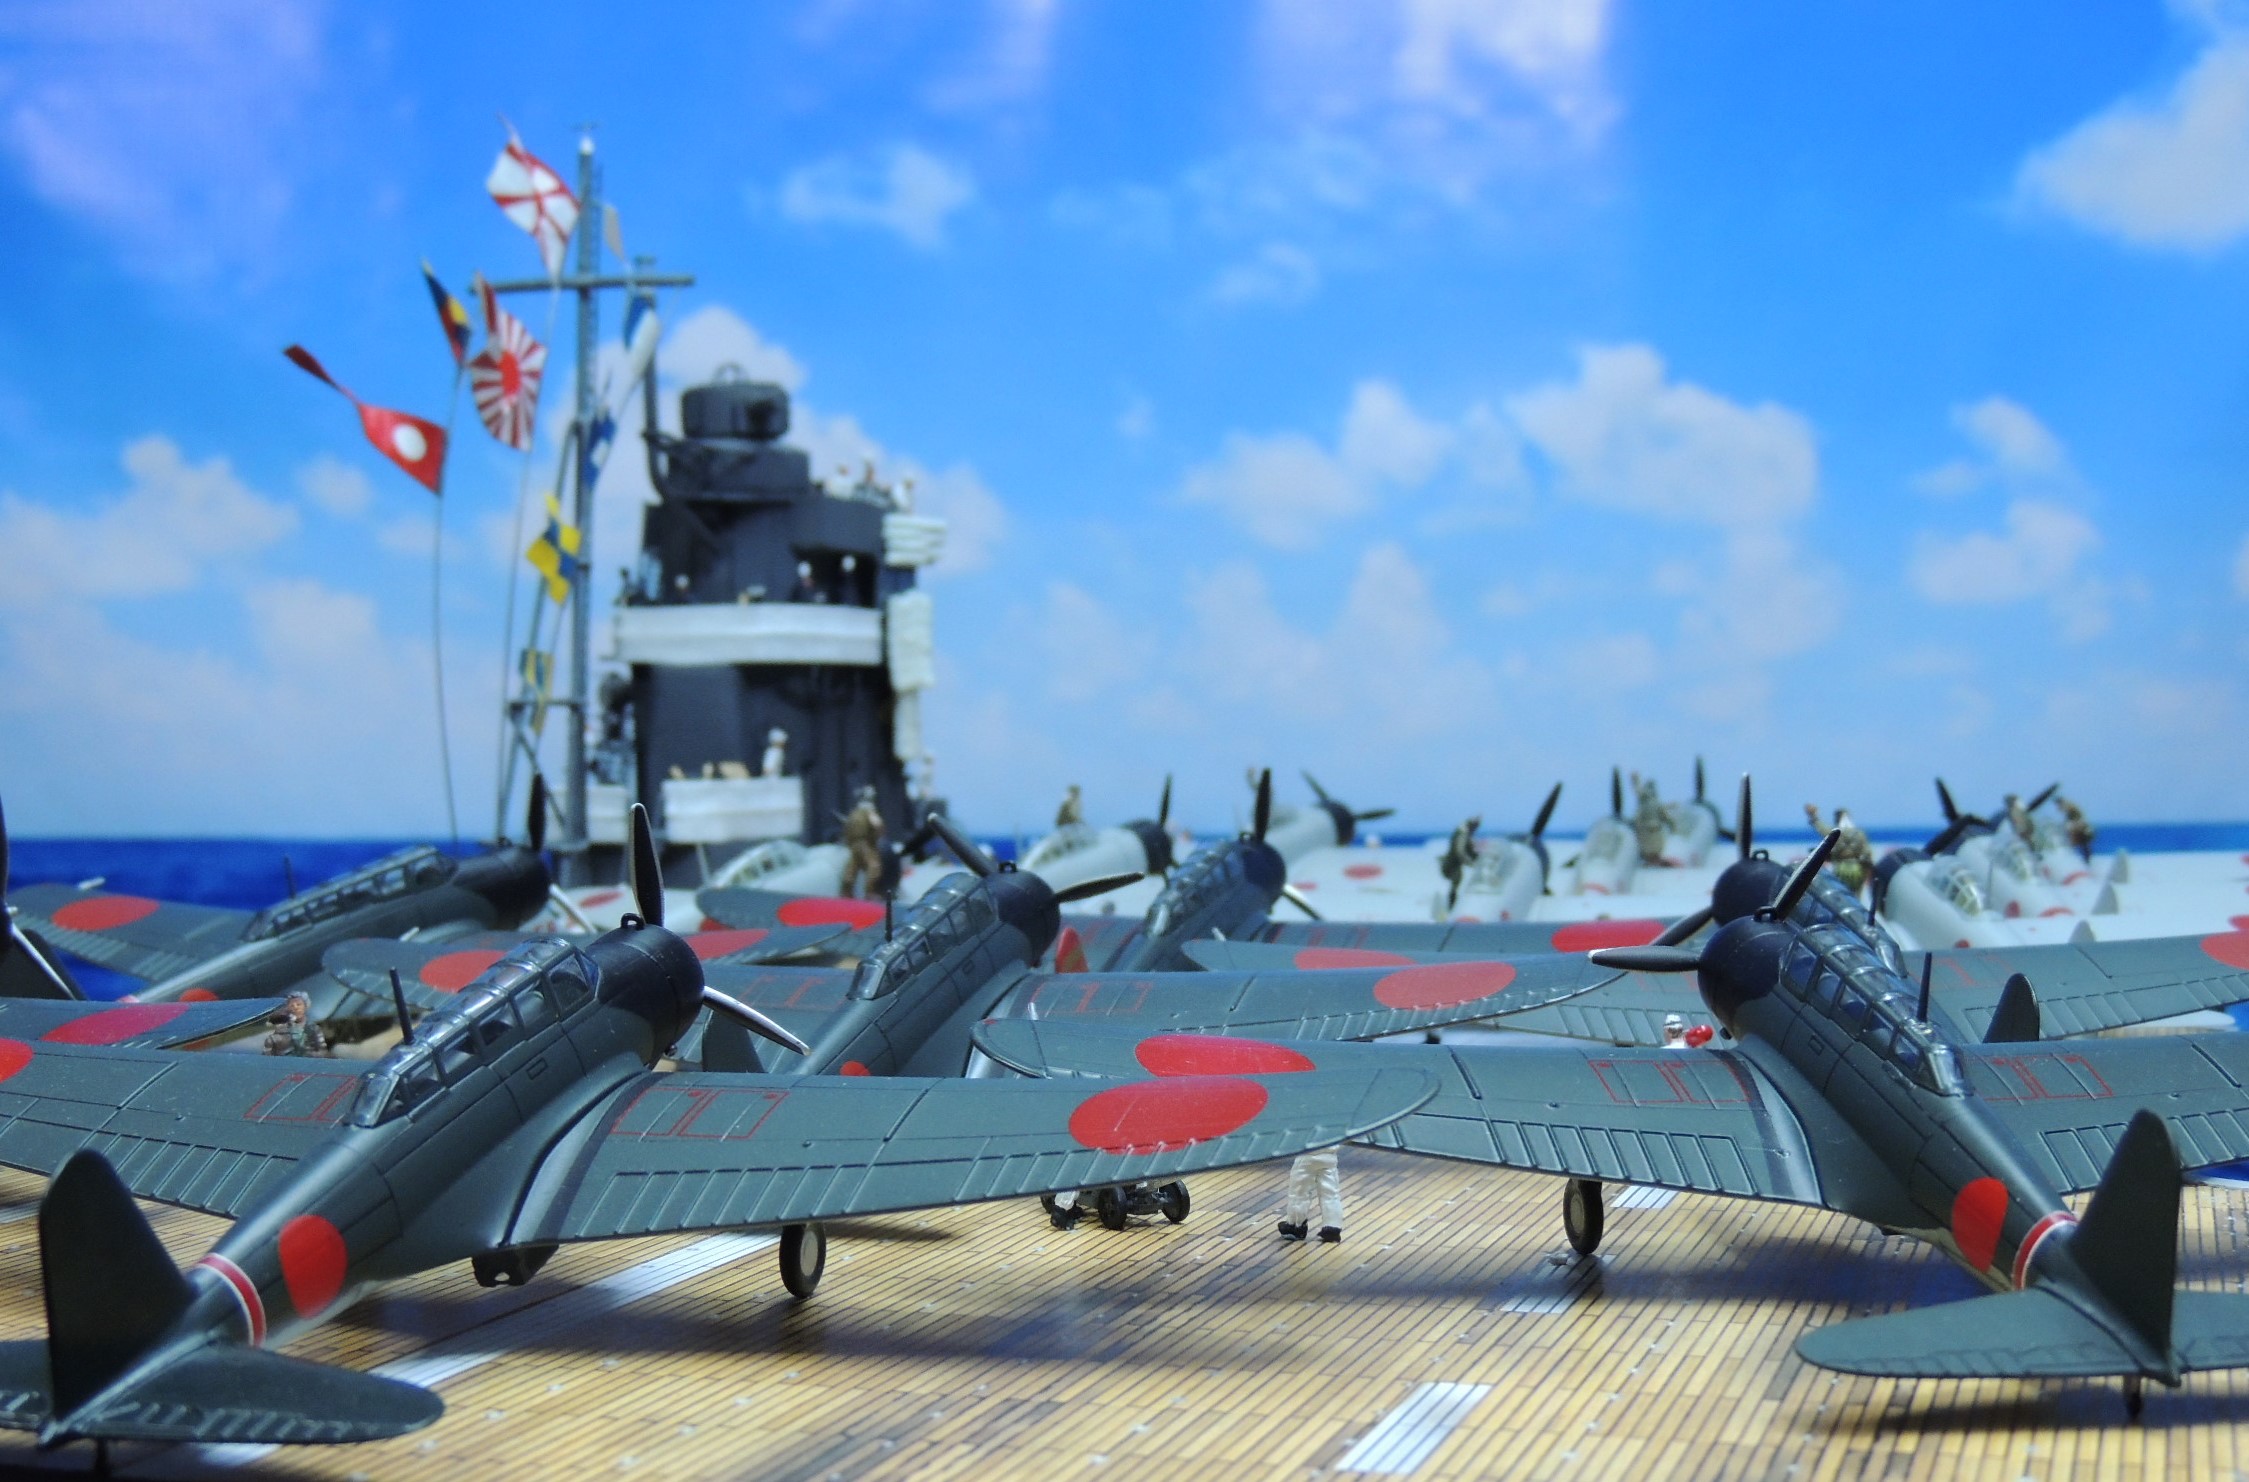
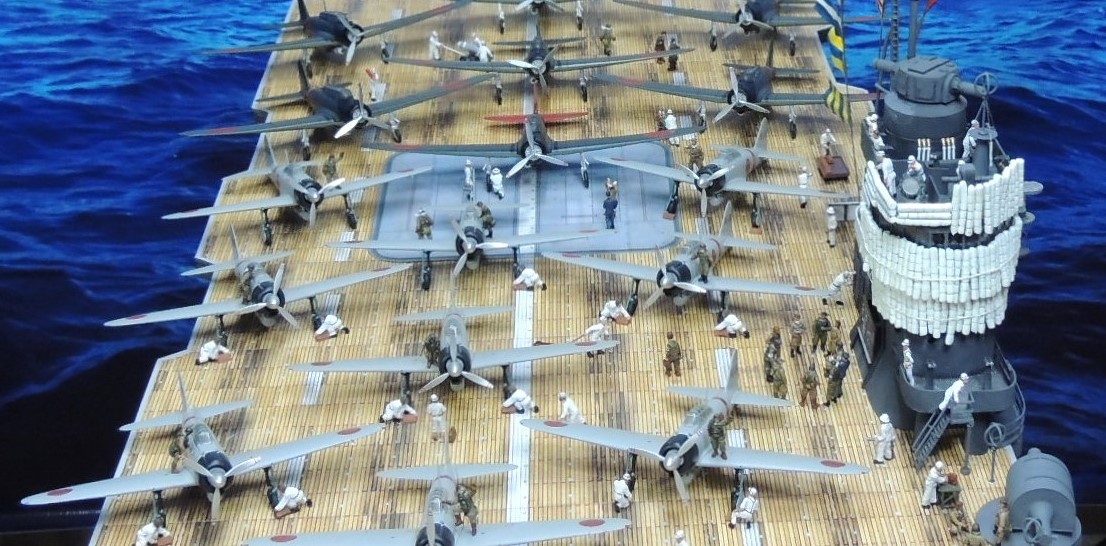
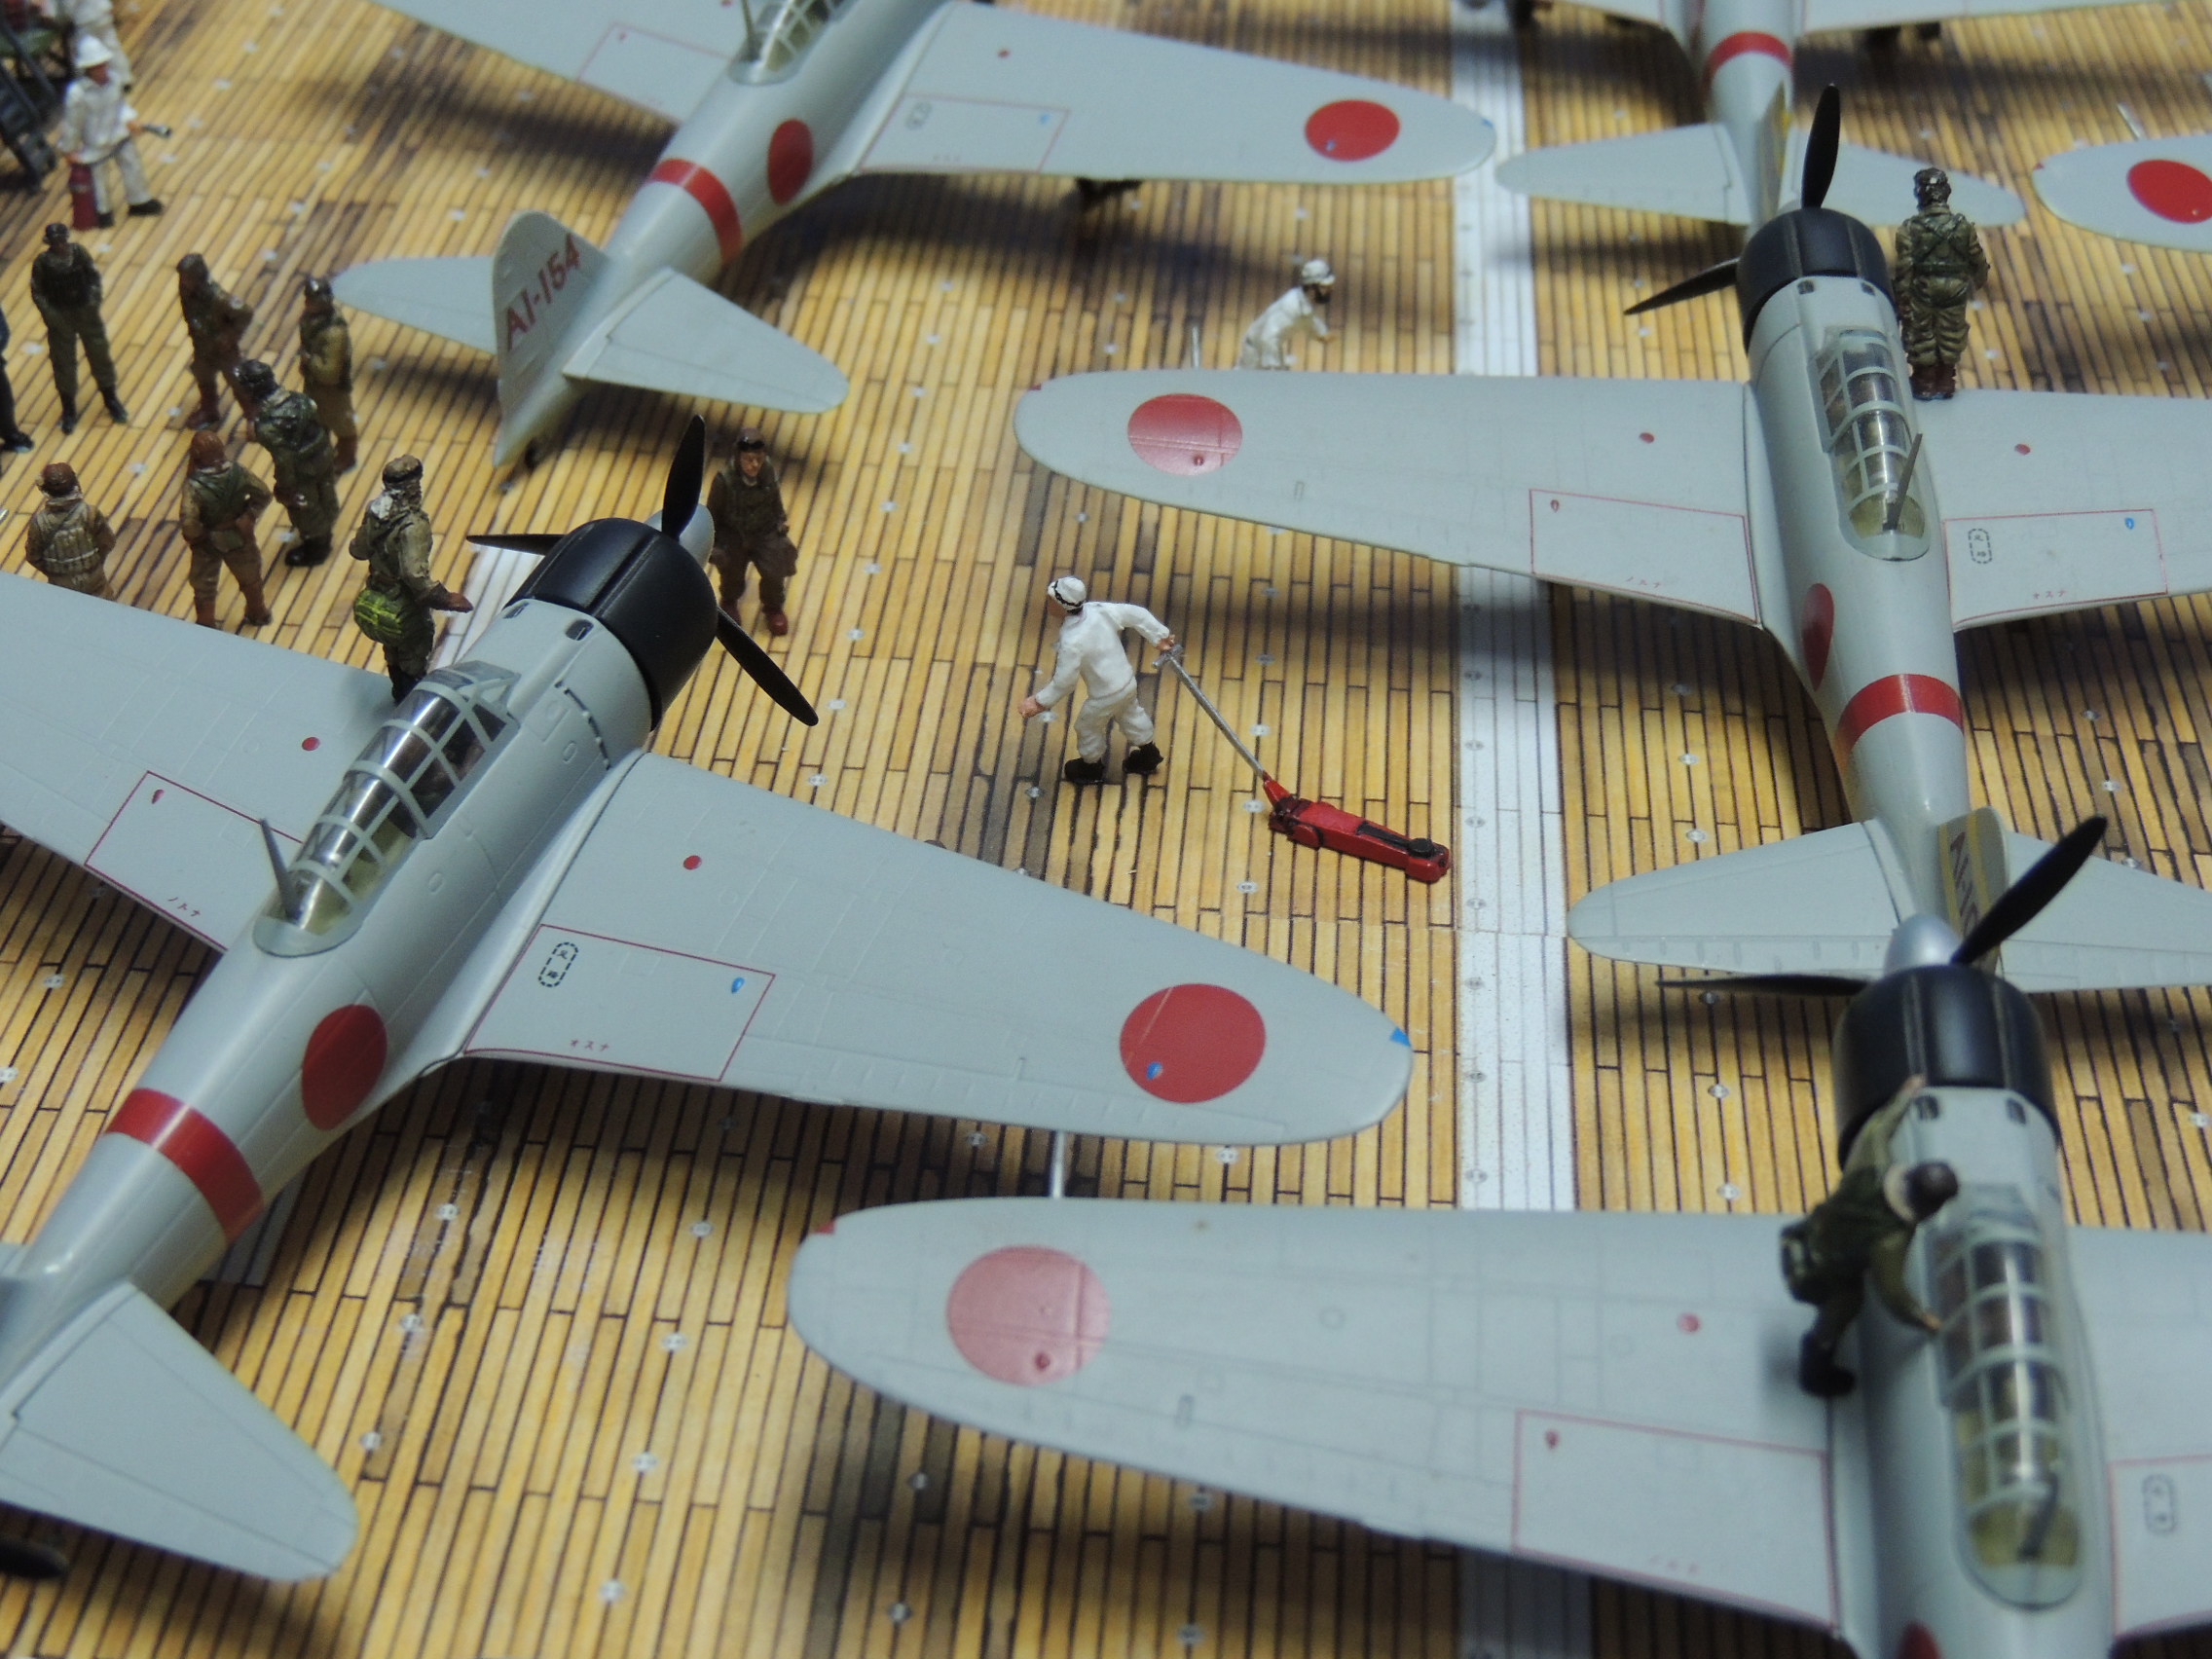
At long last, below are photos of the finished diorama depicting the Zeros of the Imperial Japanese Navy’s Akagi aircraft carrier preparing to take off as part of the first wave attack on Pearl Harbor on December 7, 1941. I finished this project back in June 2017 but, as often happens, life got in the way of the hobby and I never posted the finished piece.
Below is a photo of my first attempt at this diorama from 2017, taken by the side of the pool.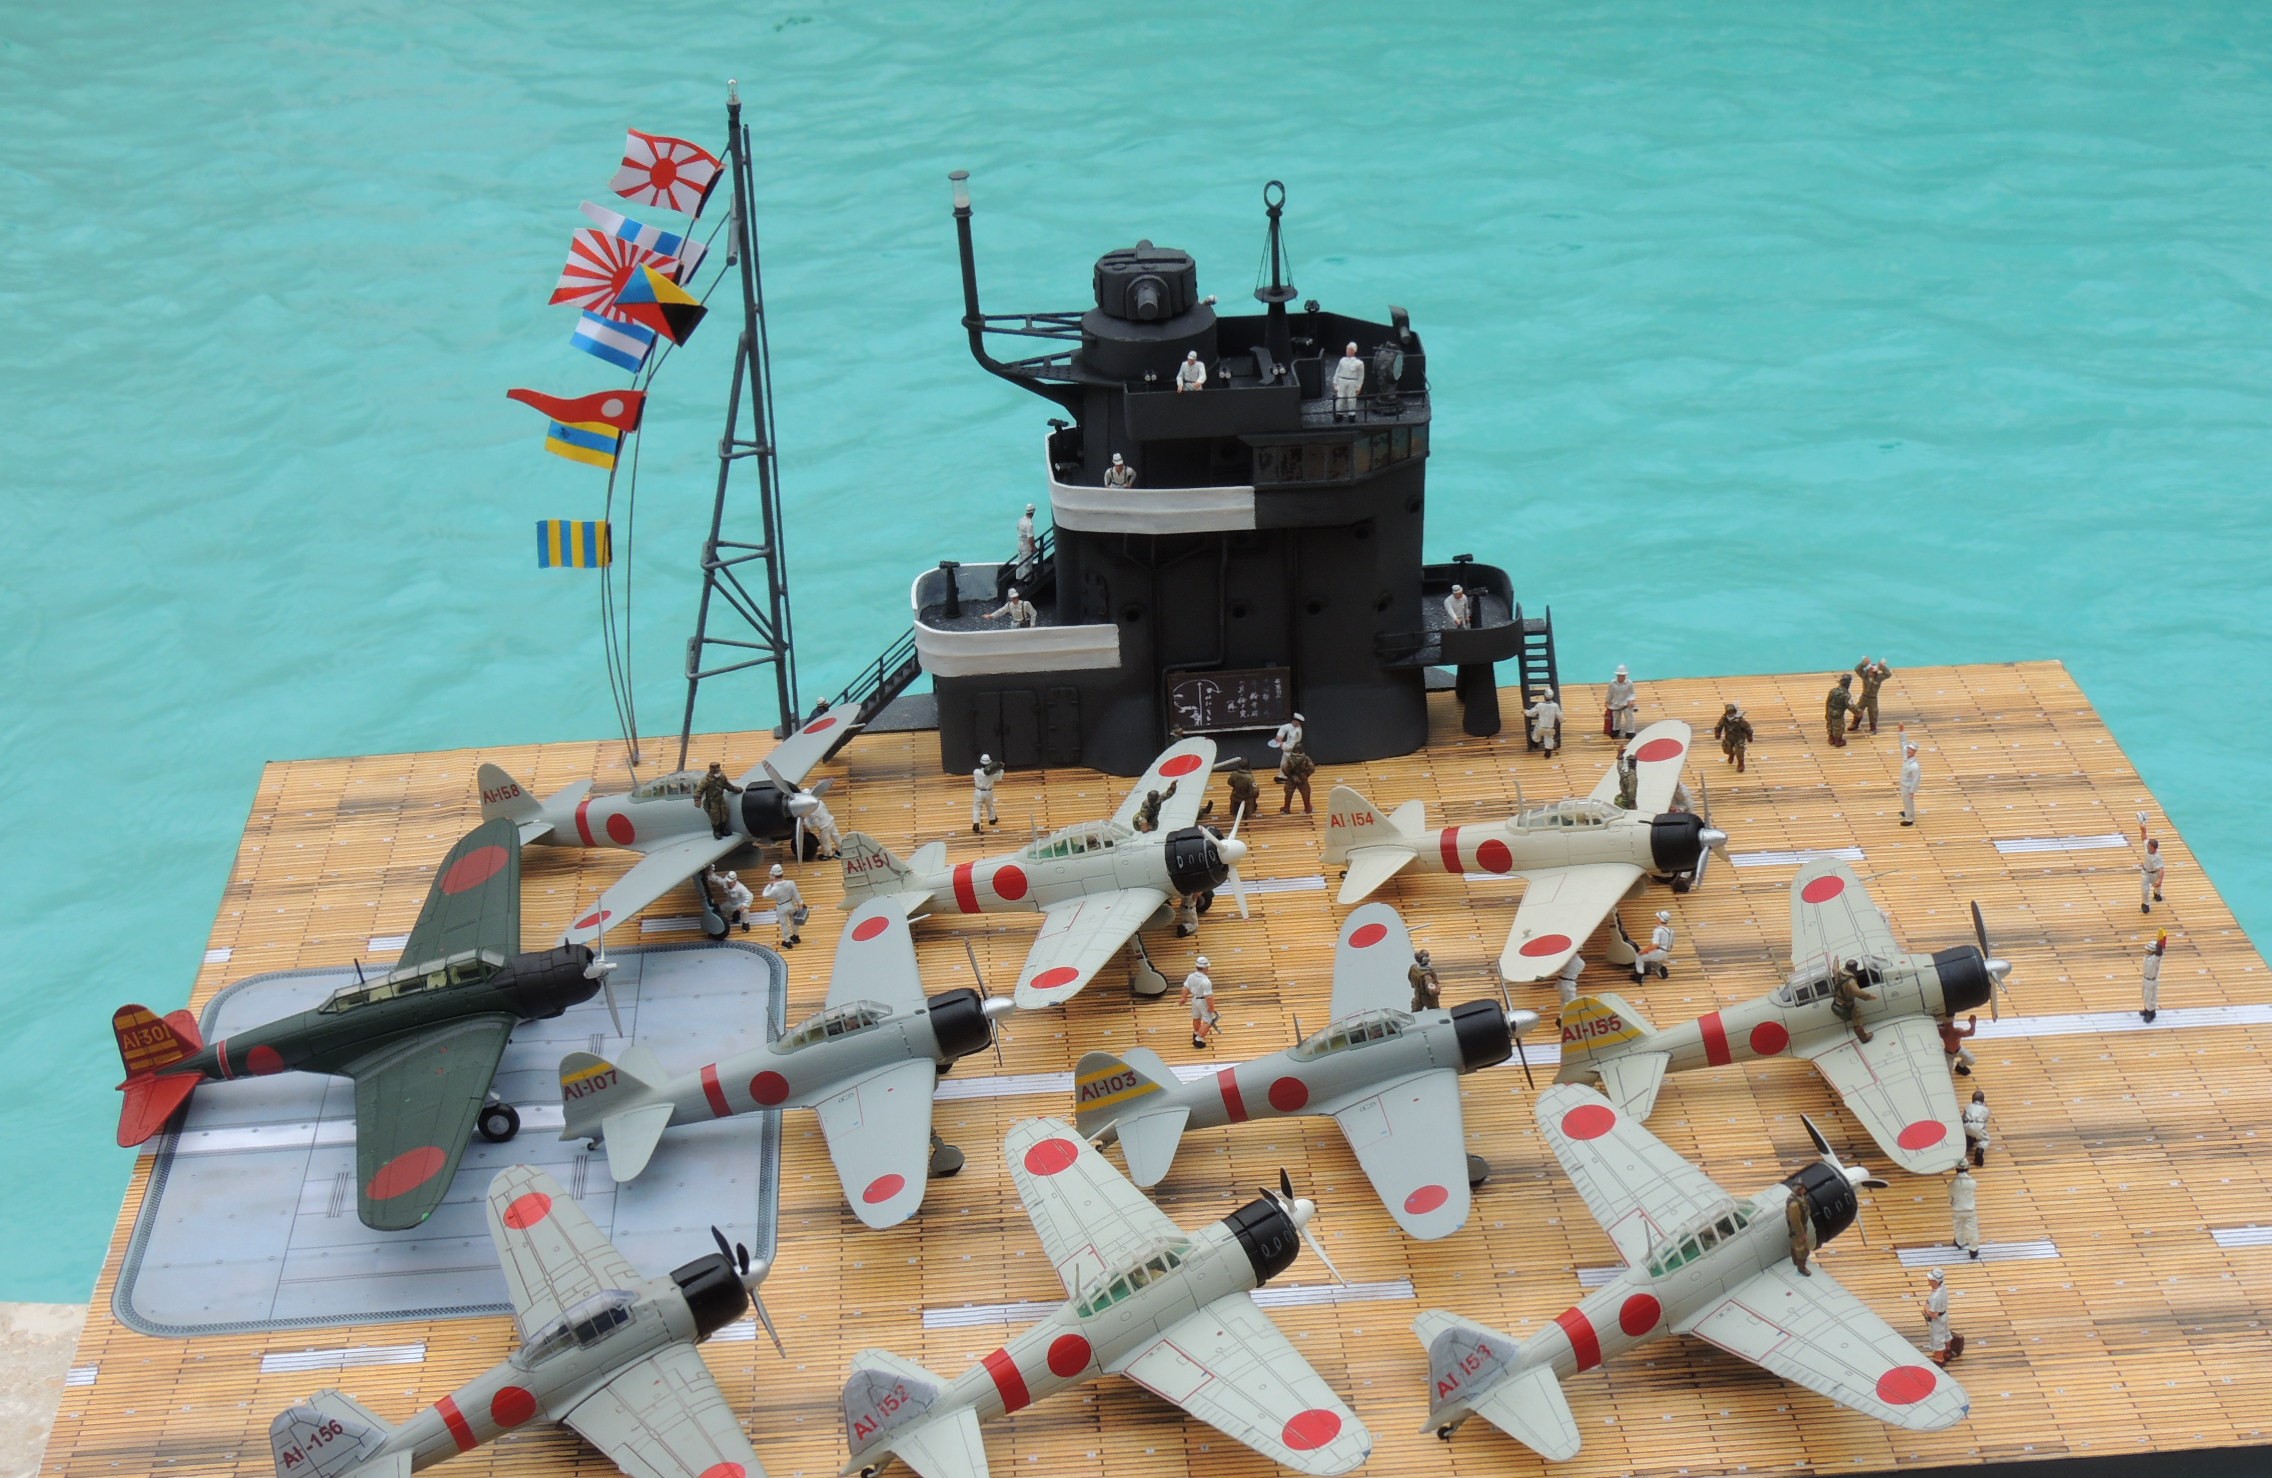
For a variety of reasons, I was not satisfied with it:
- The diorama was too small to take good photos;
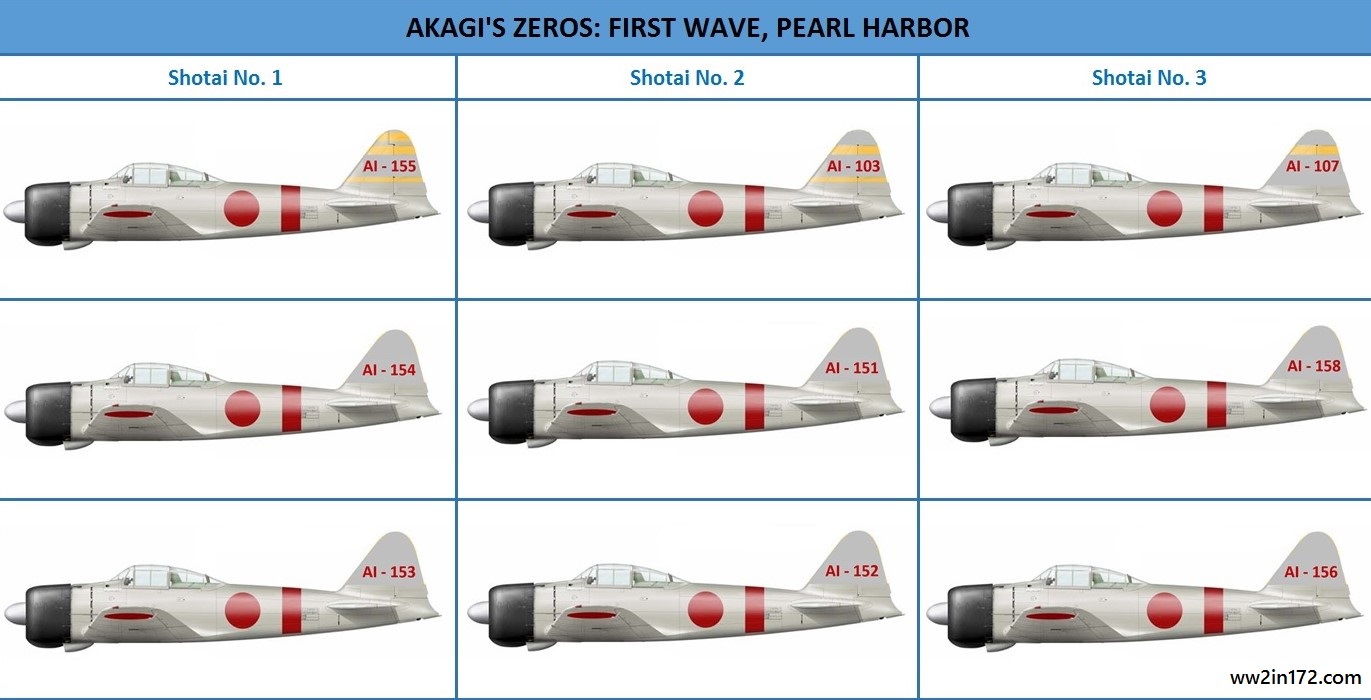
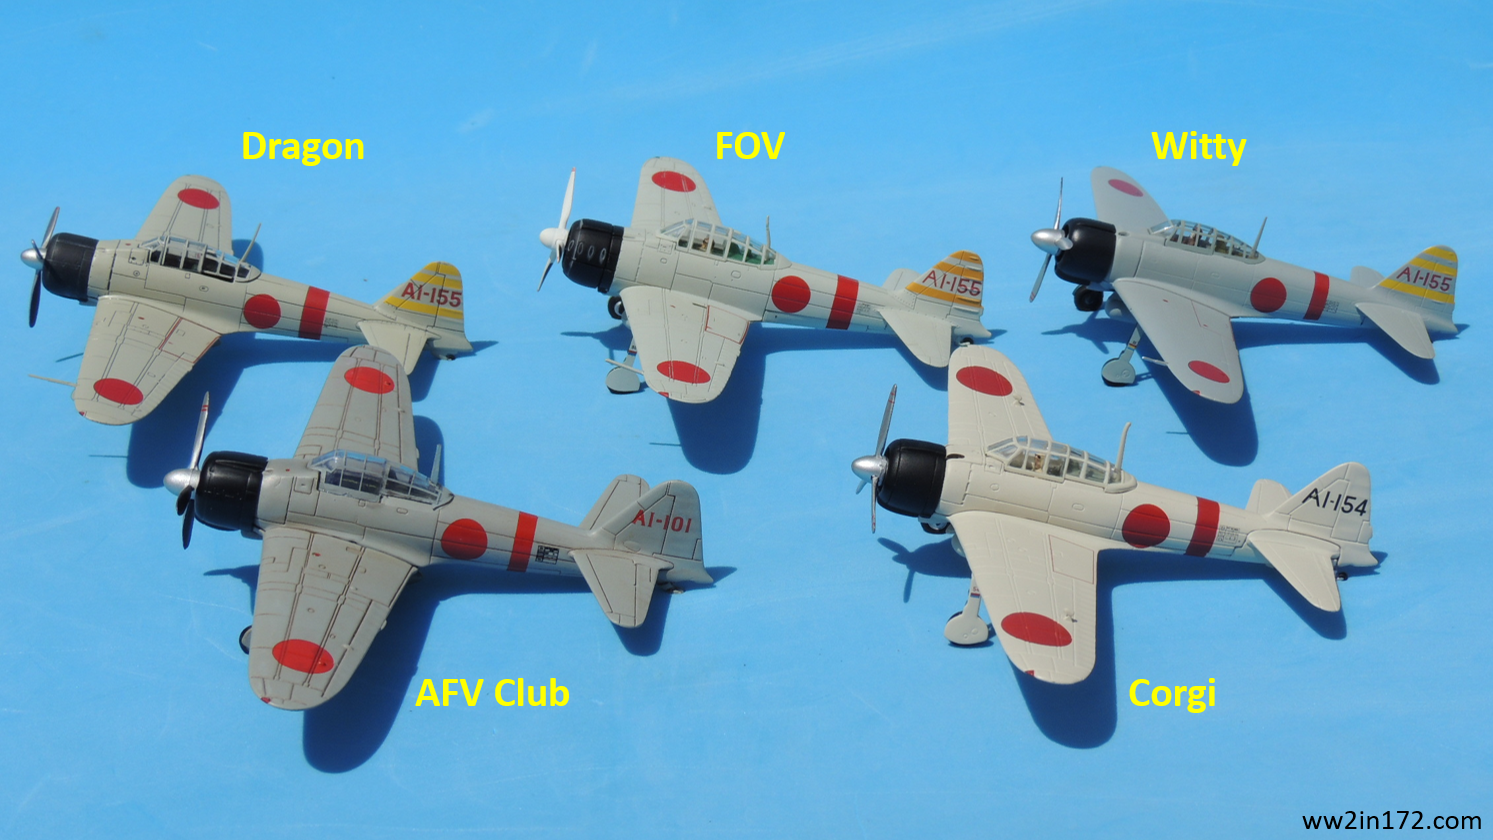
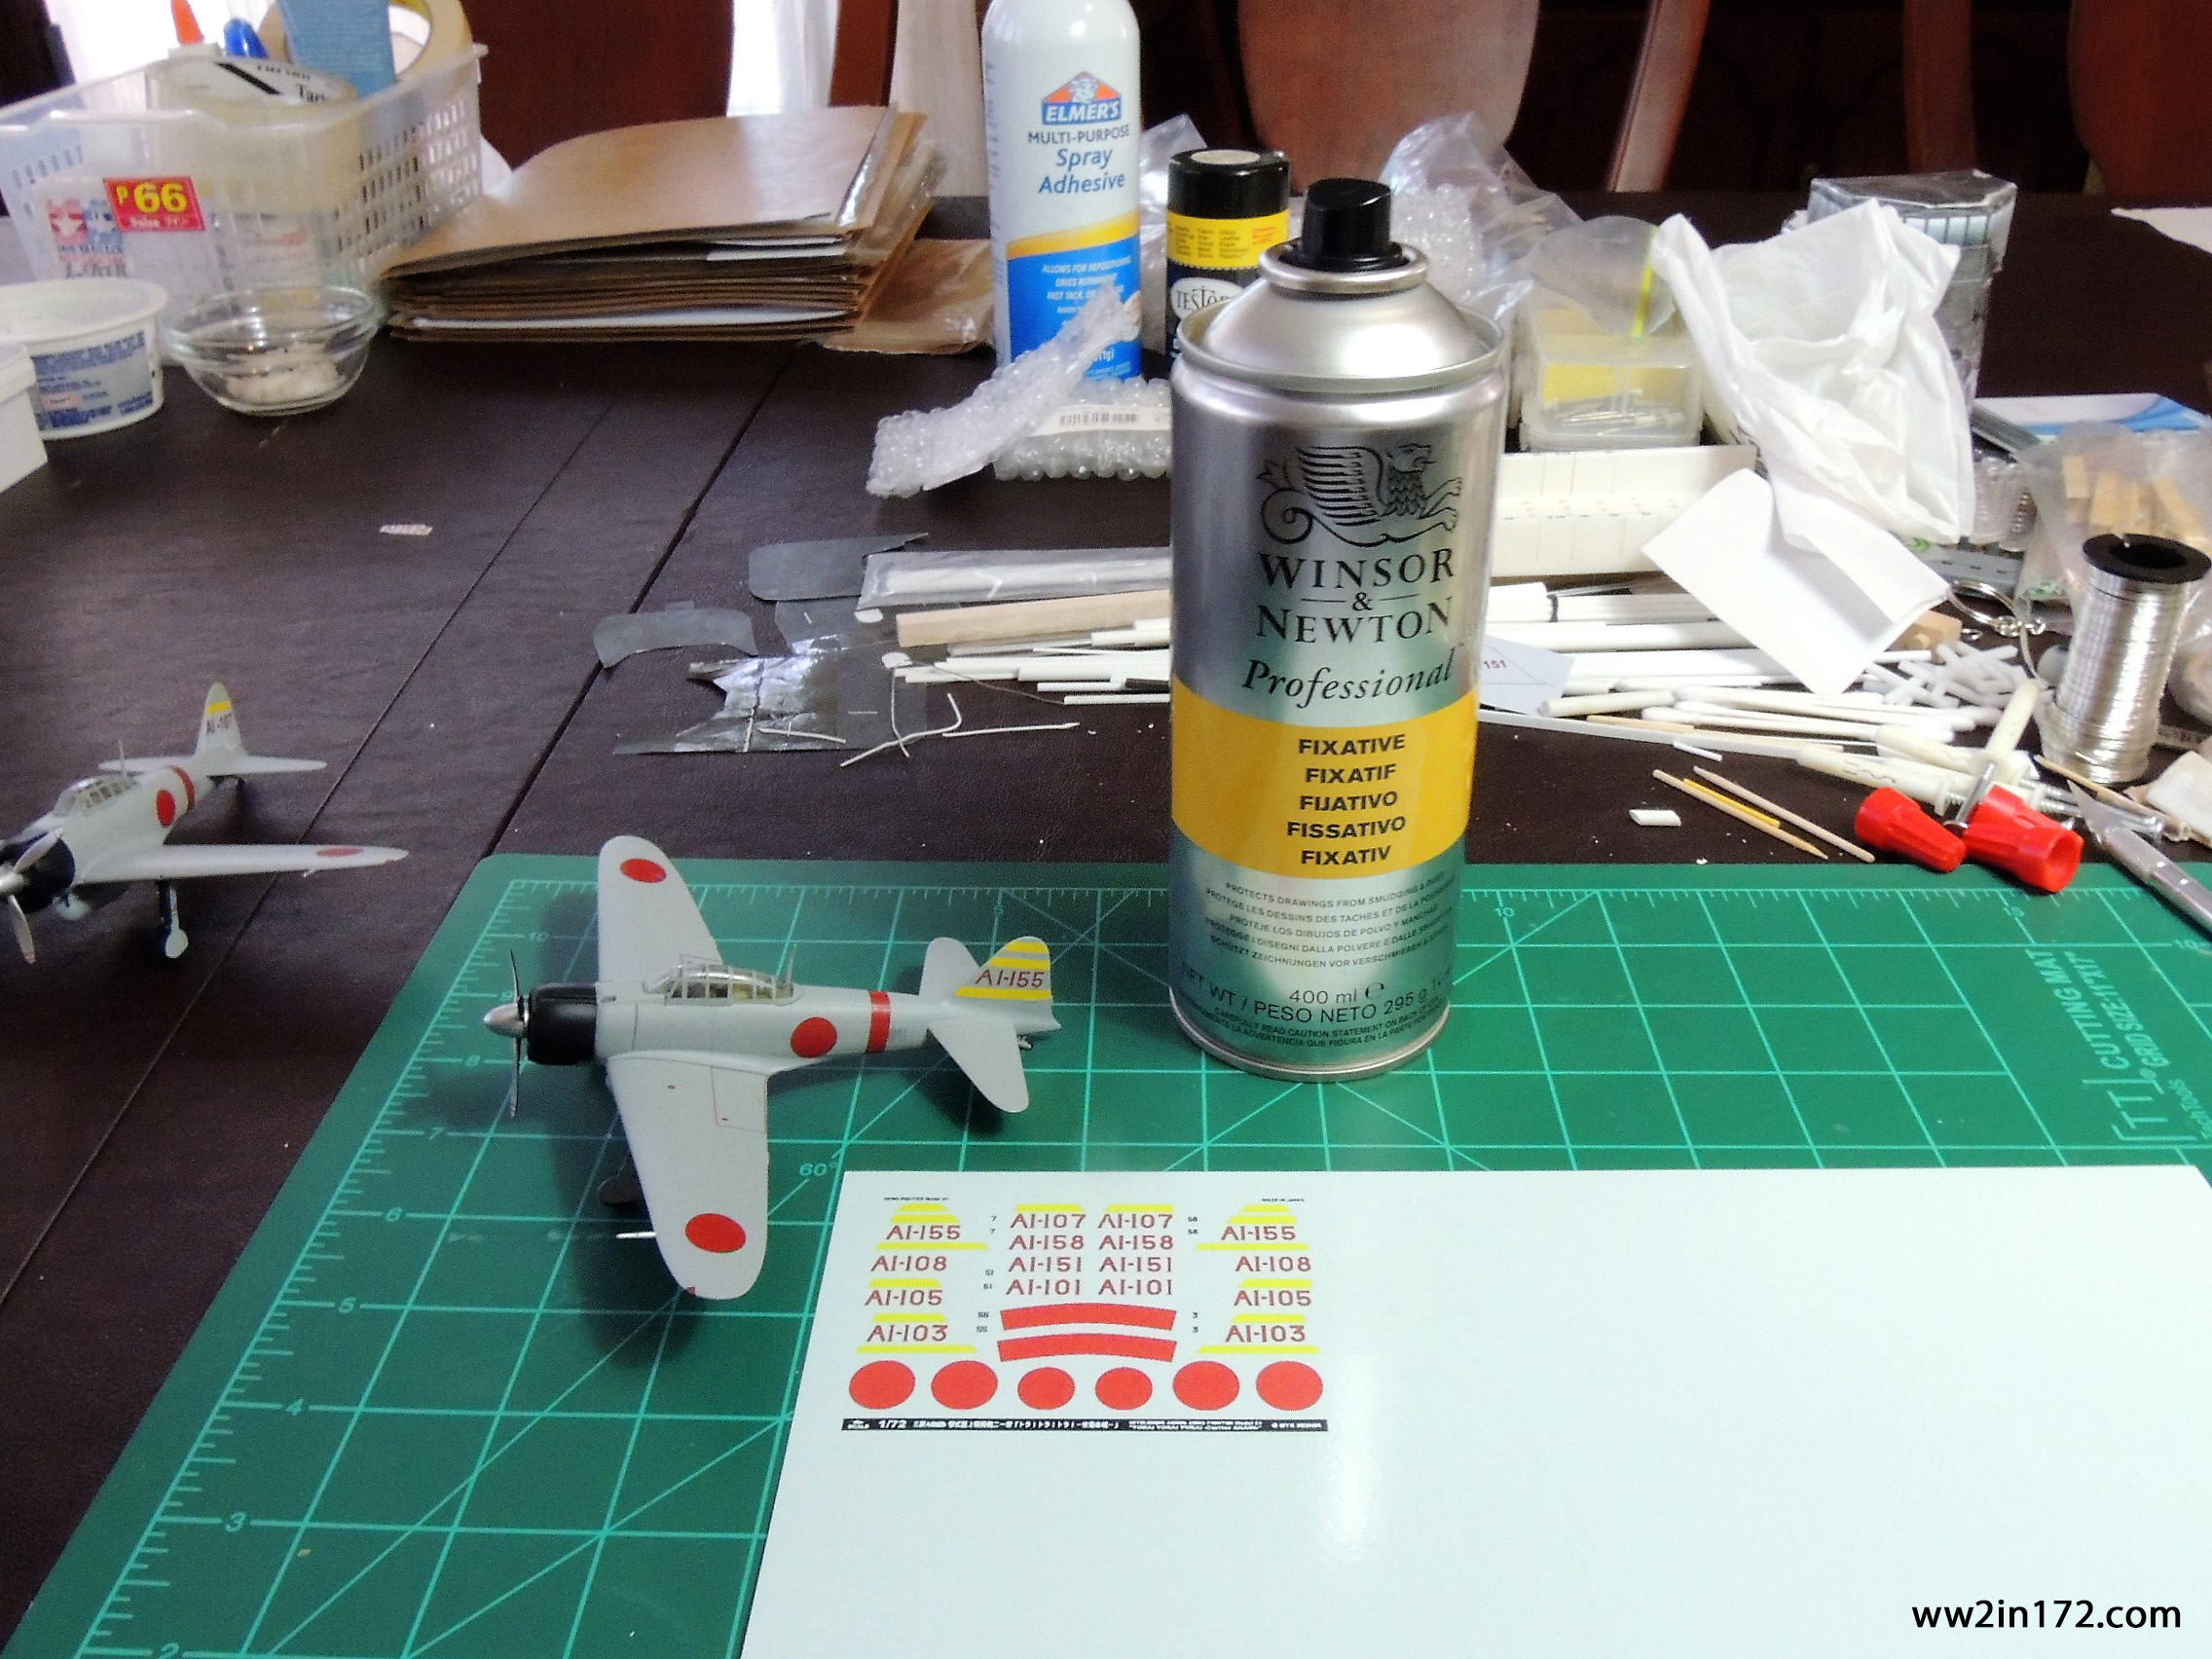
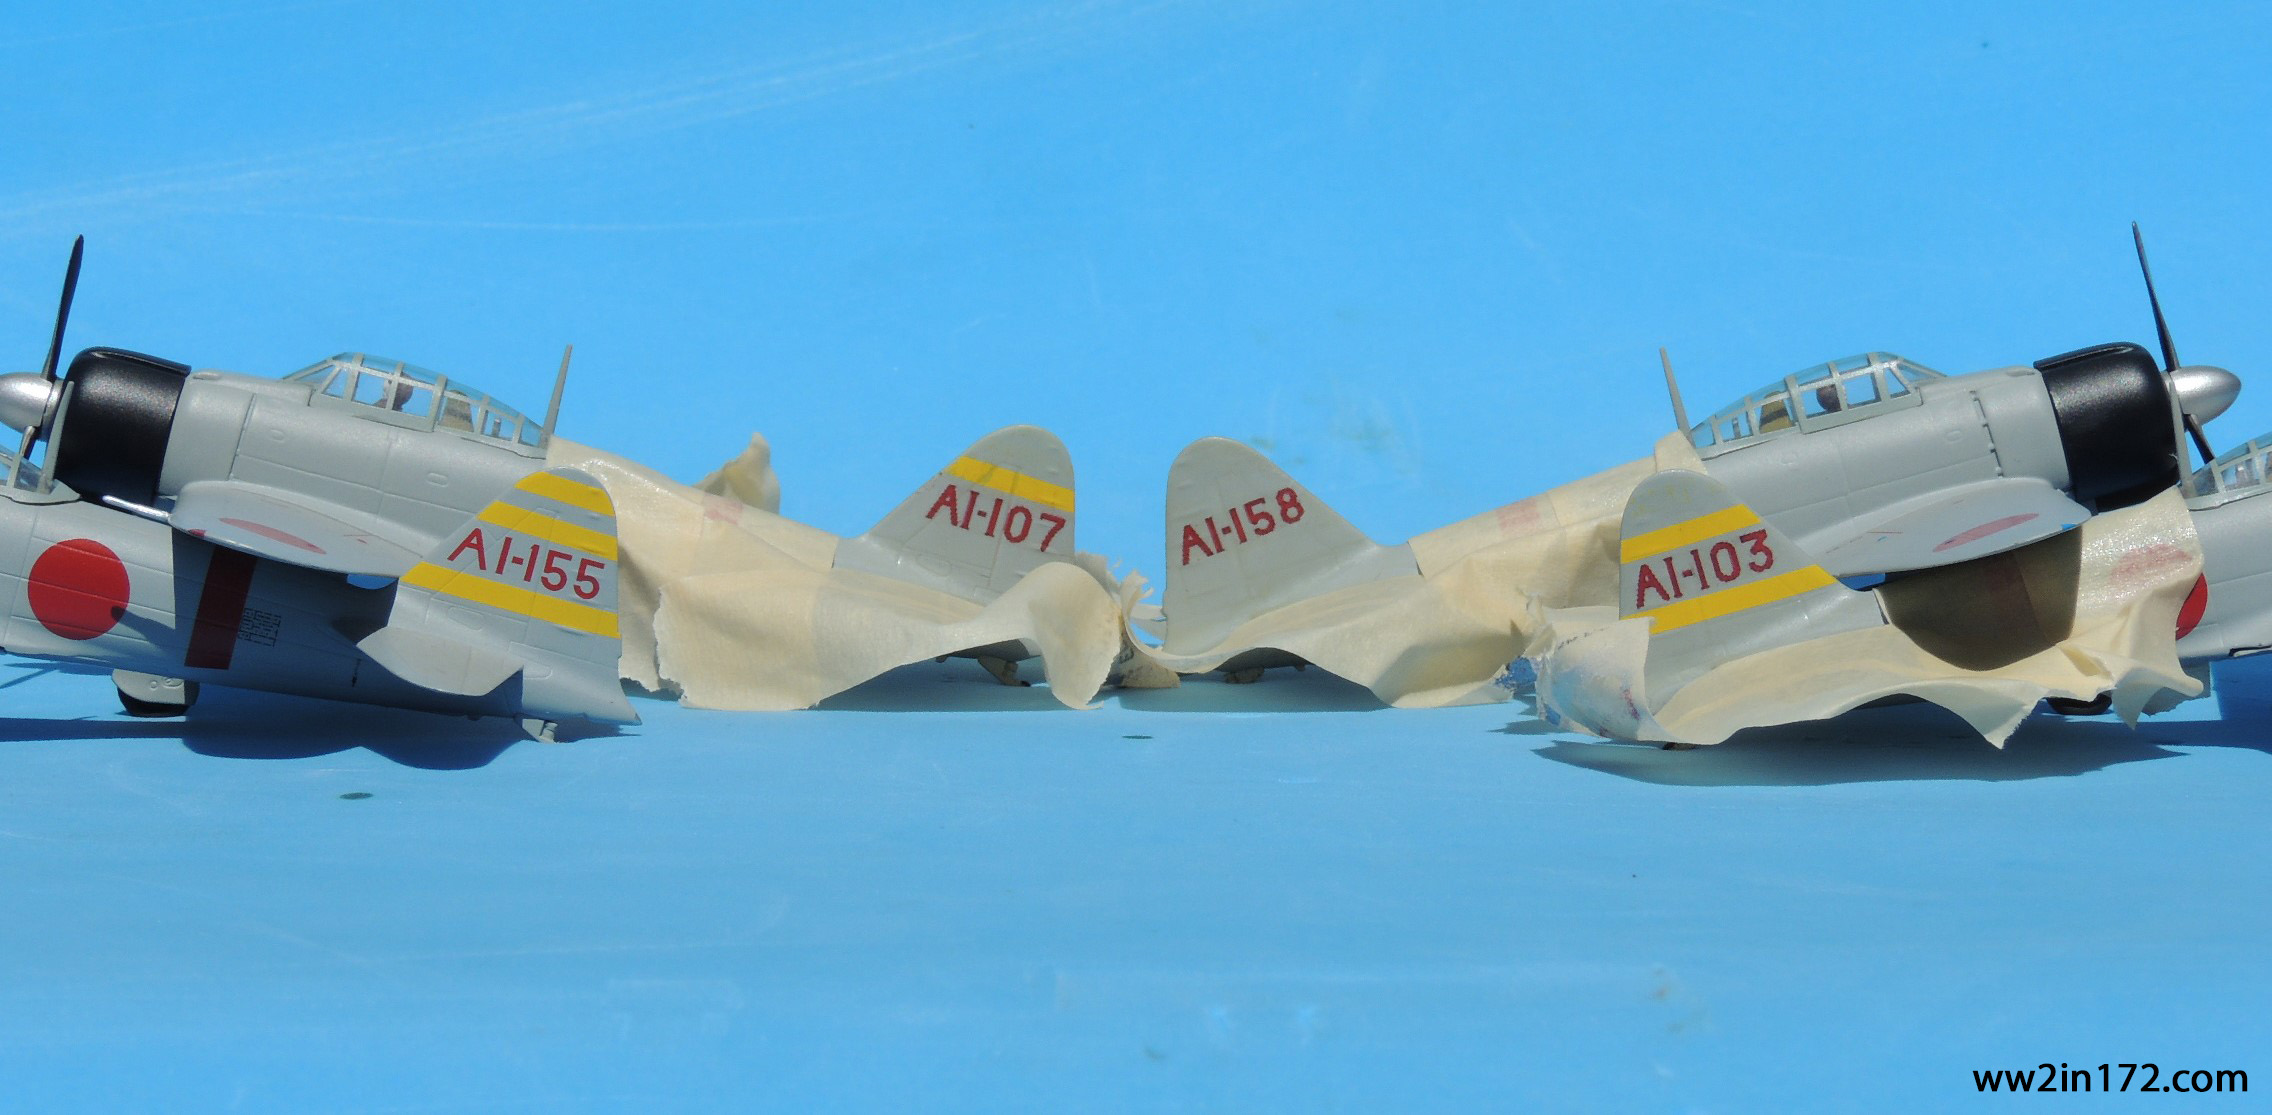
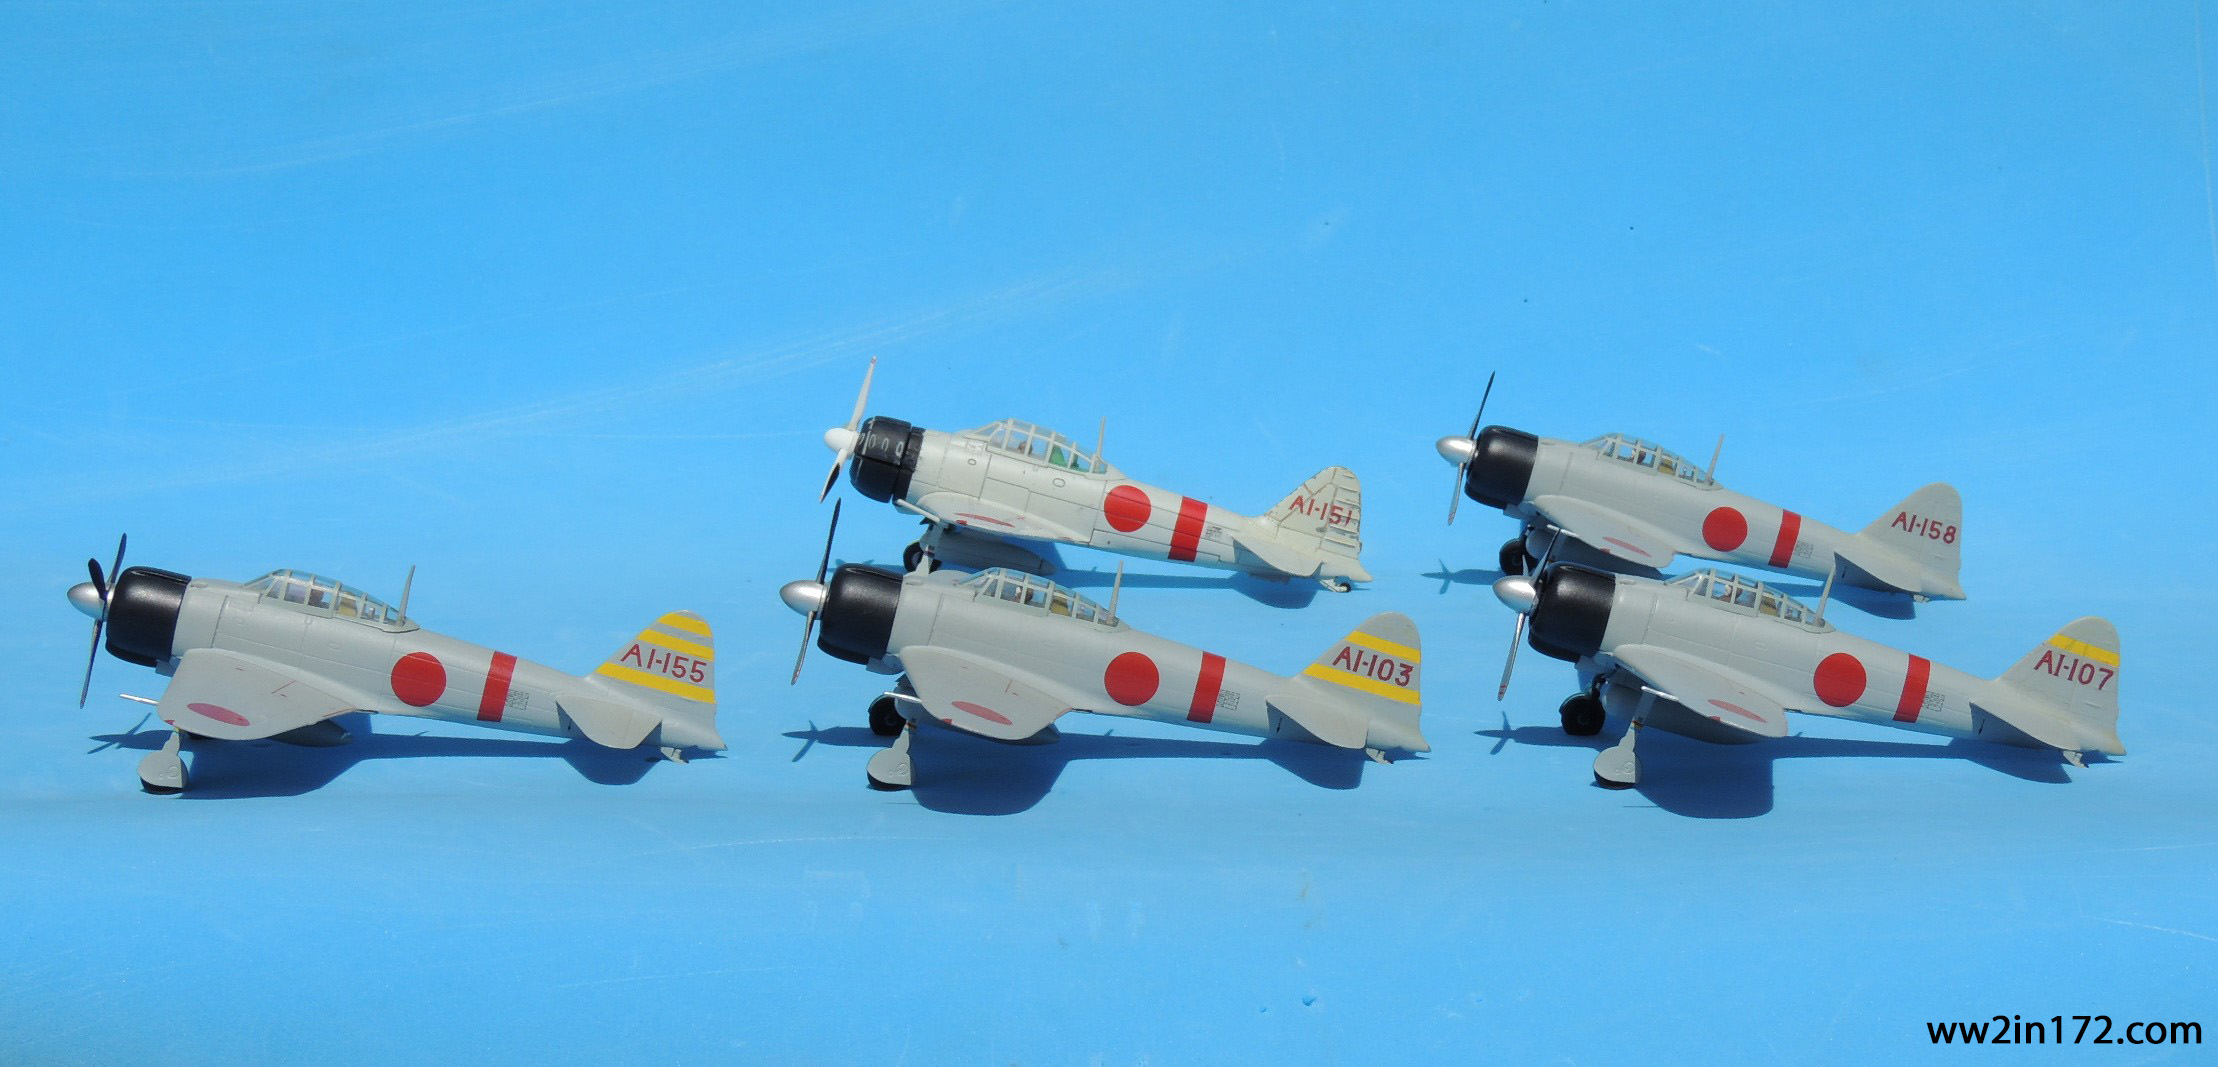
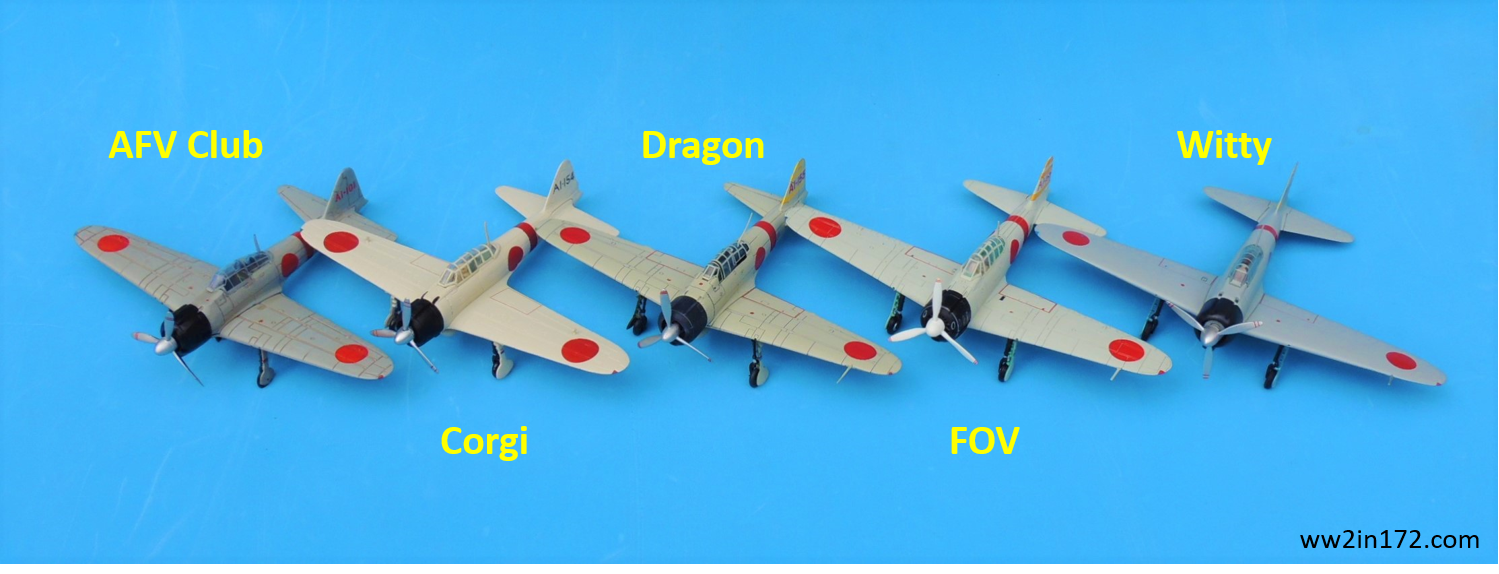
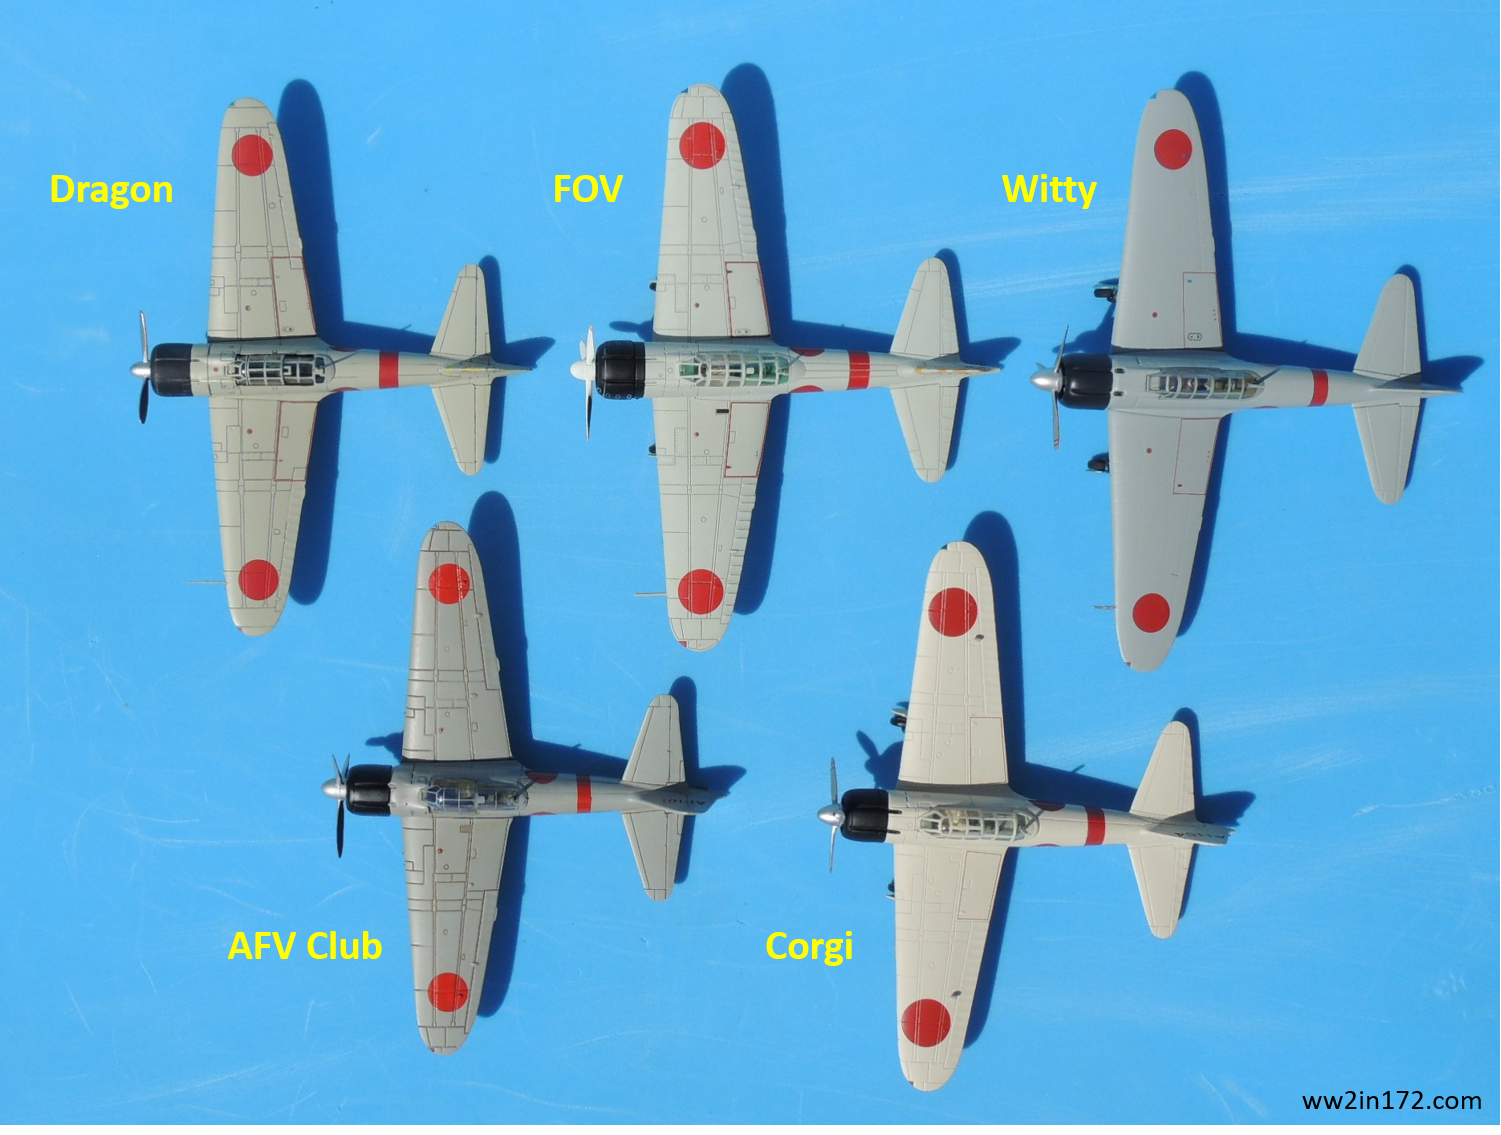
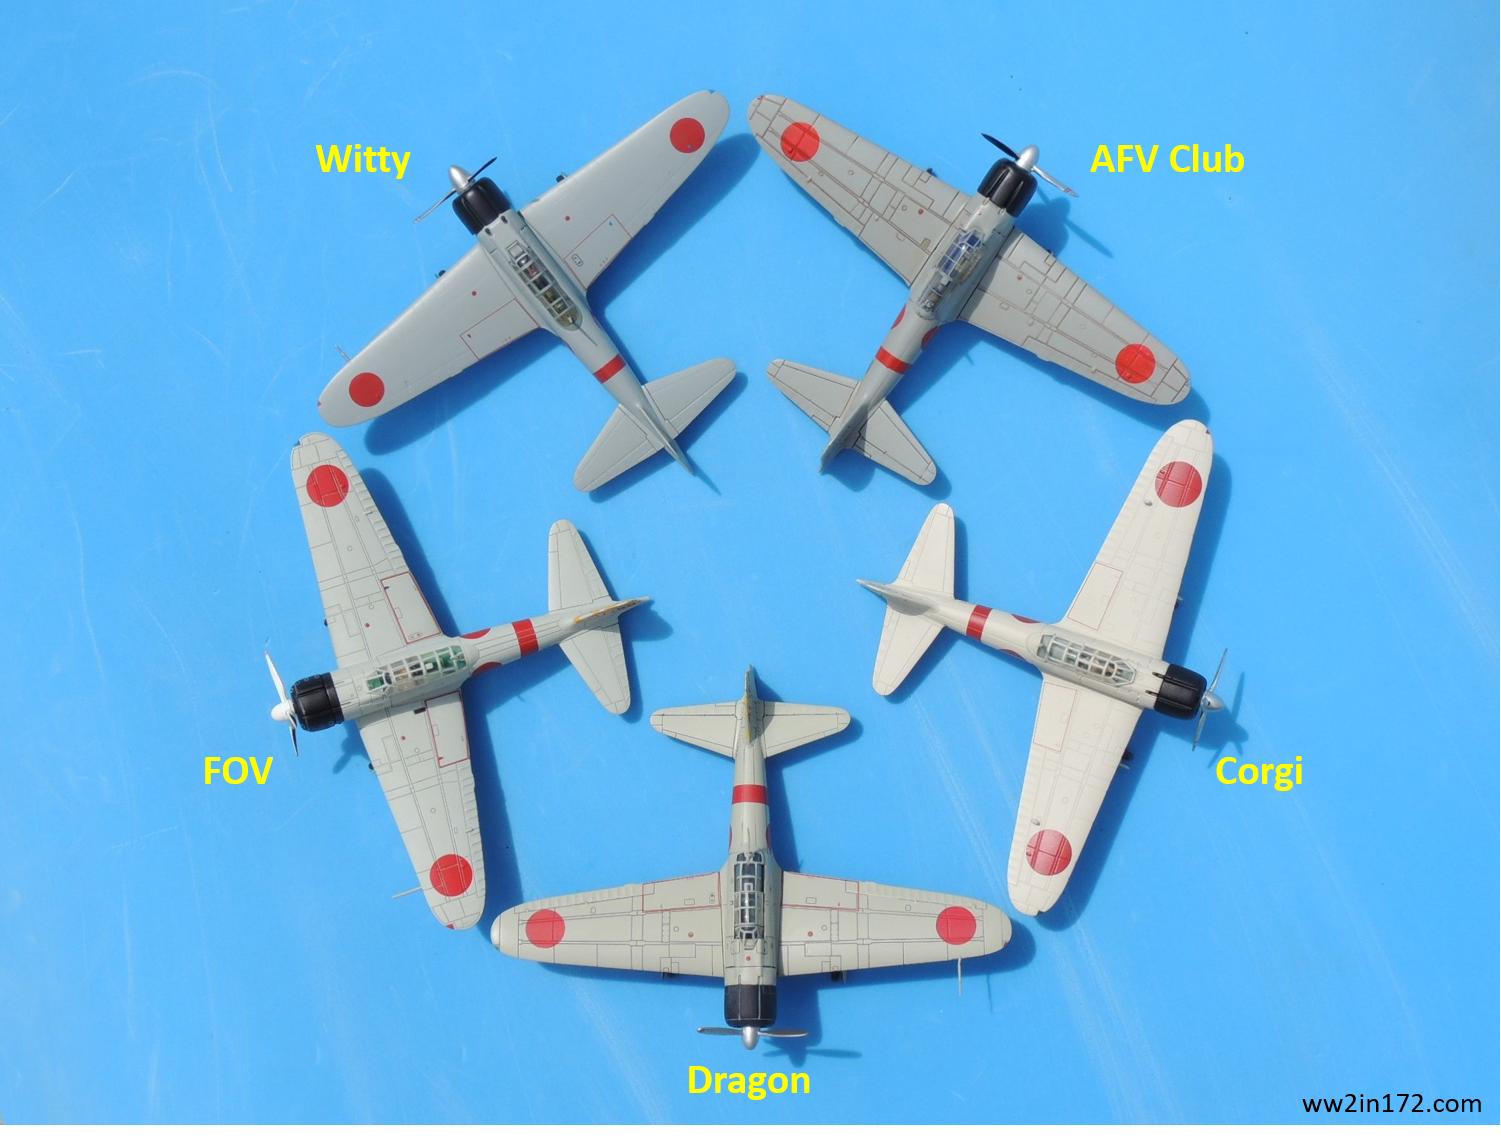
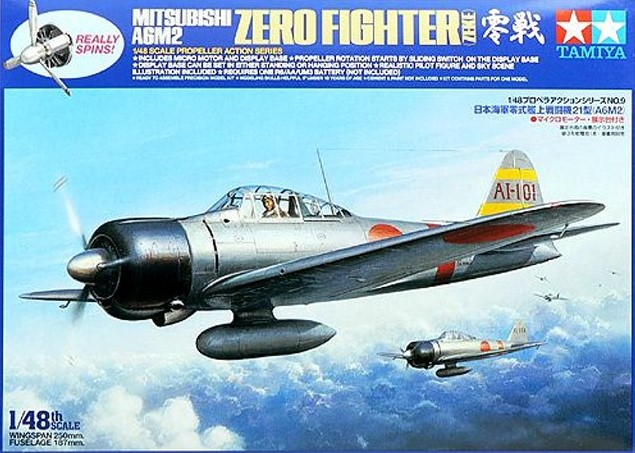
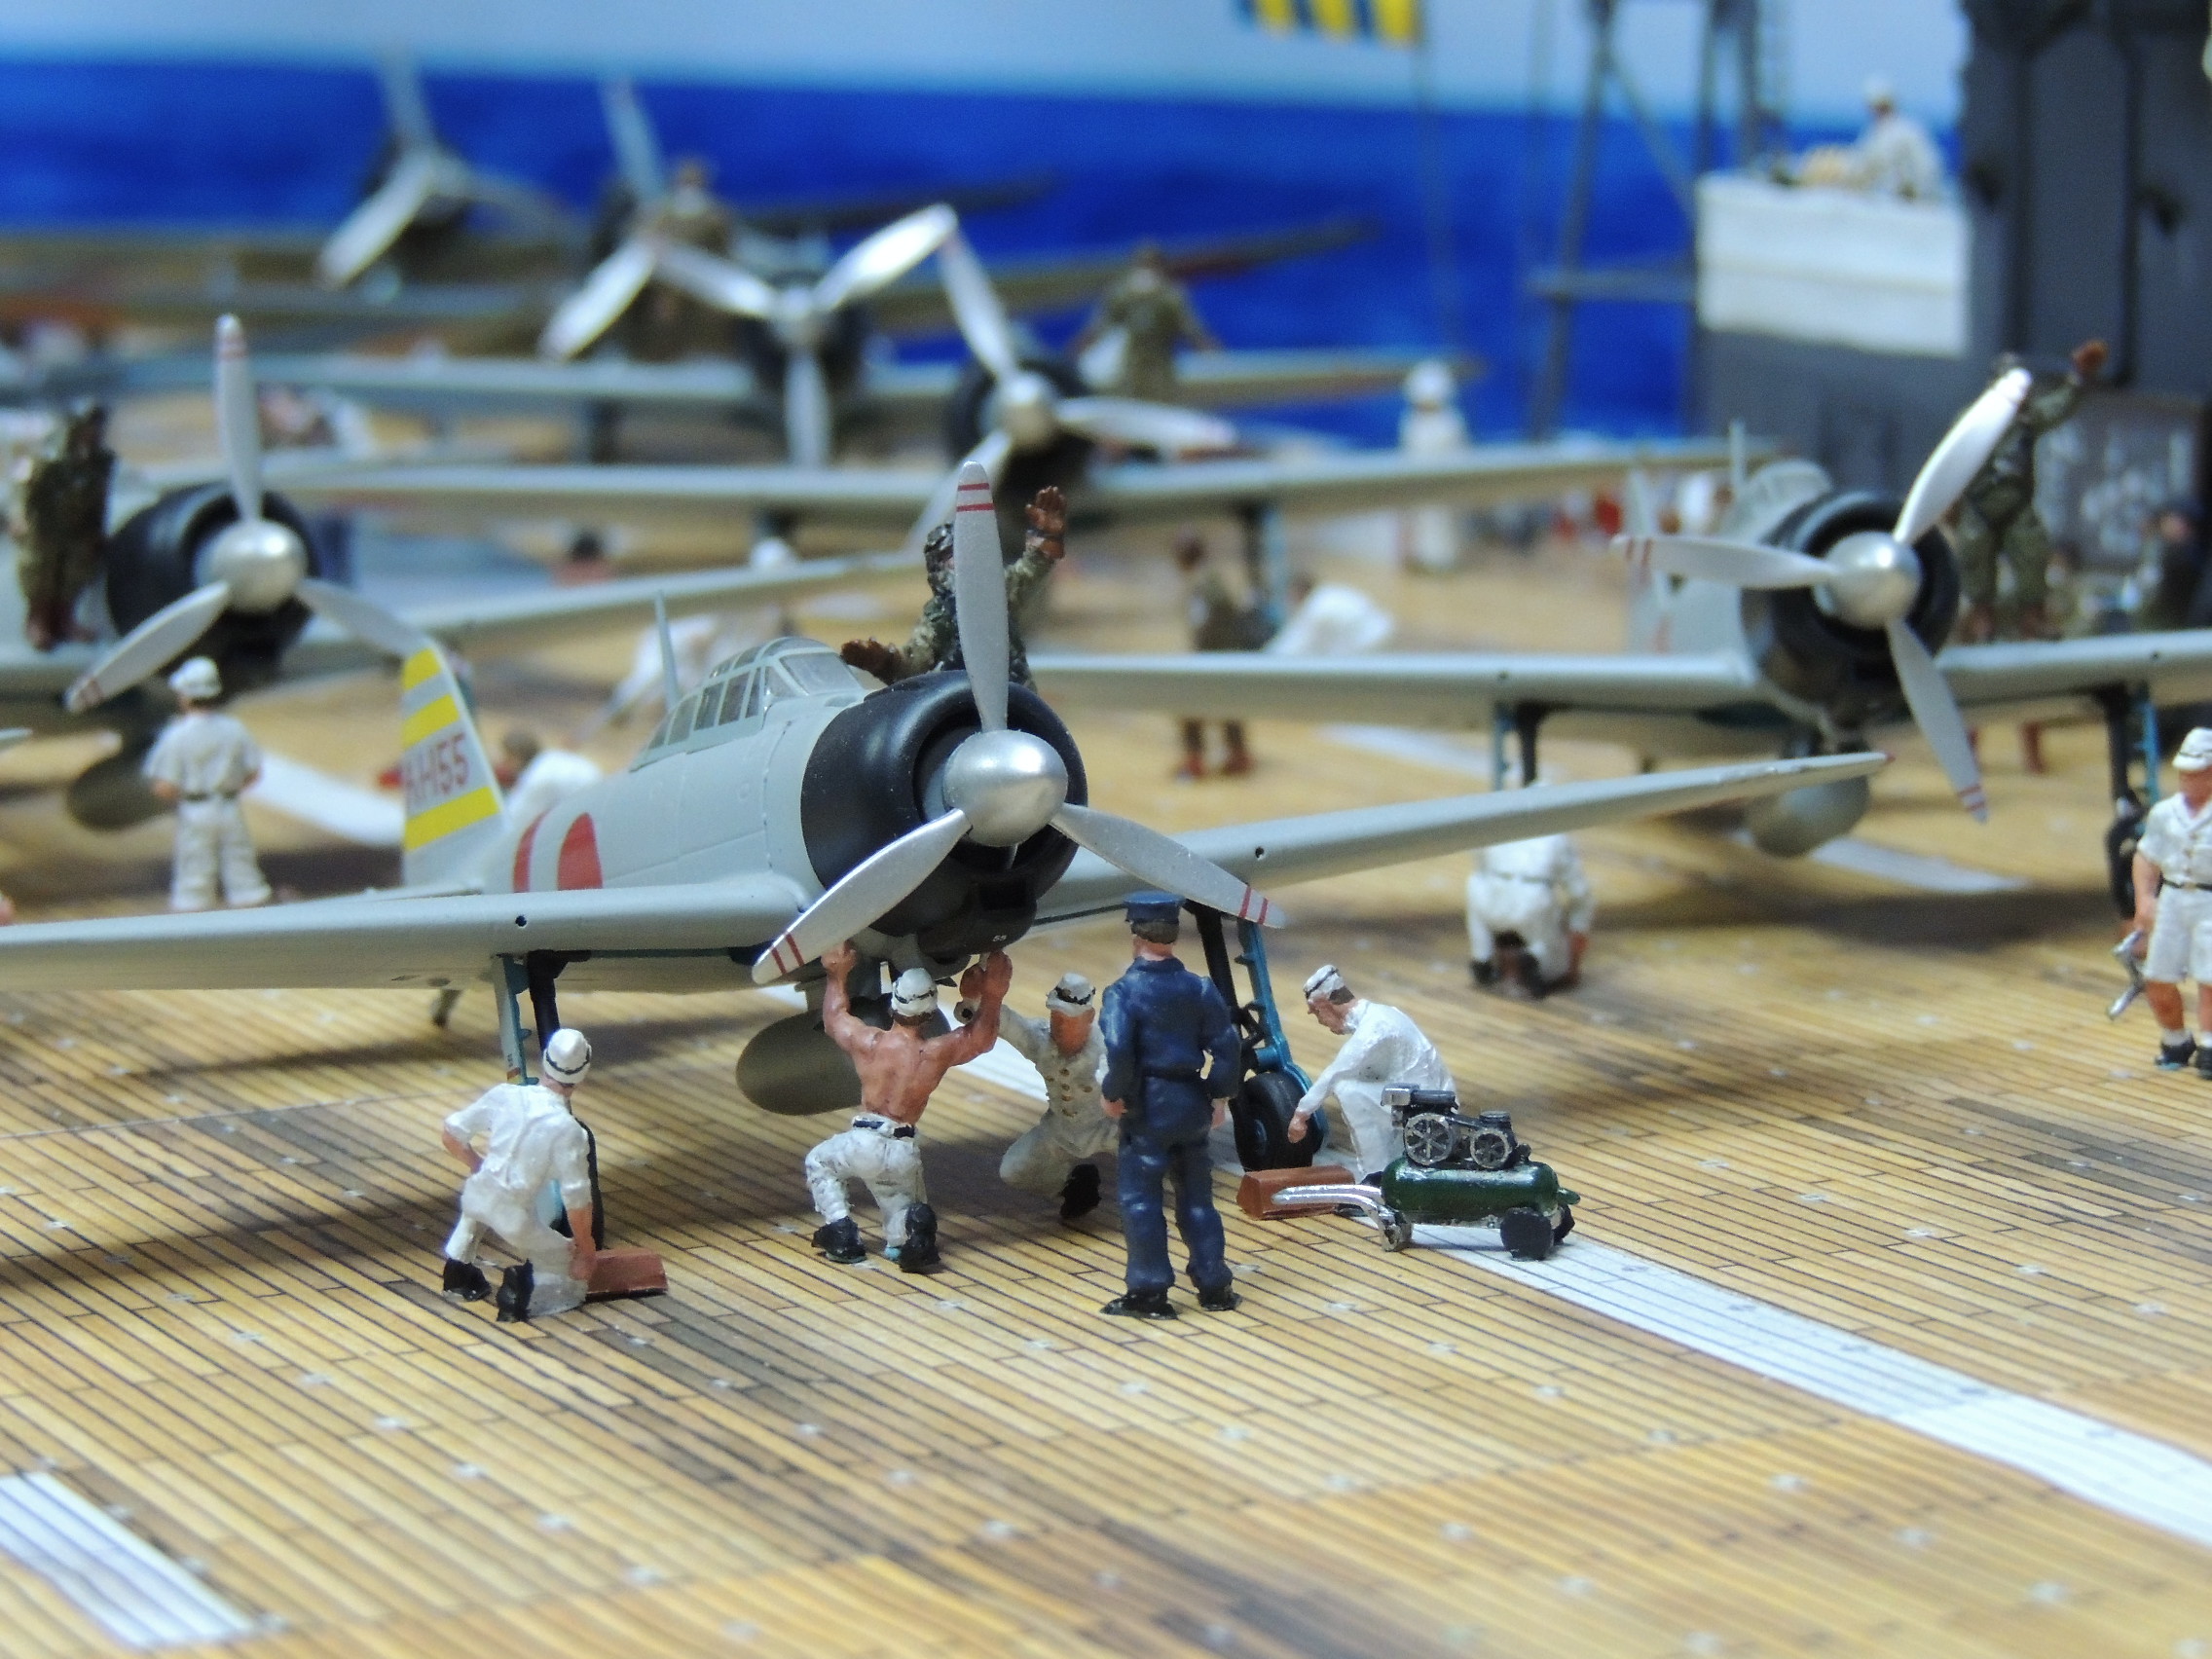
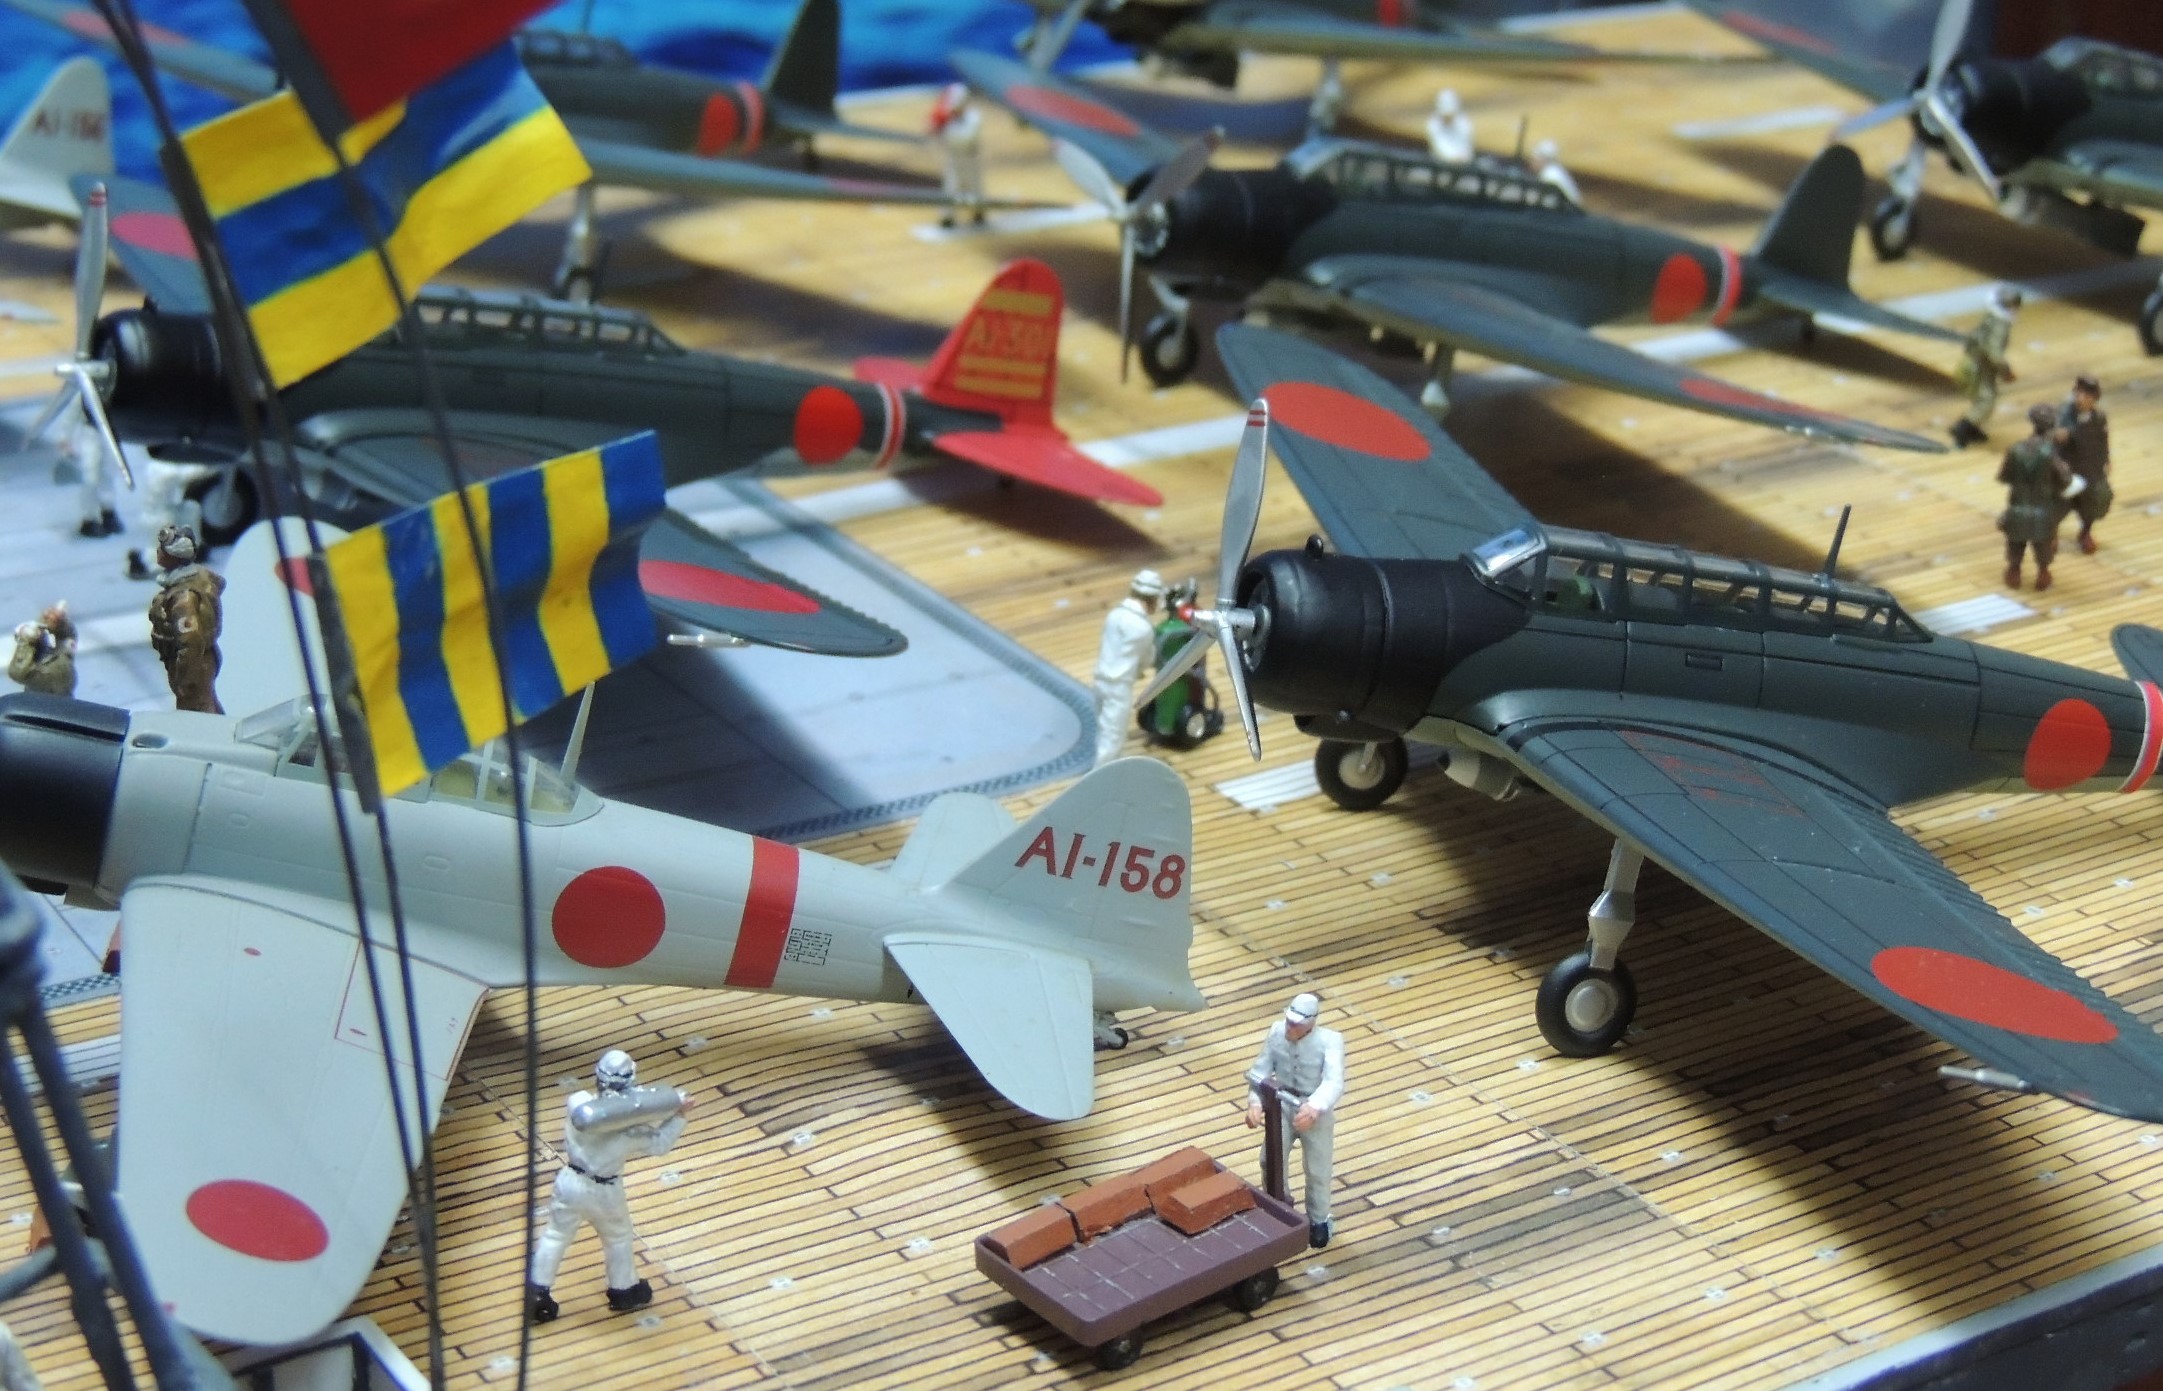
- The Zeros came from different die-cast companies and looked odd as the shades were slightly different and the Akagi’s red recognition bands at the rear of the fuselage were different widths;
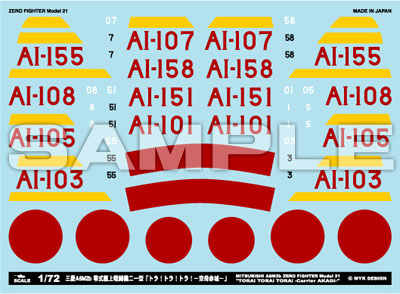
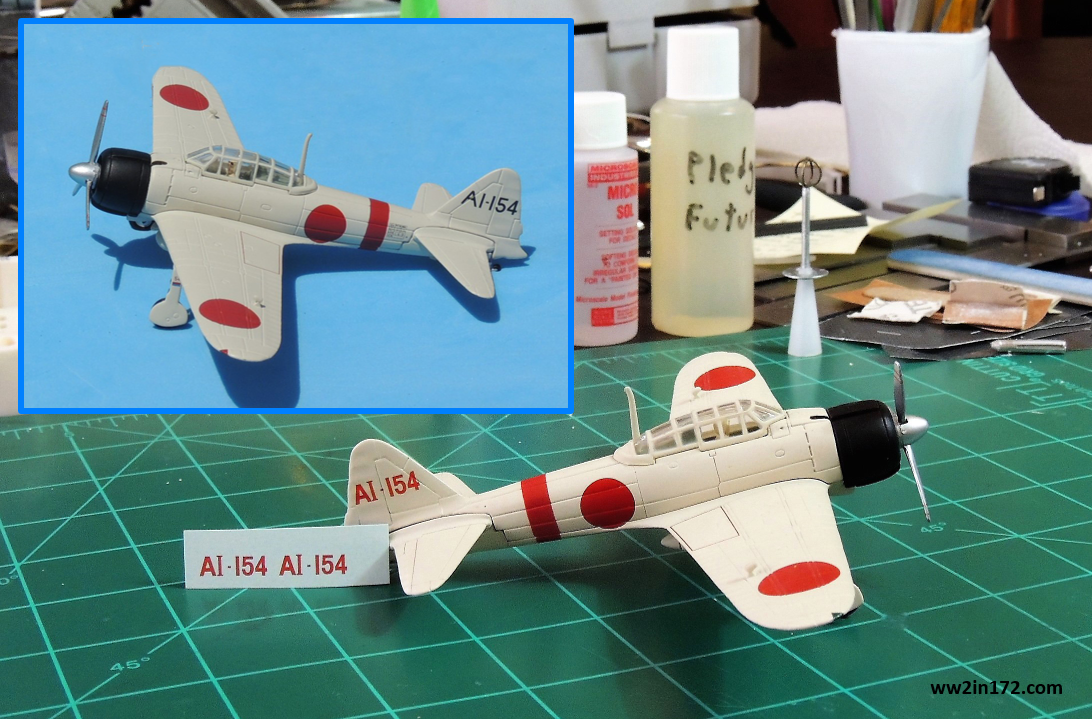
- The tail numbers on three of the Zeros were not decaled and looked shoddy;
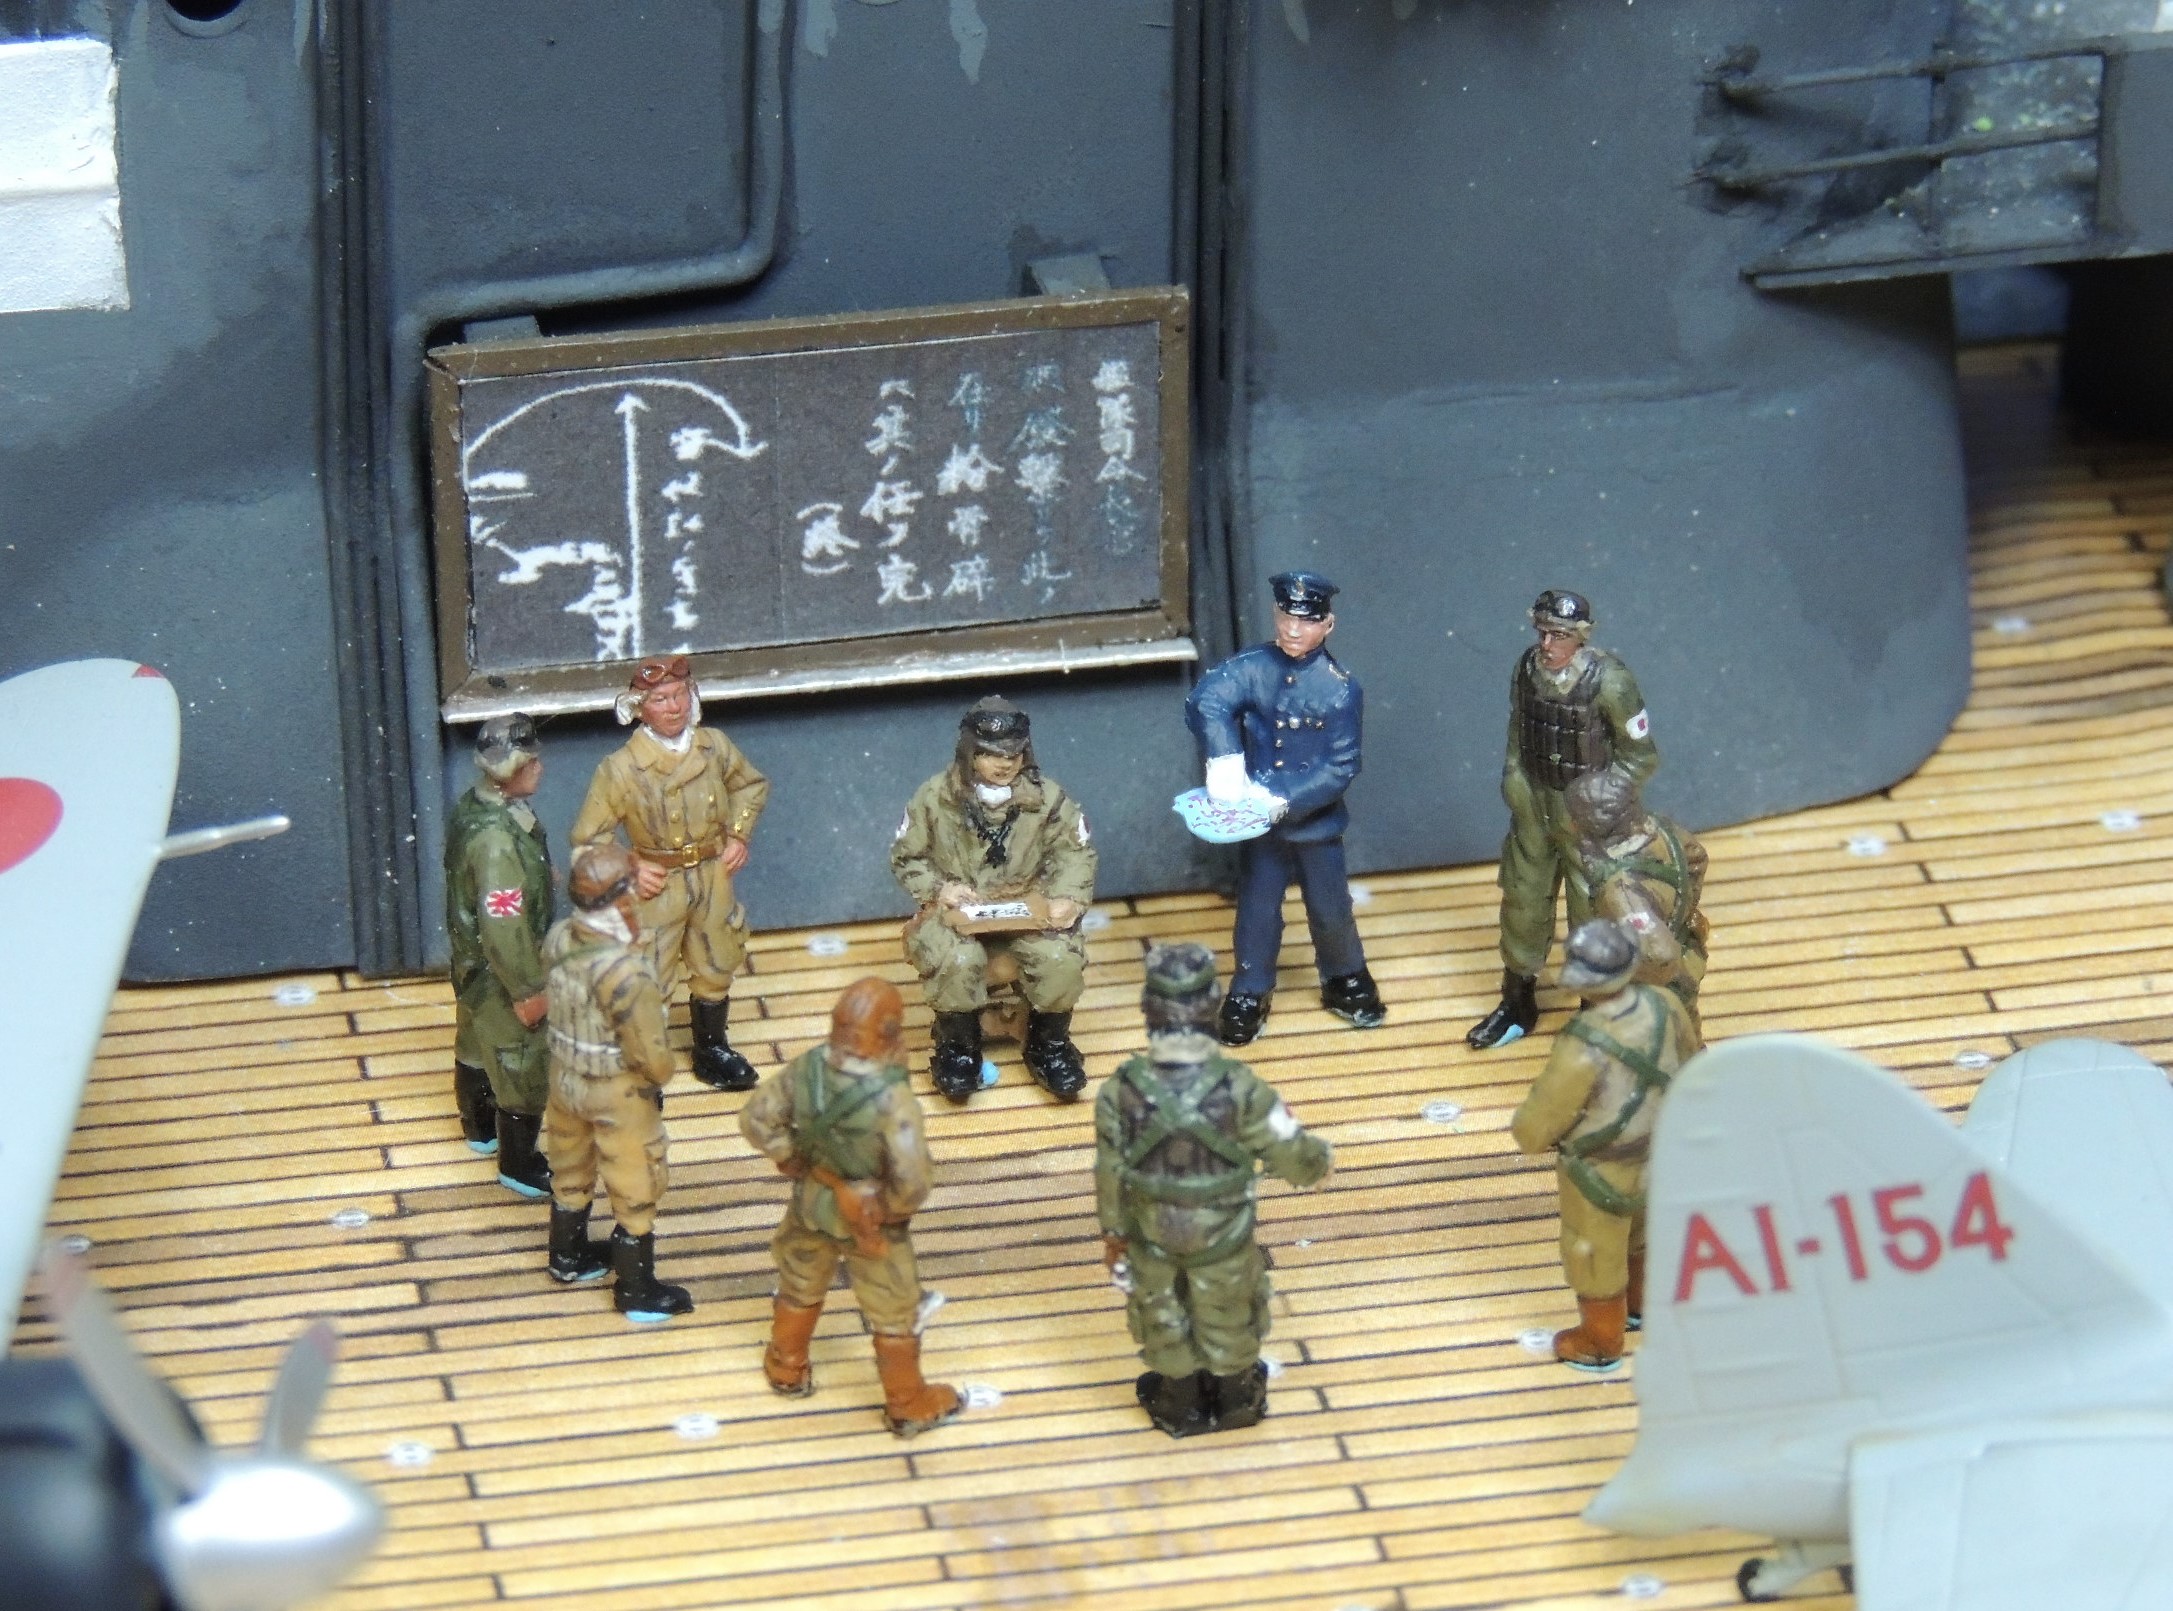
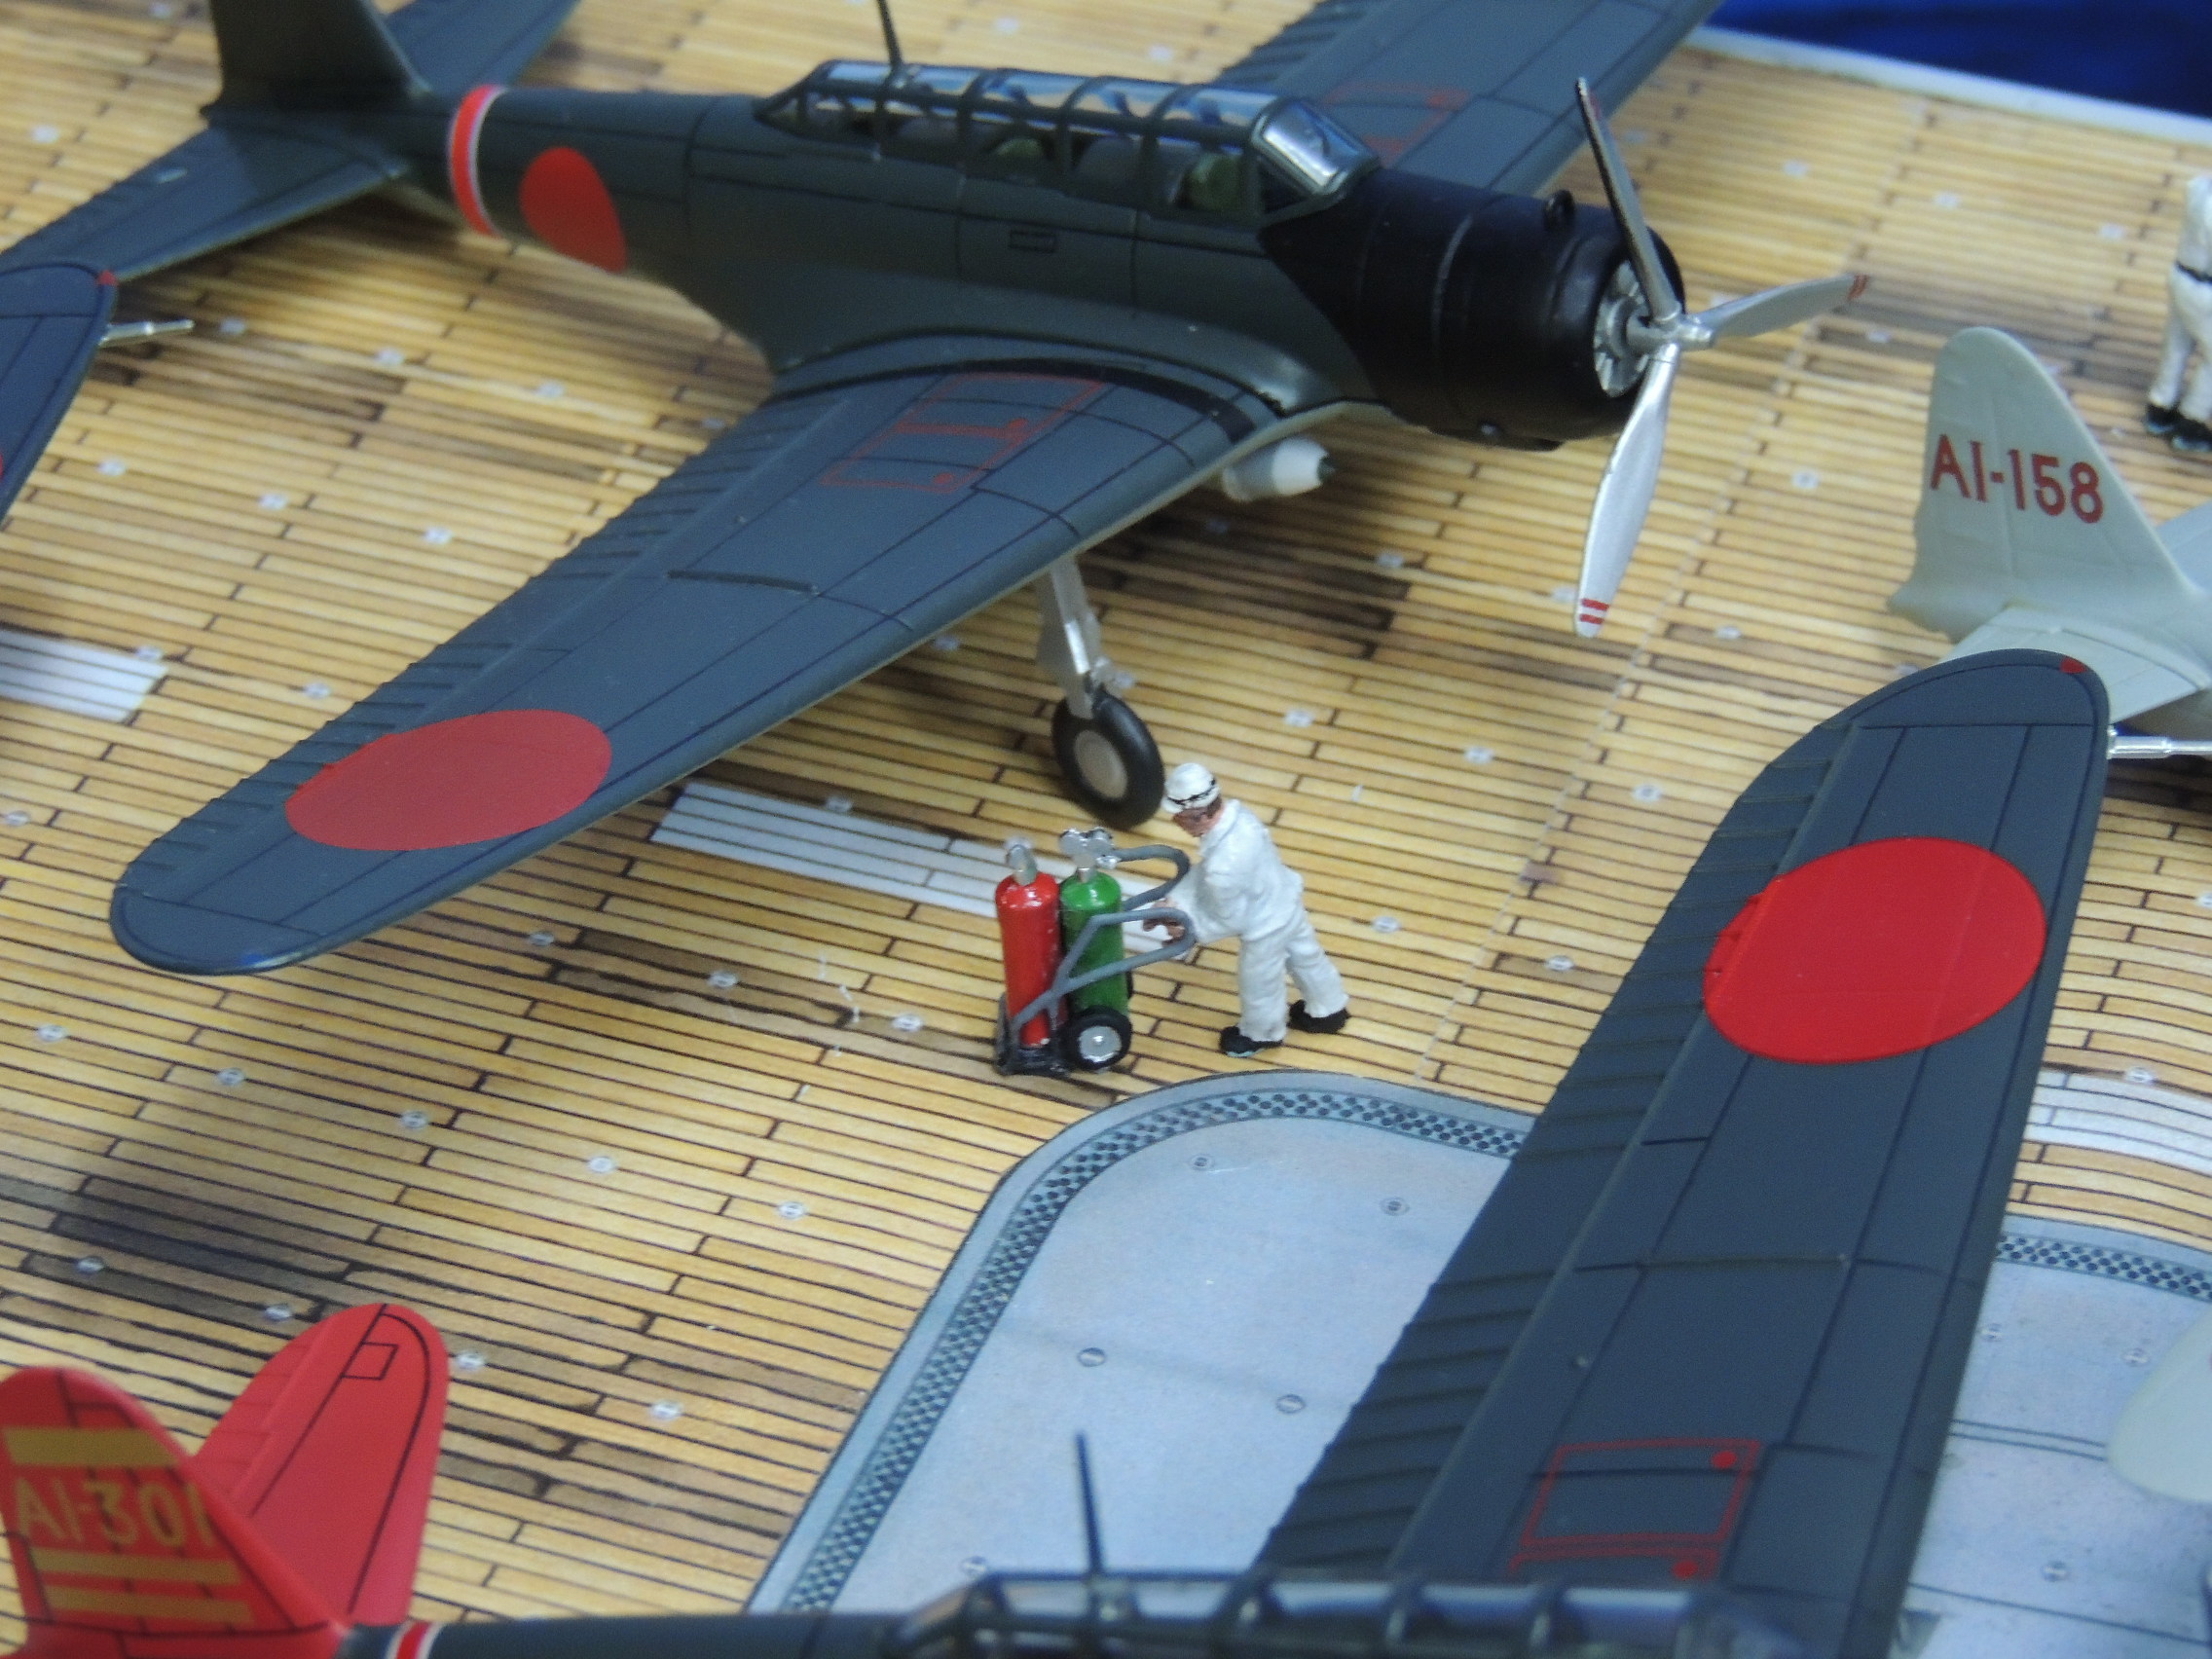
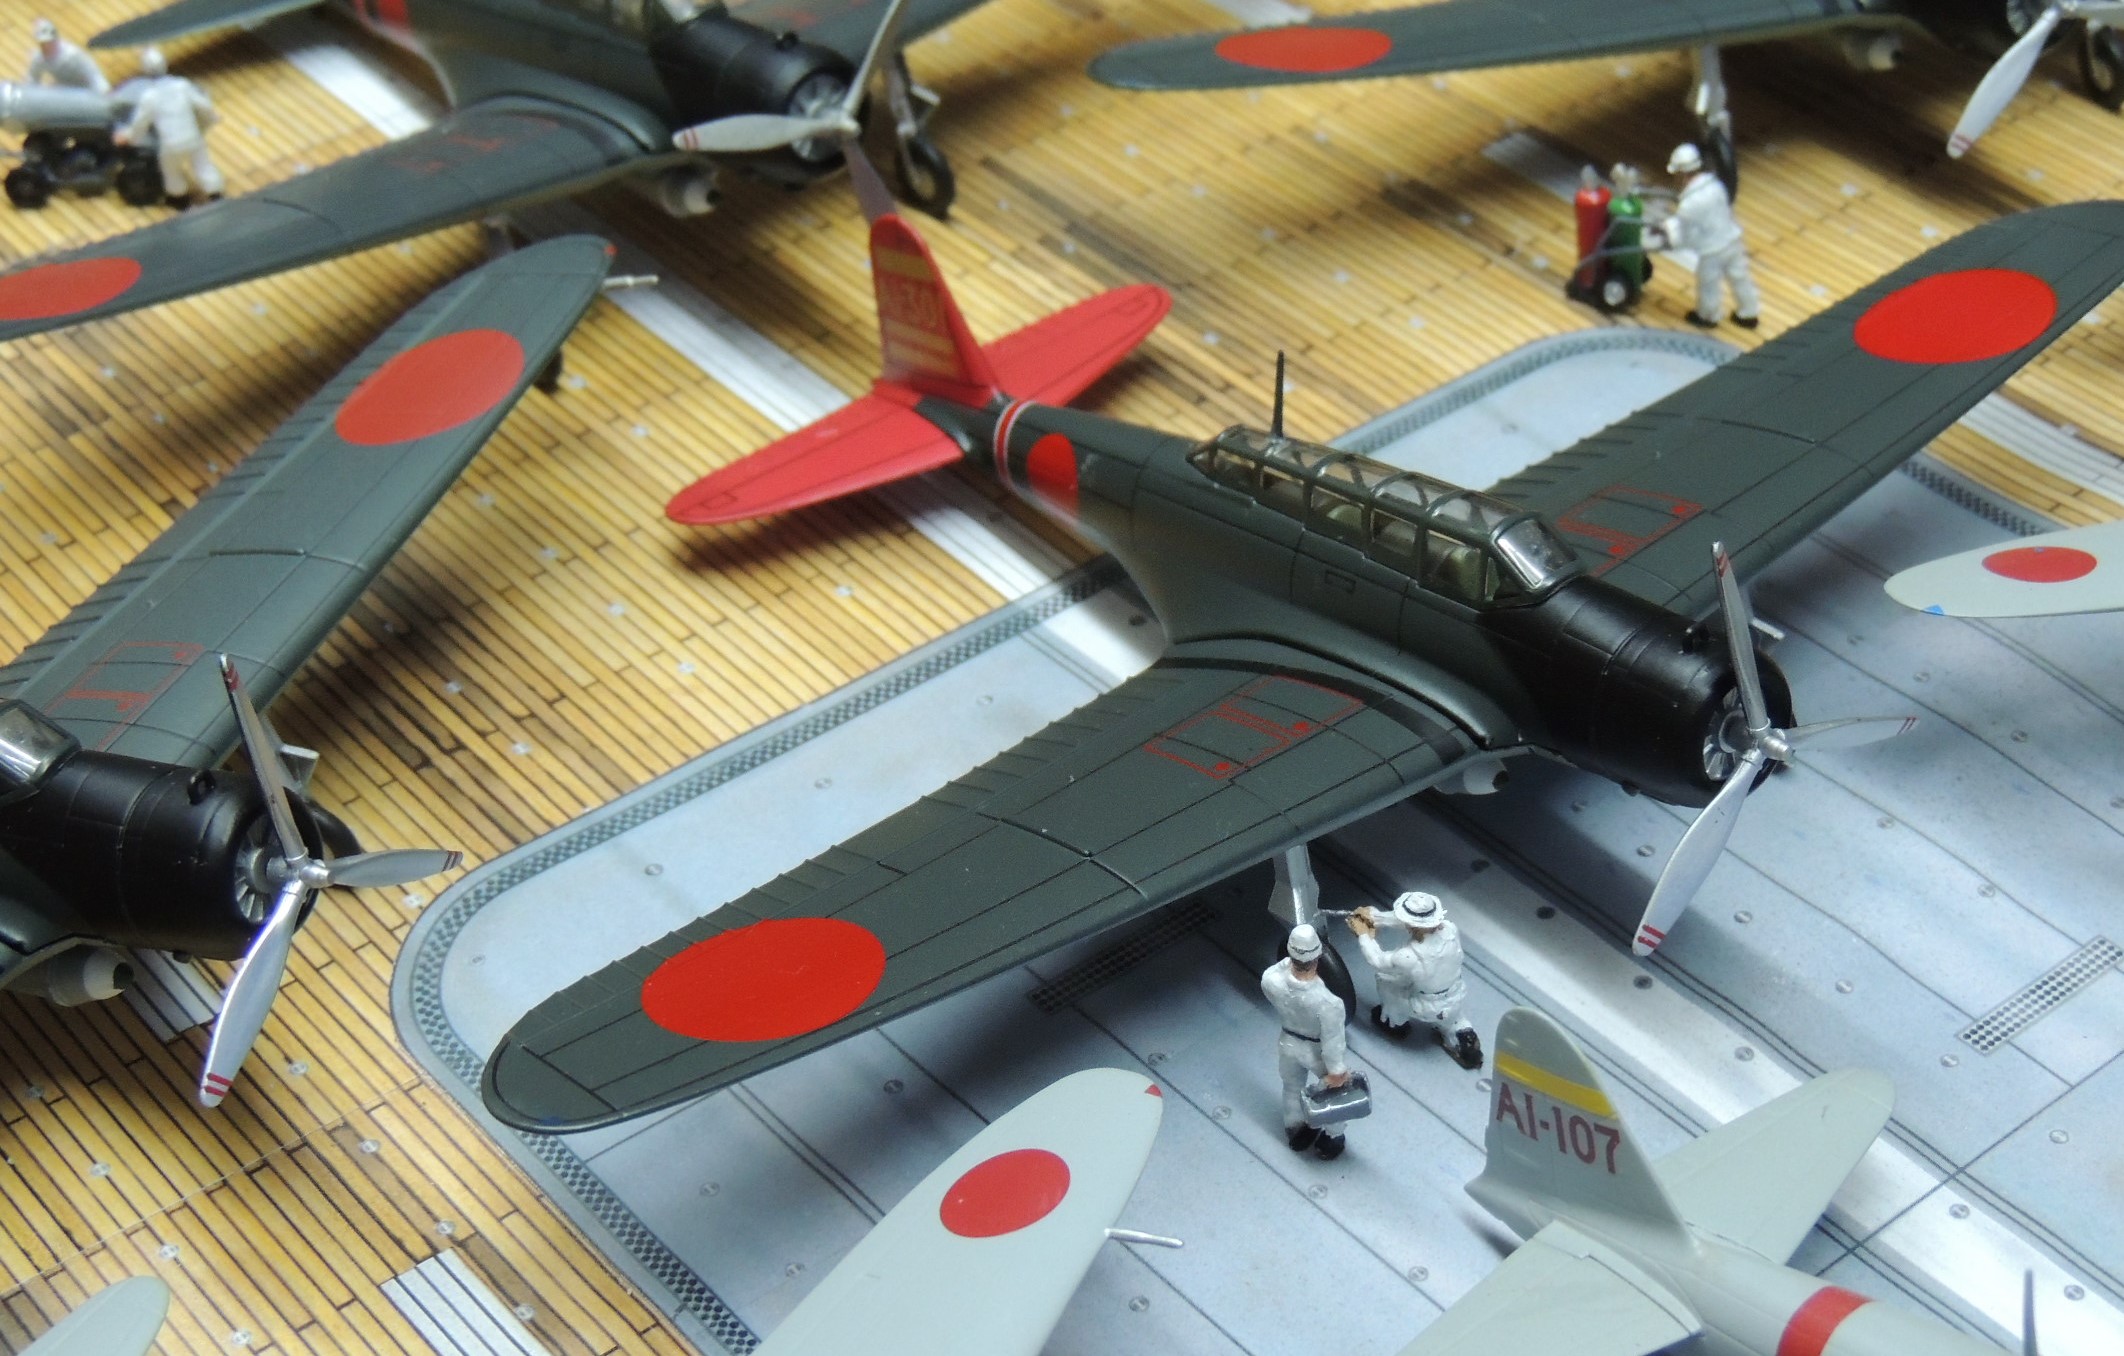
- One Kate — even if that Kate was Fuchida’s famous AI-301 — seemed insufficient for the occasion since there were 27 Kates but only nine Zeros on the Akagi’s deck that day;
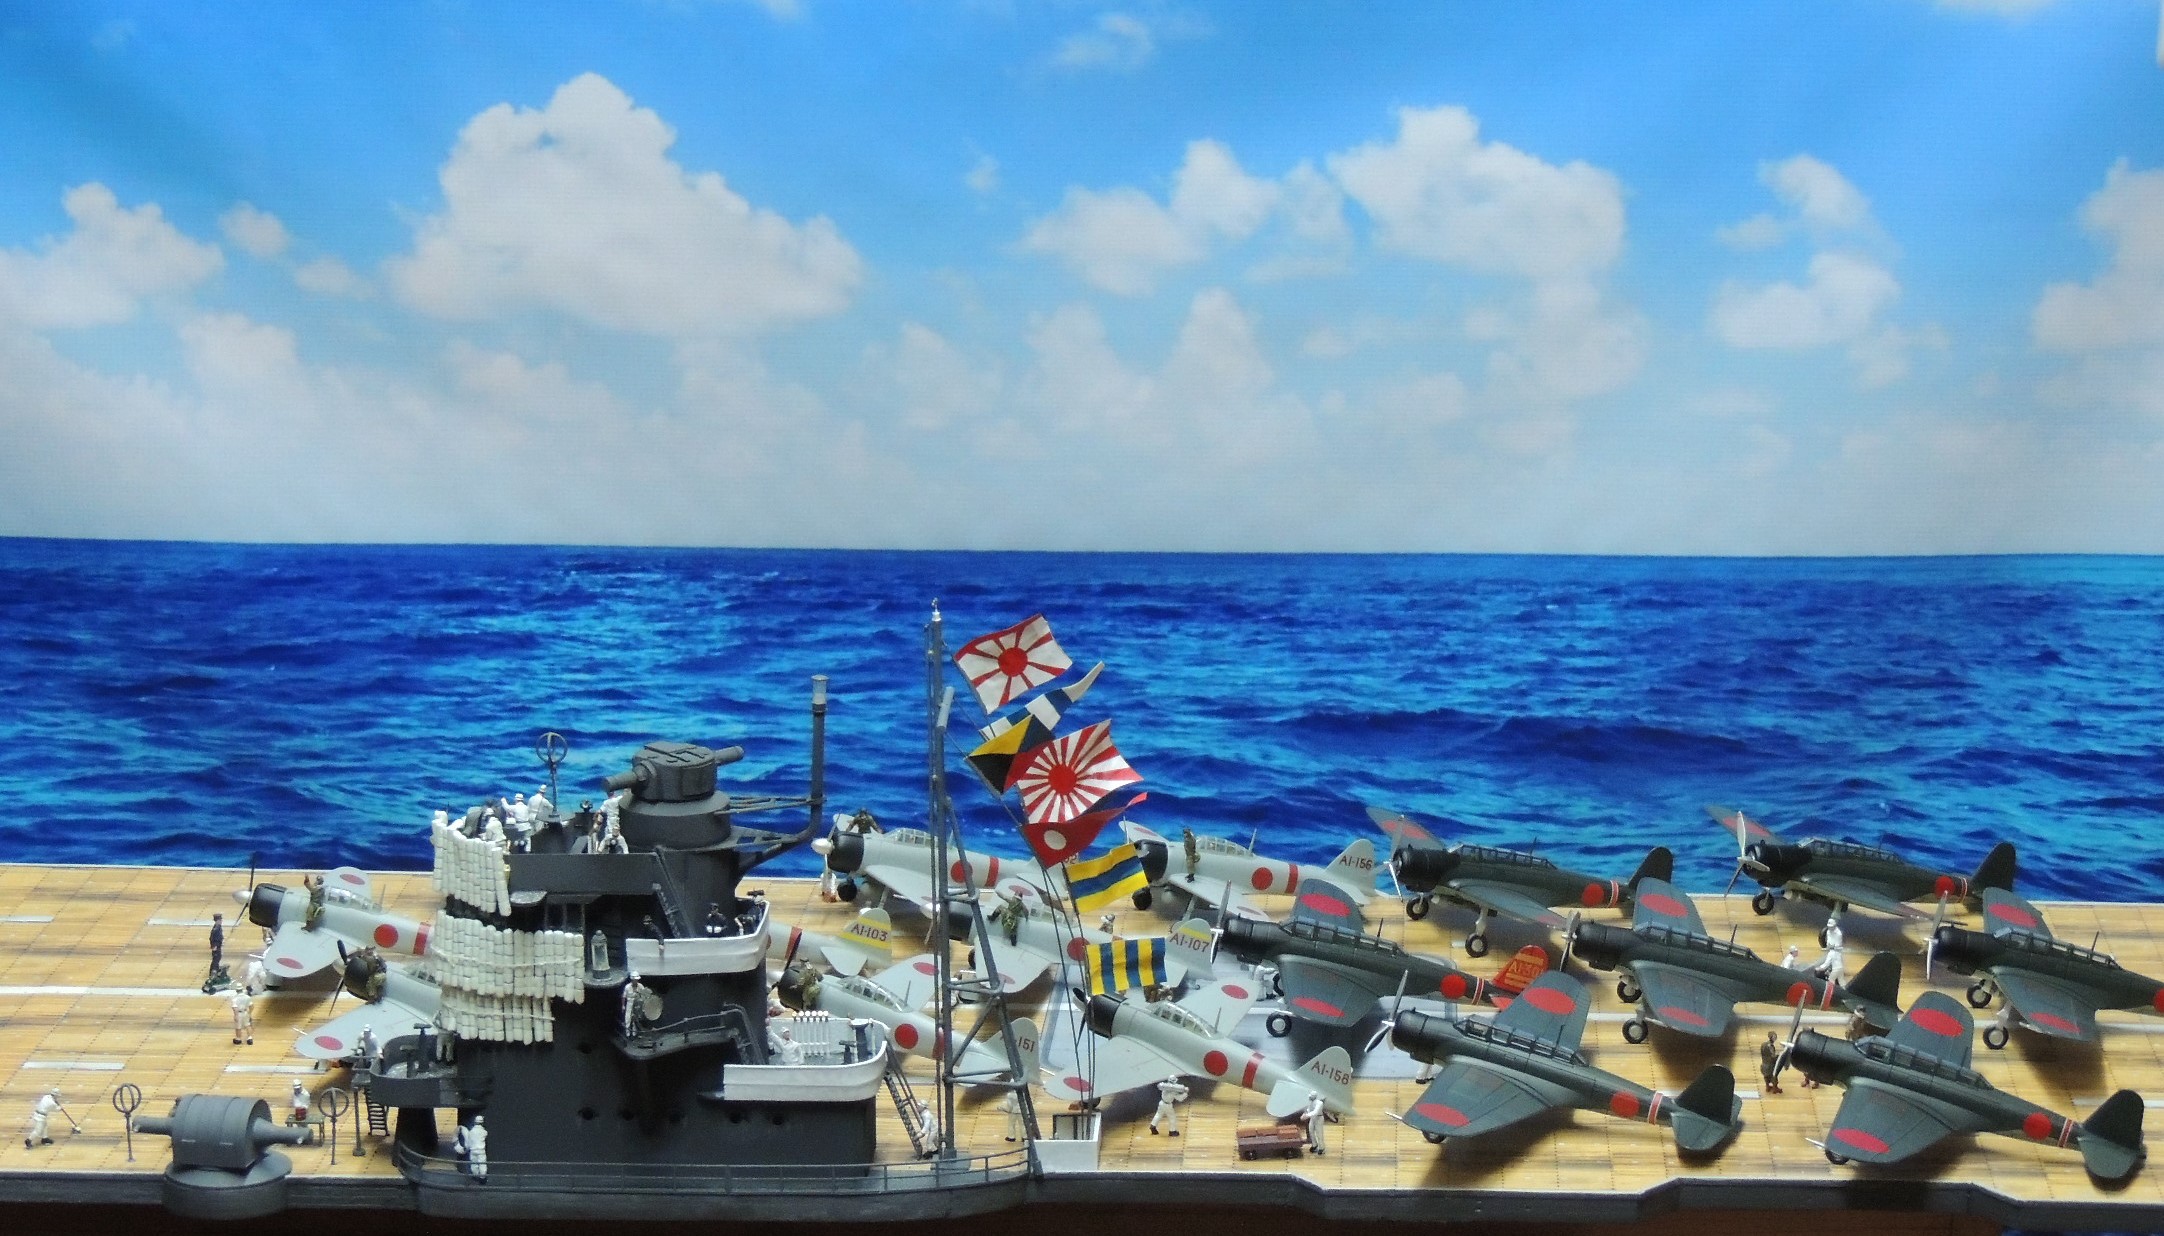
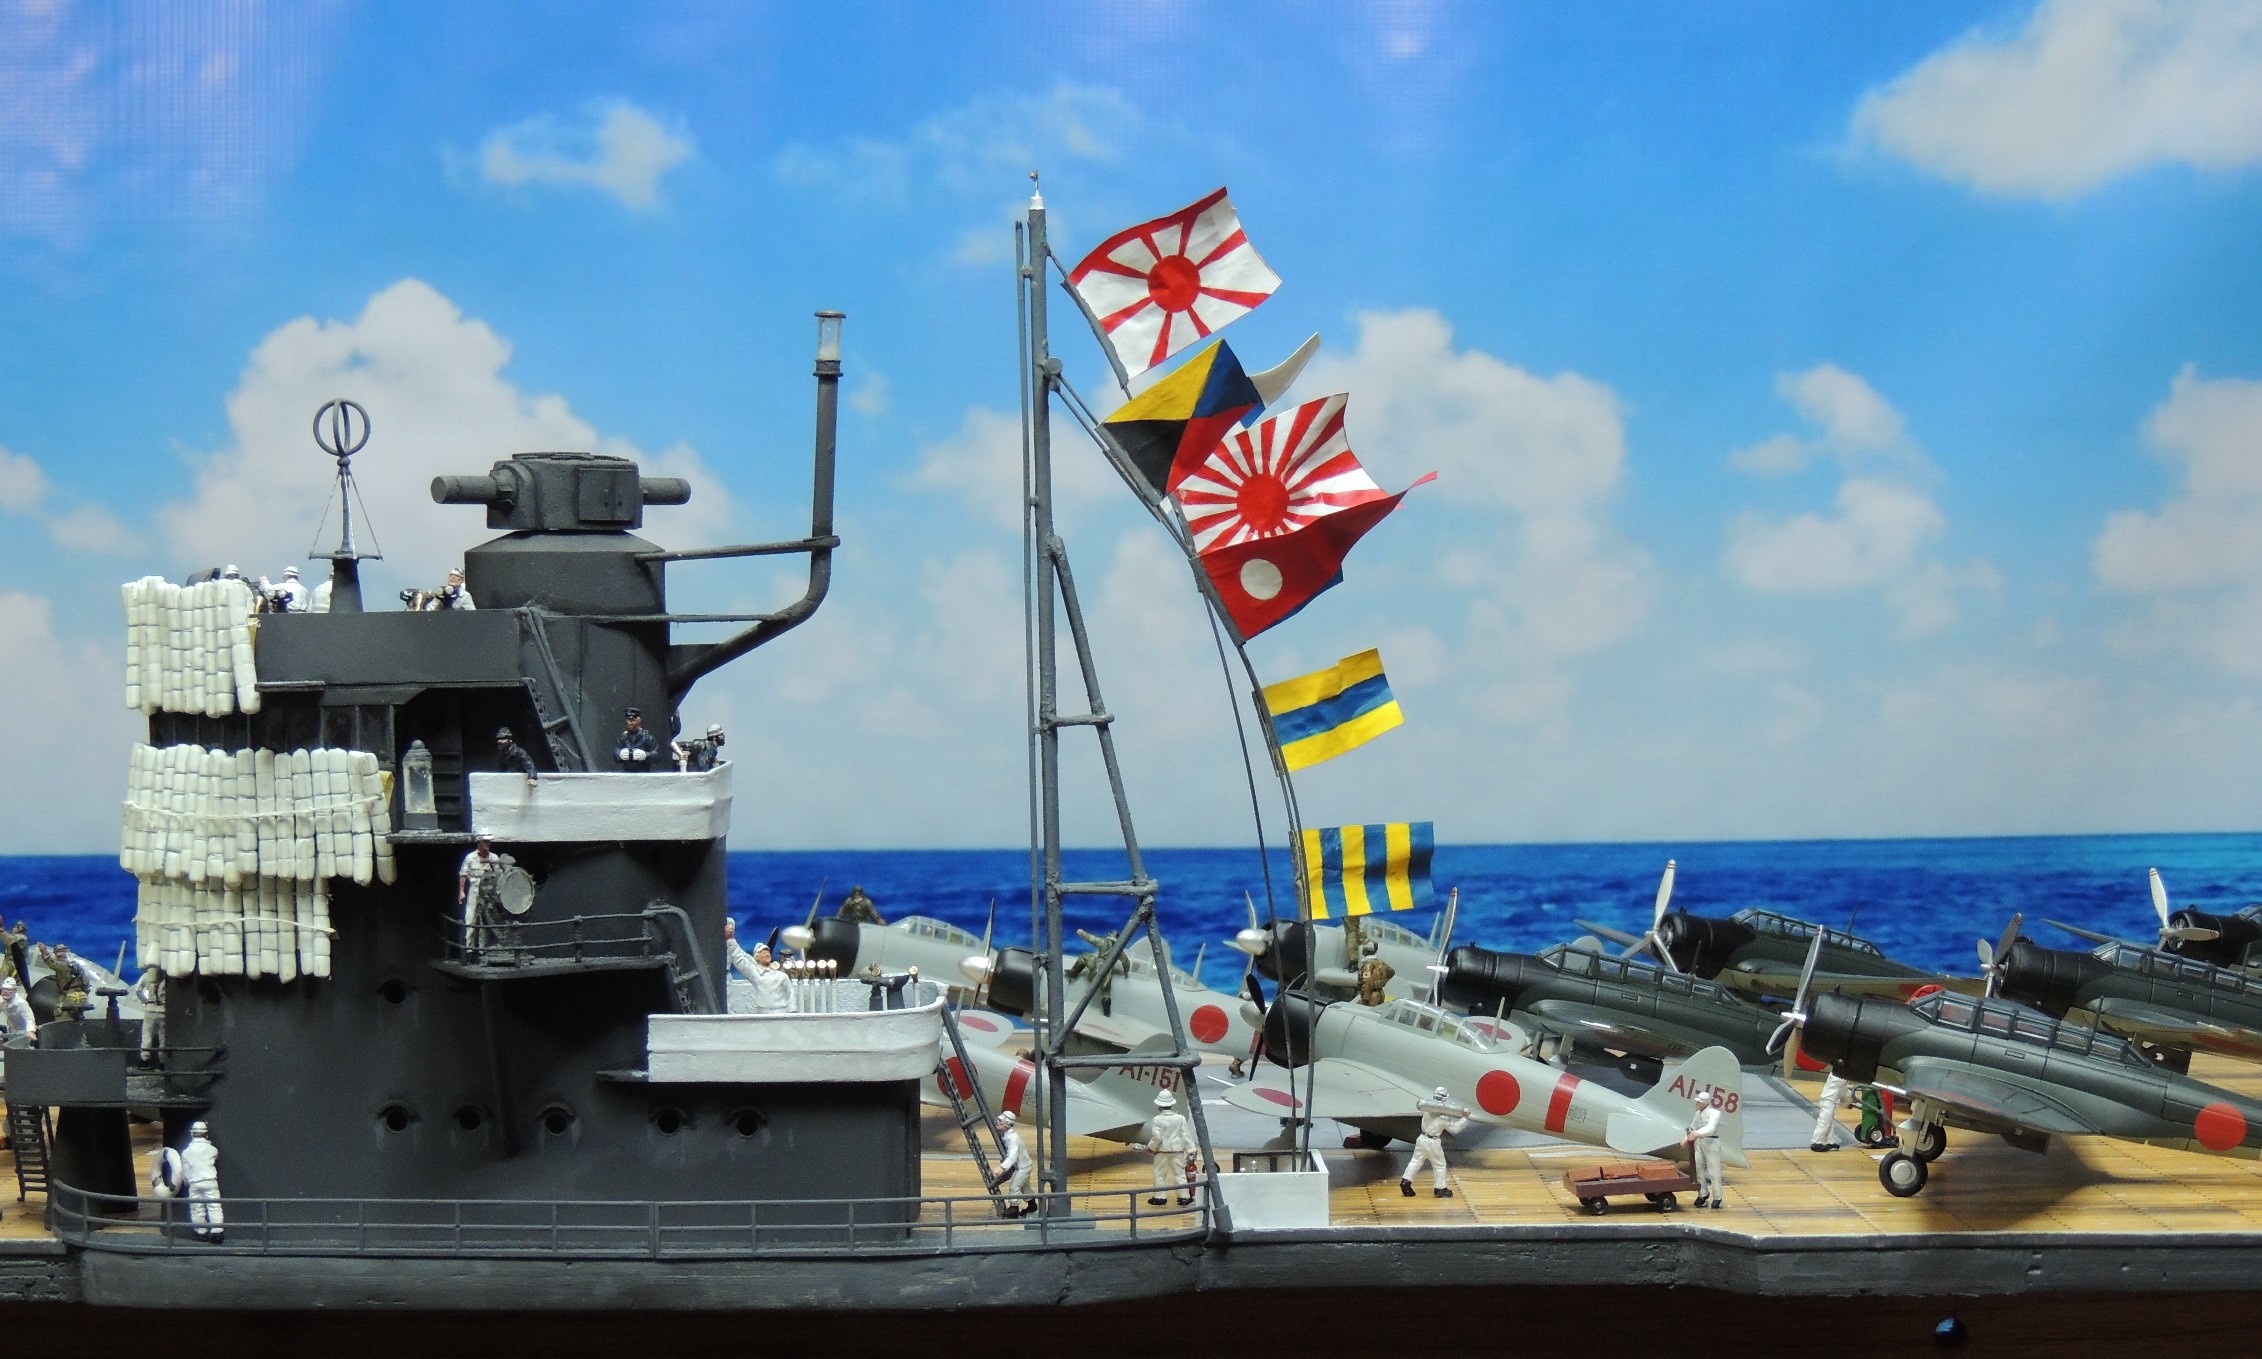
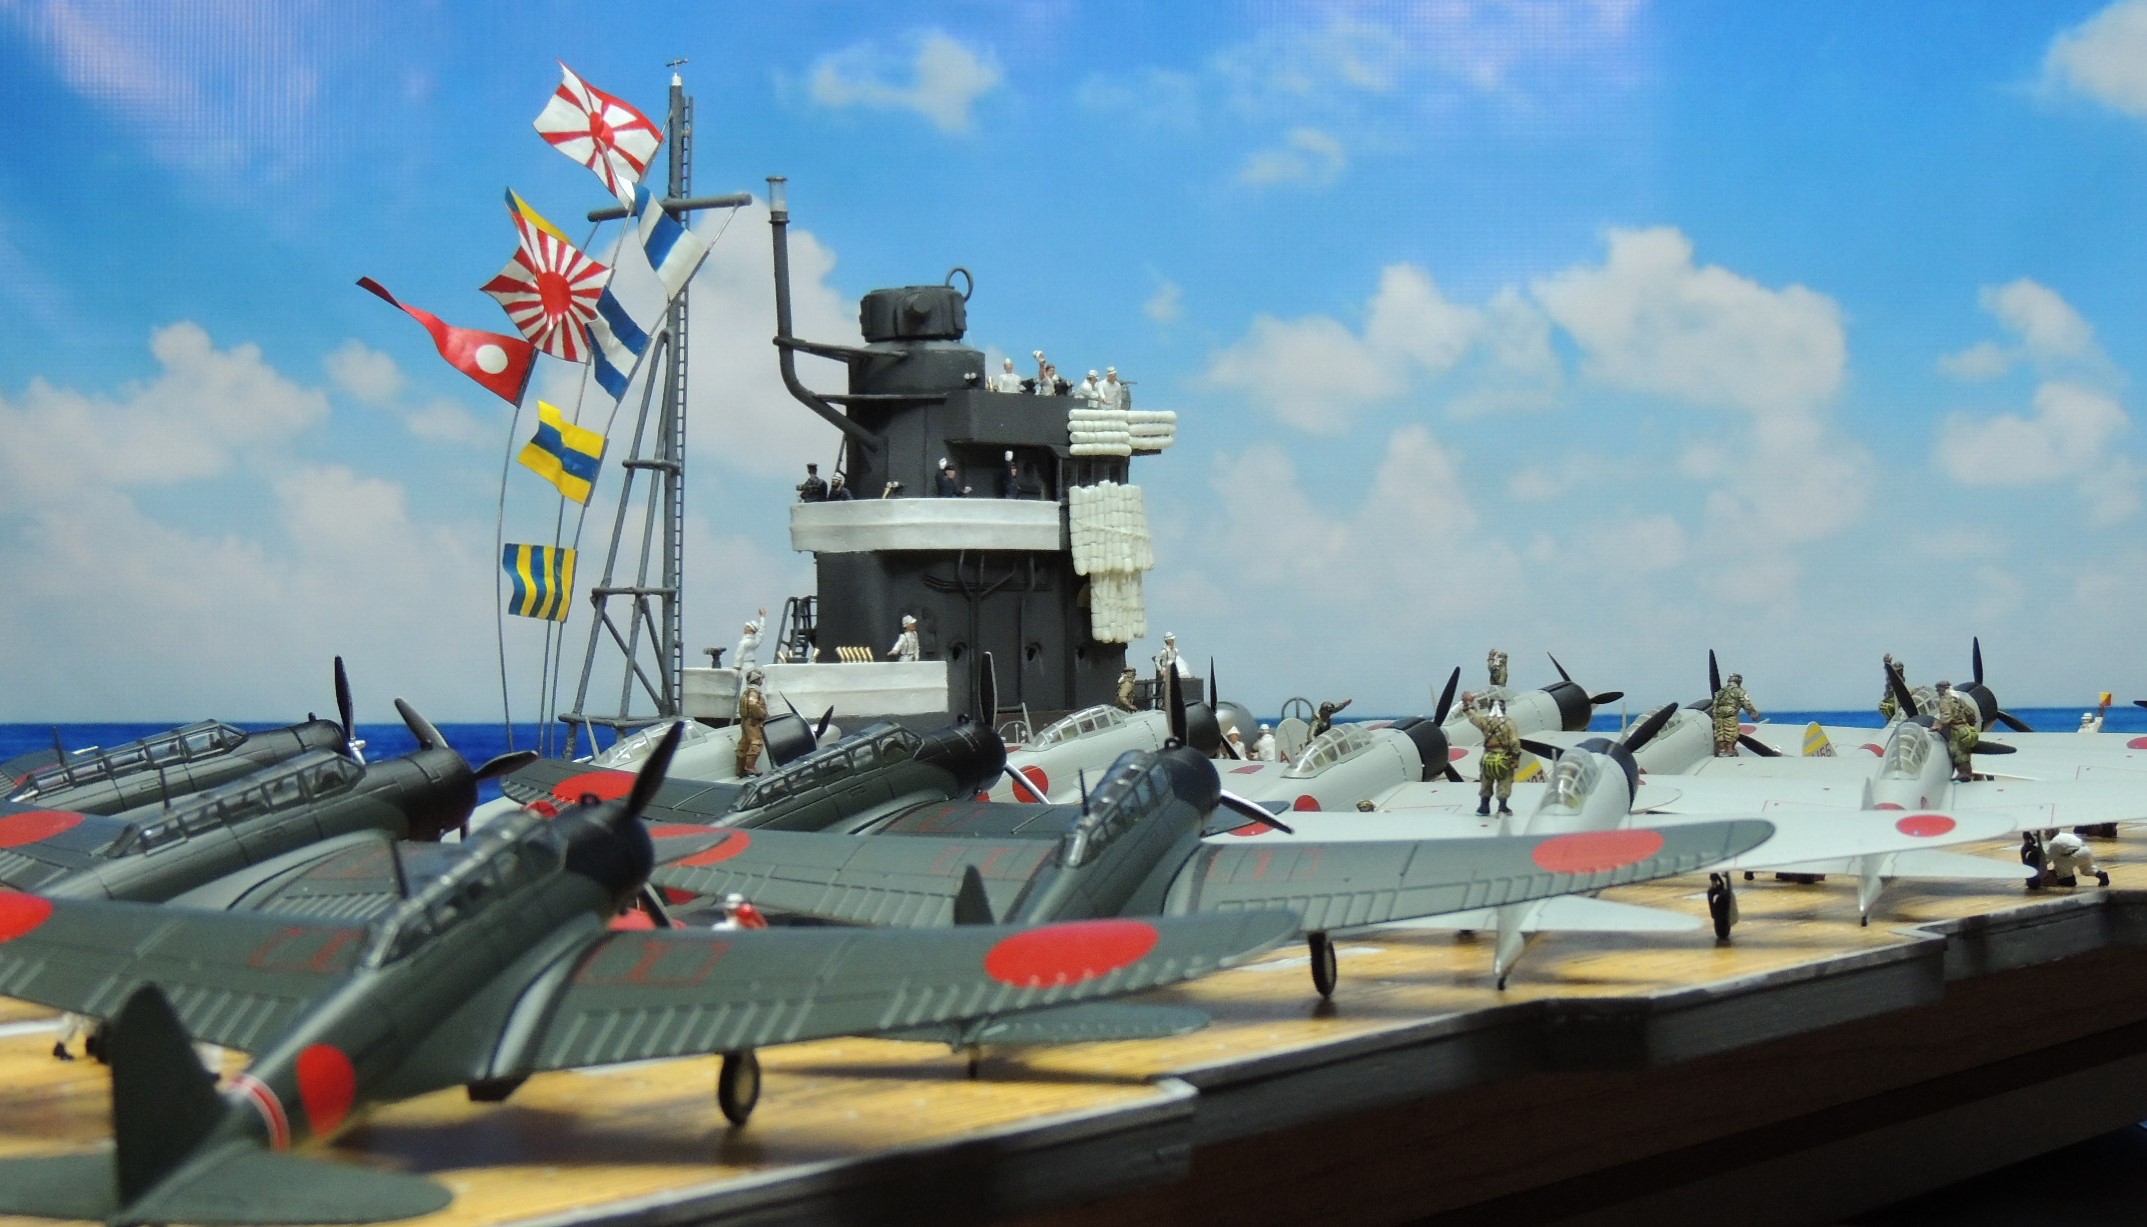
- The flags were significantly underscaled and I had inadvertently switched the ones on the inside for the ones on the outside;
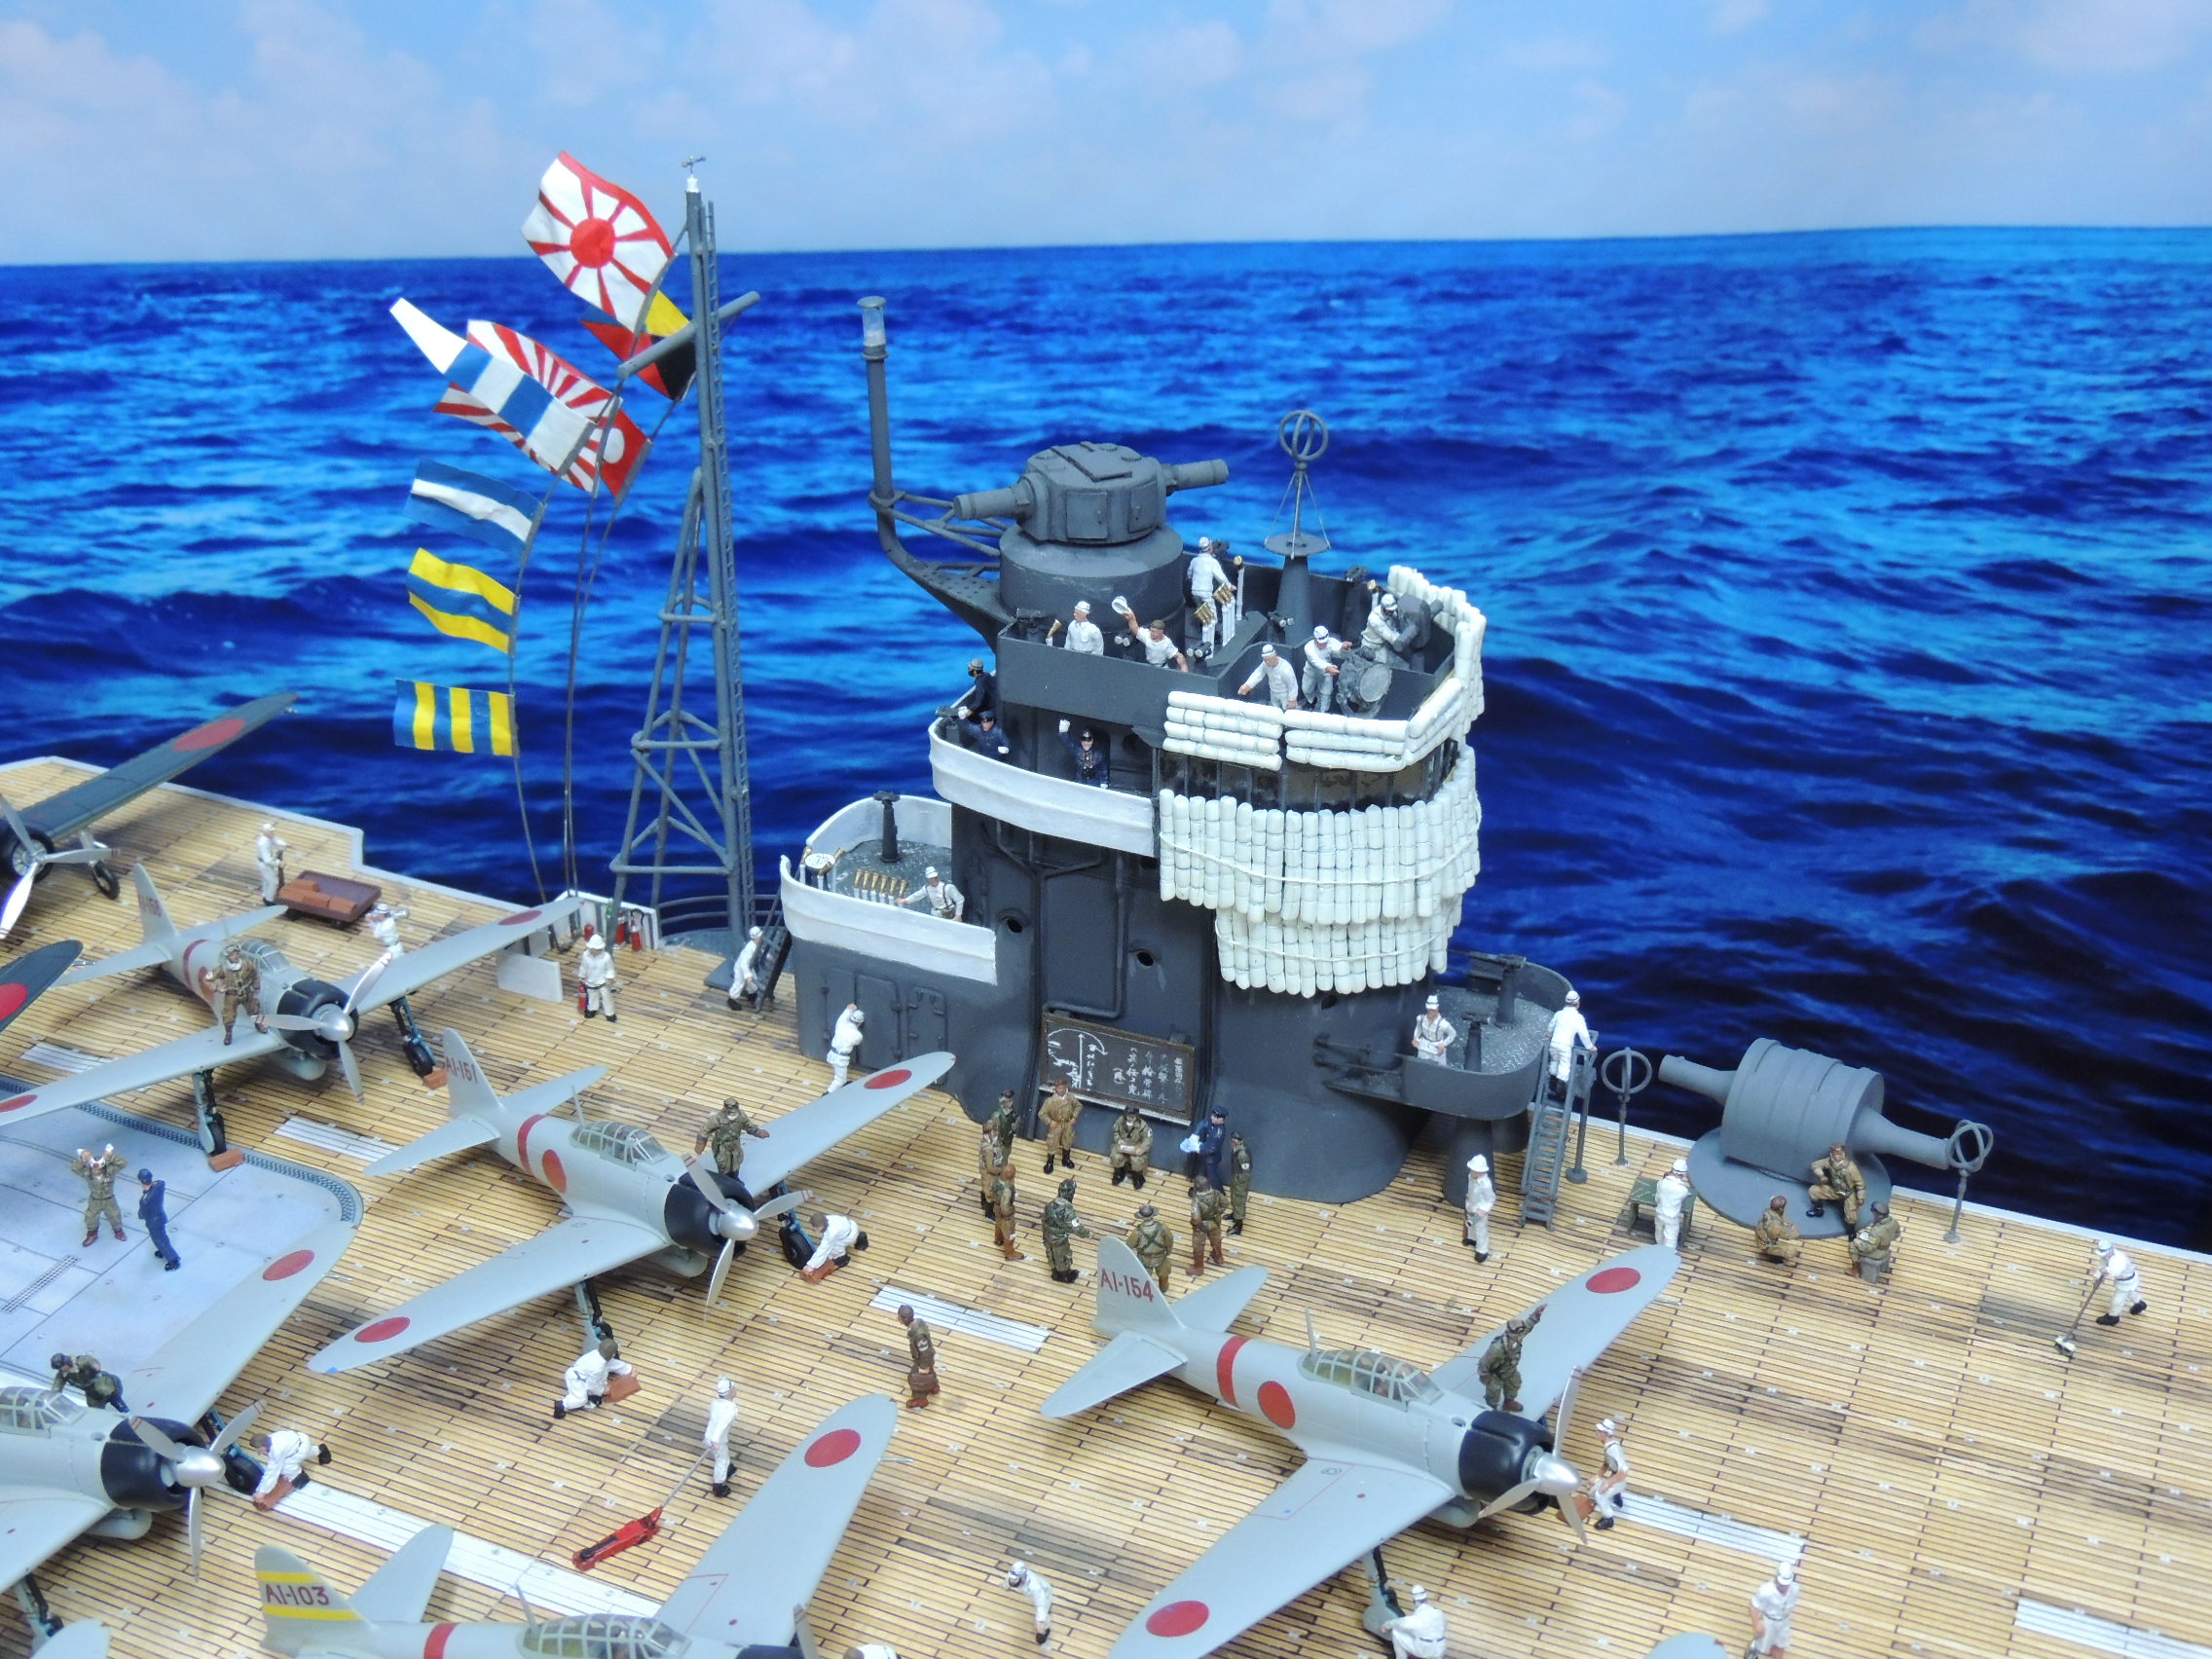
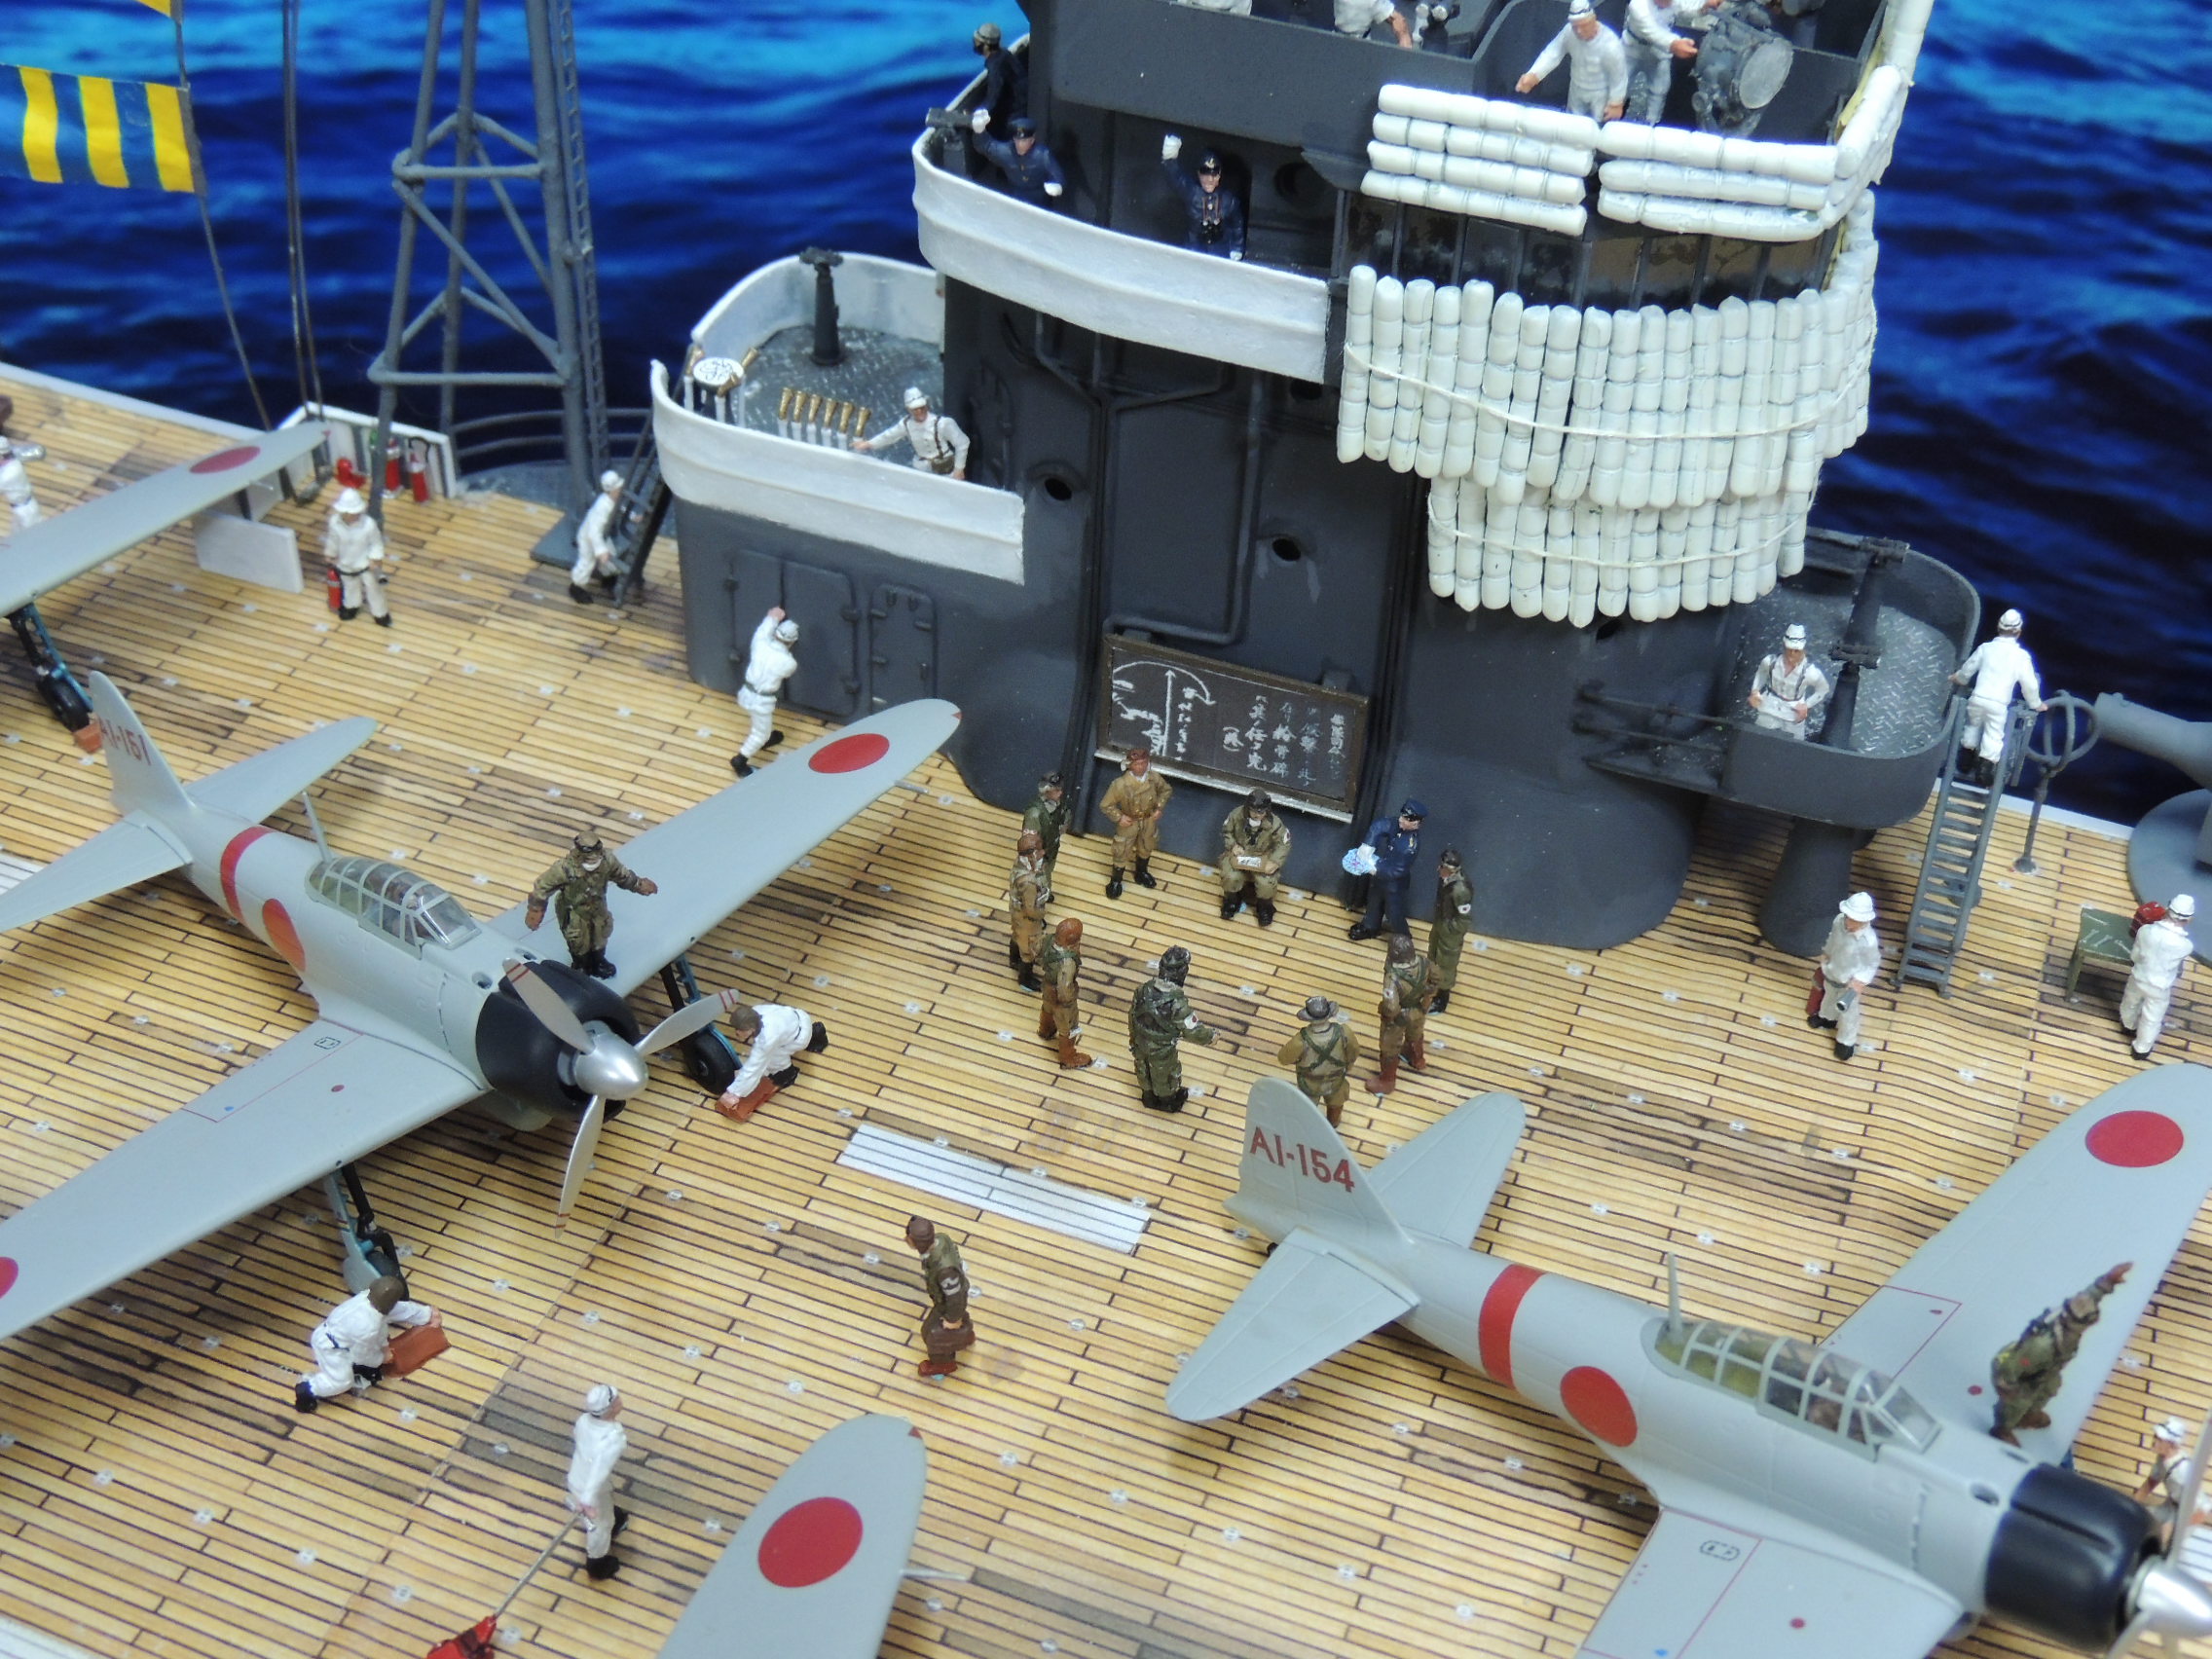
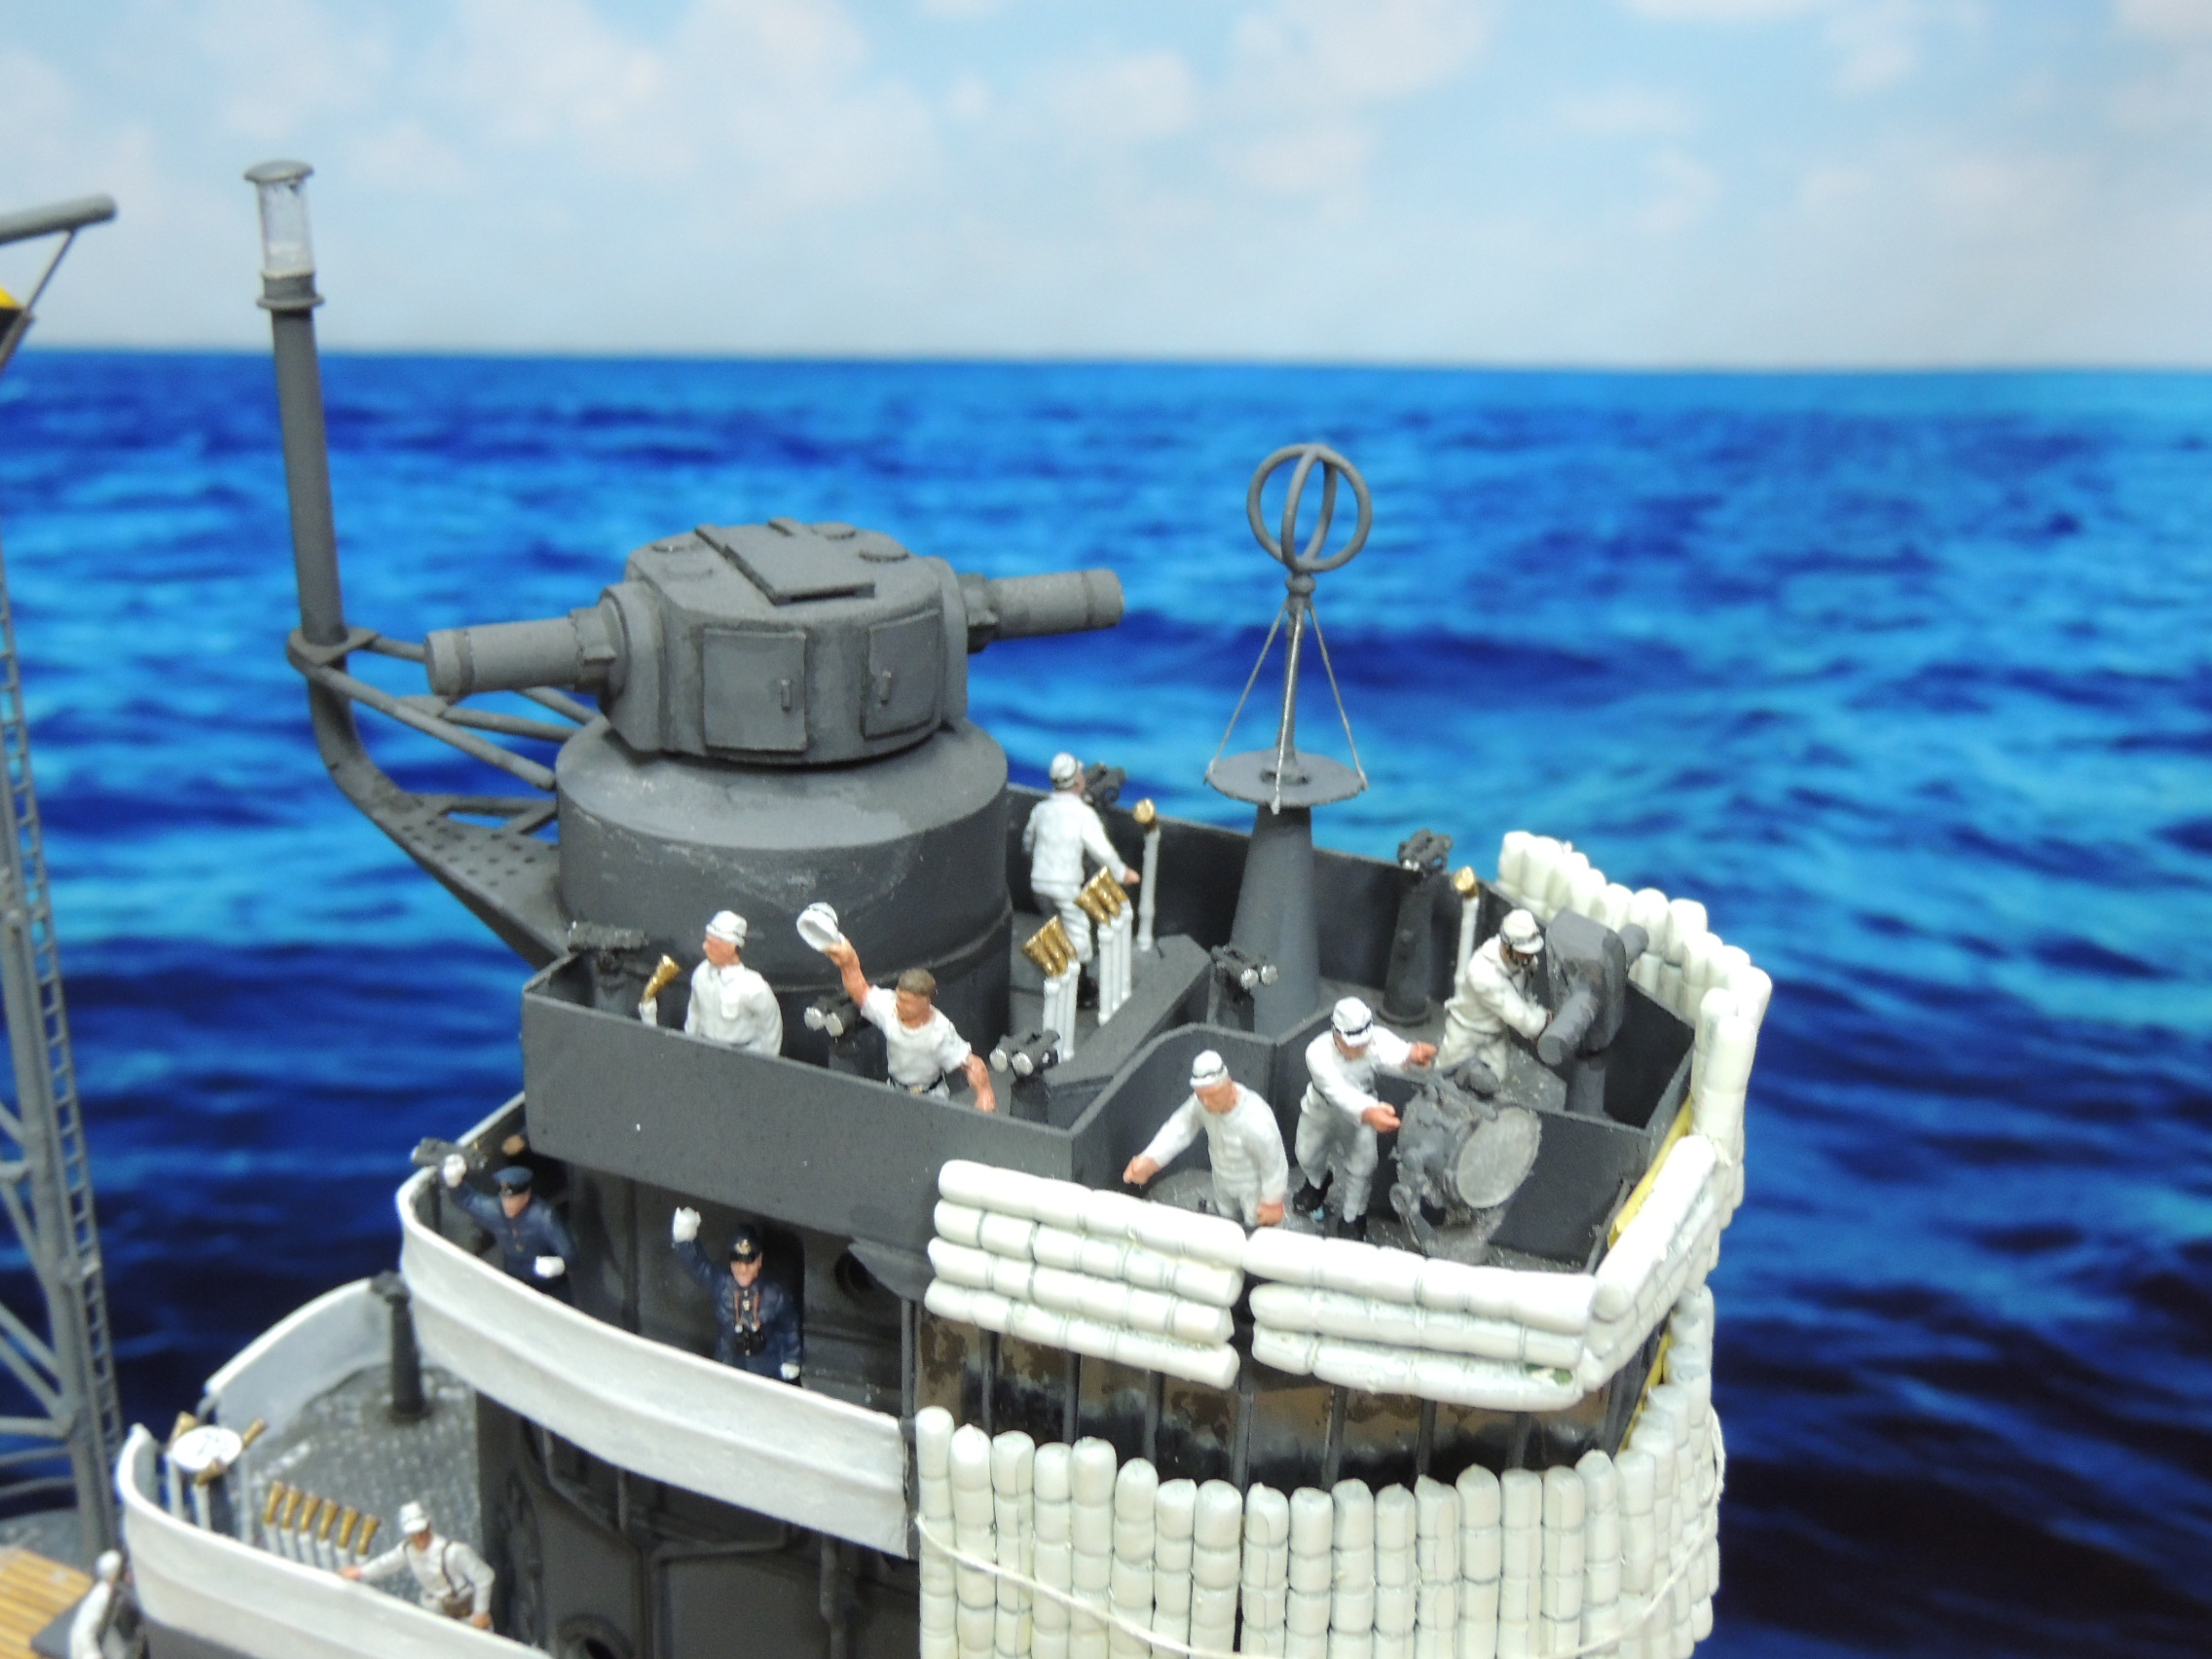
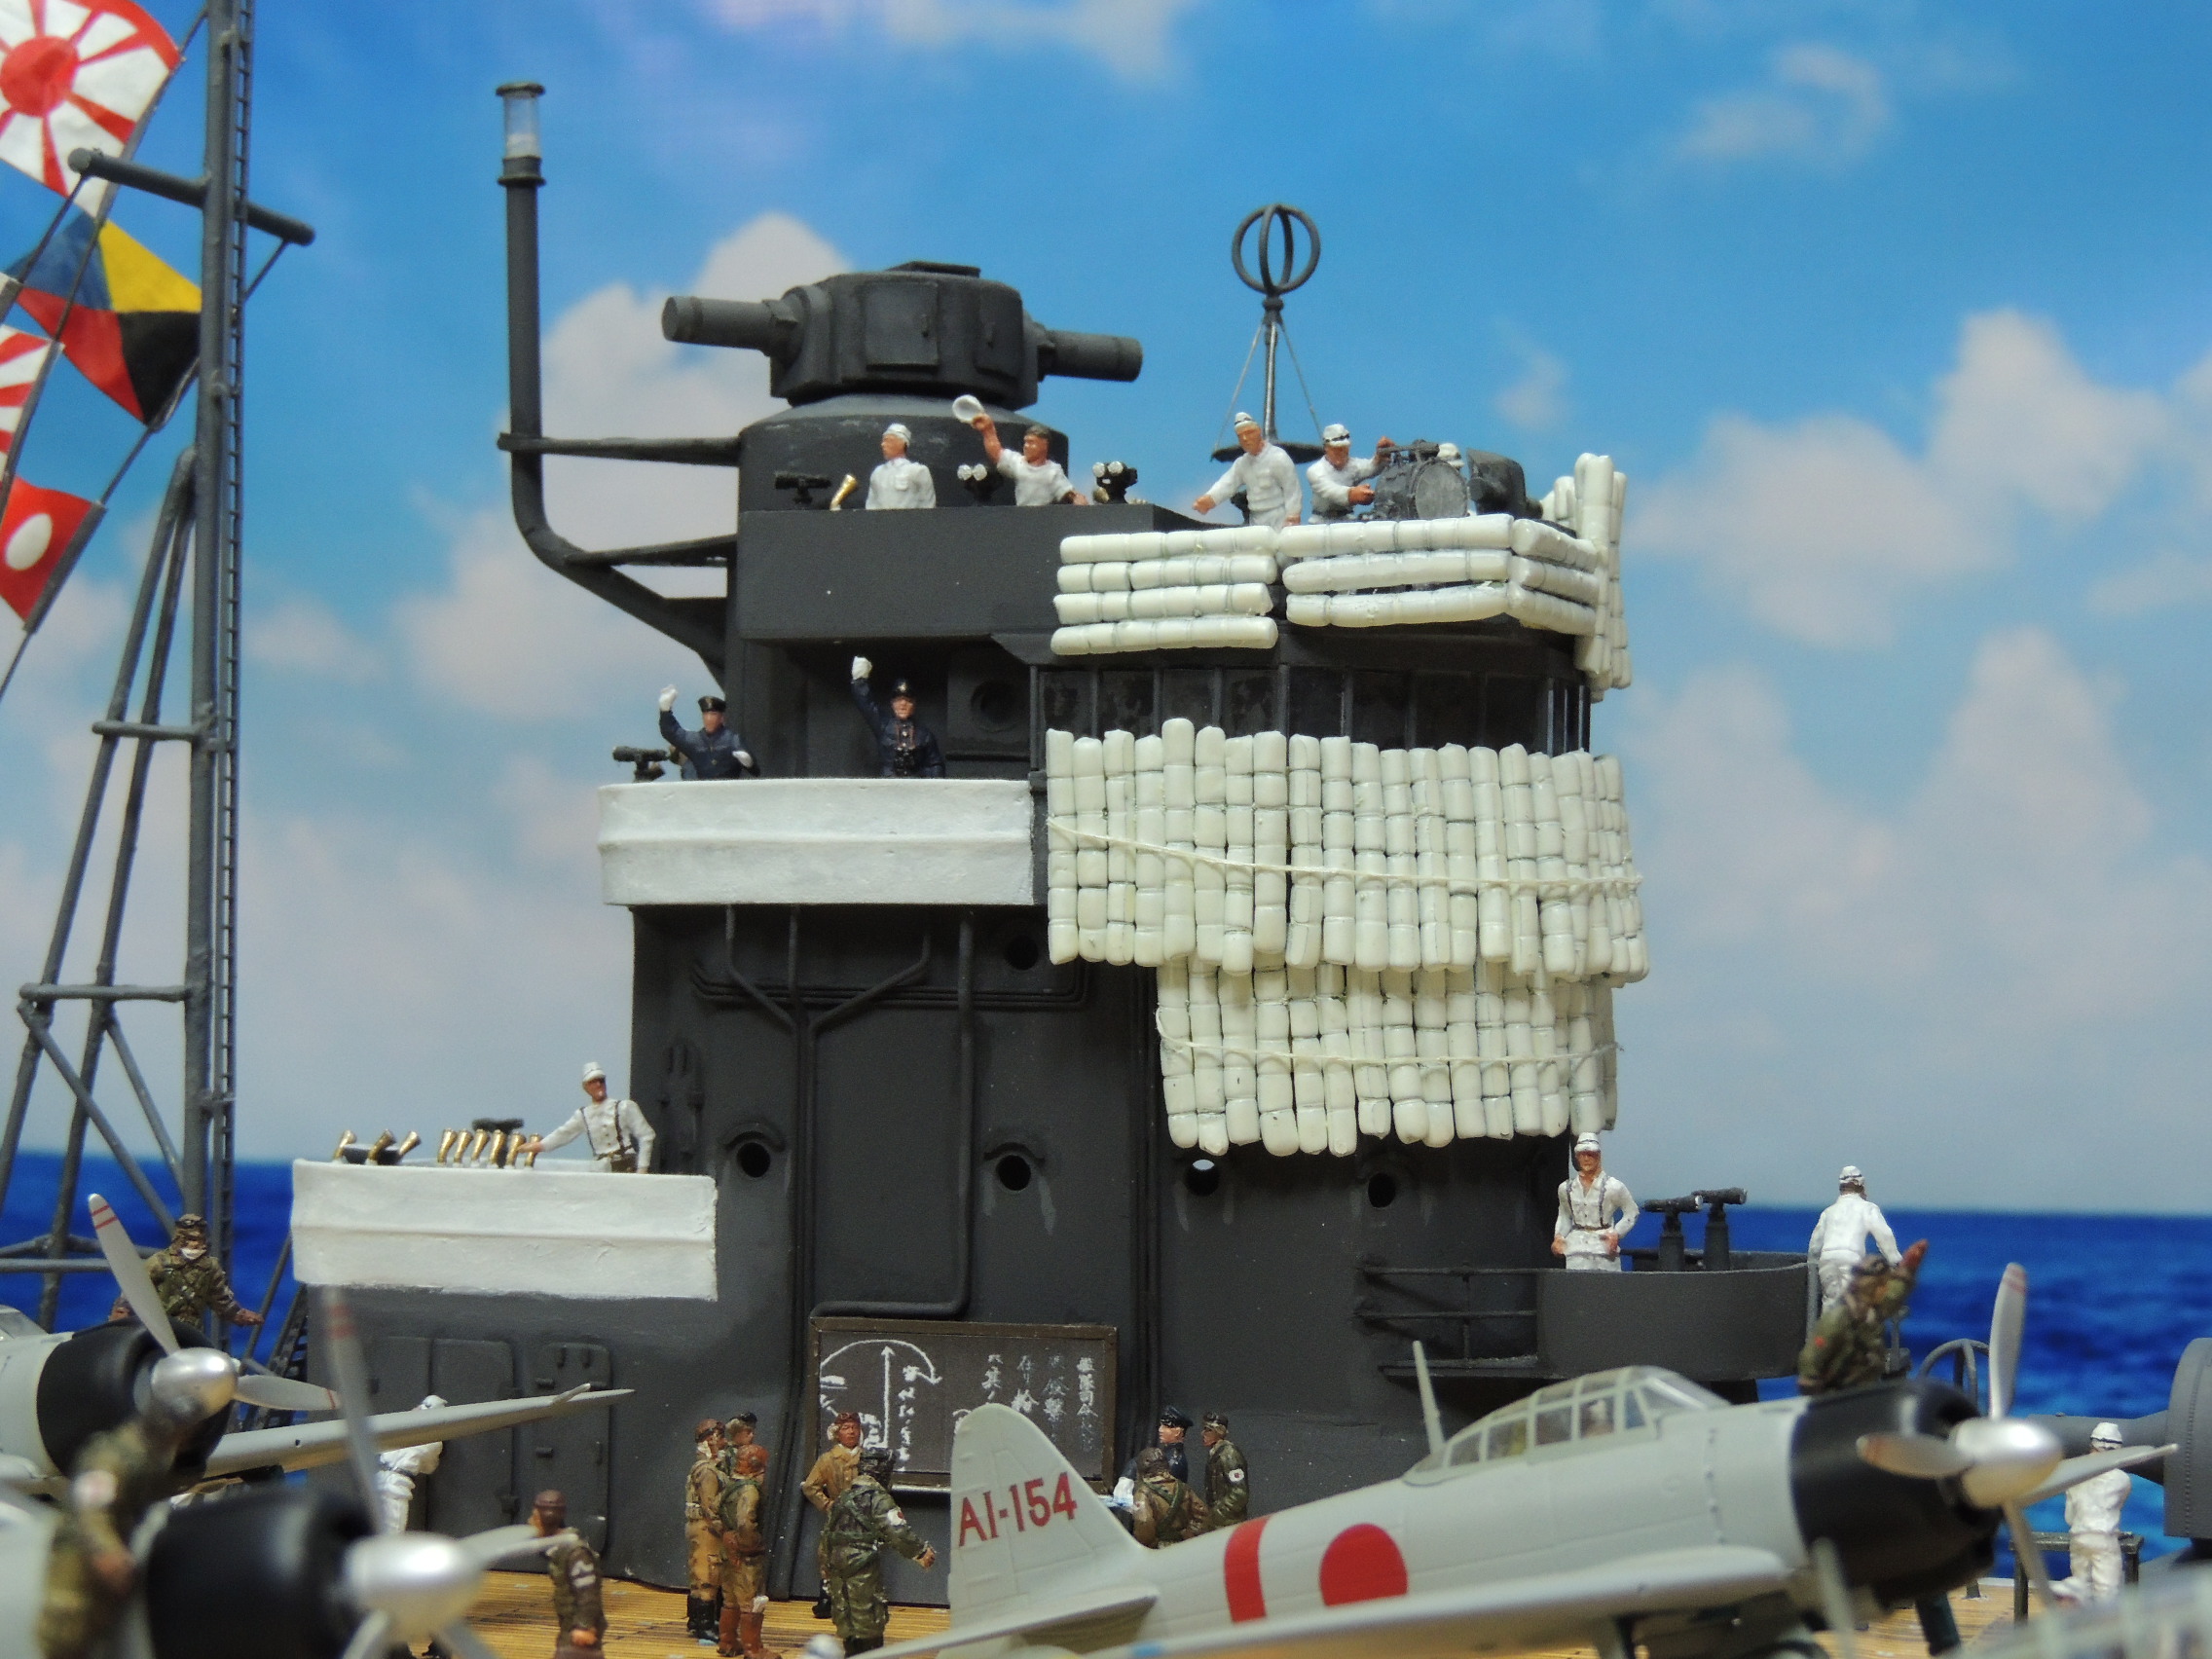
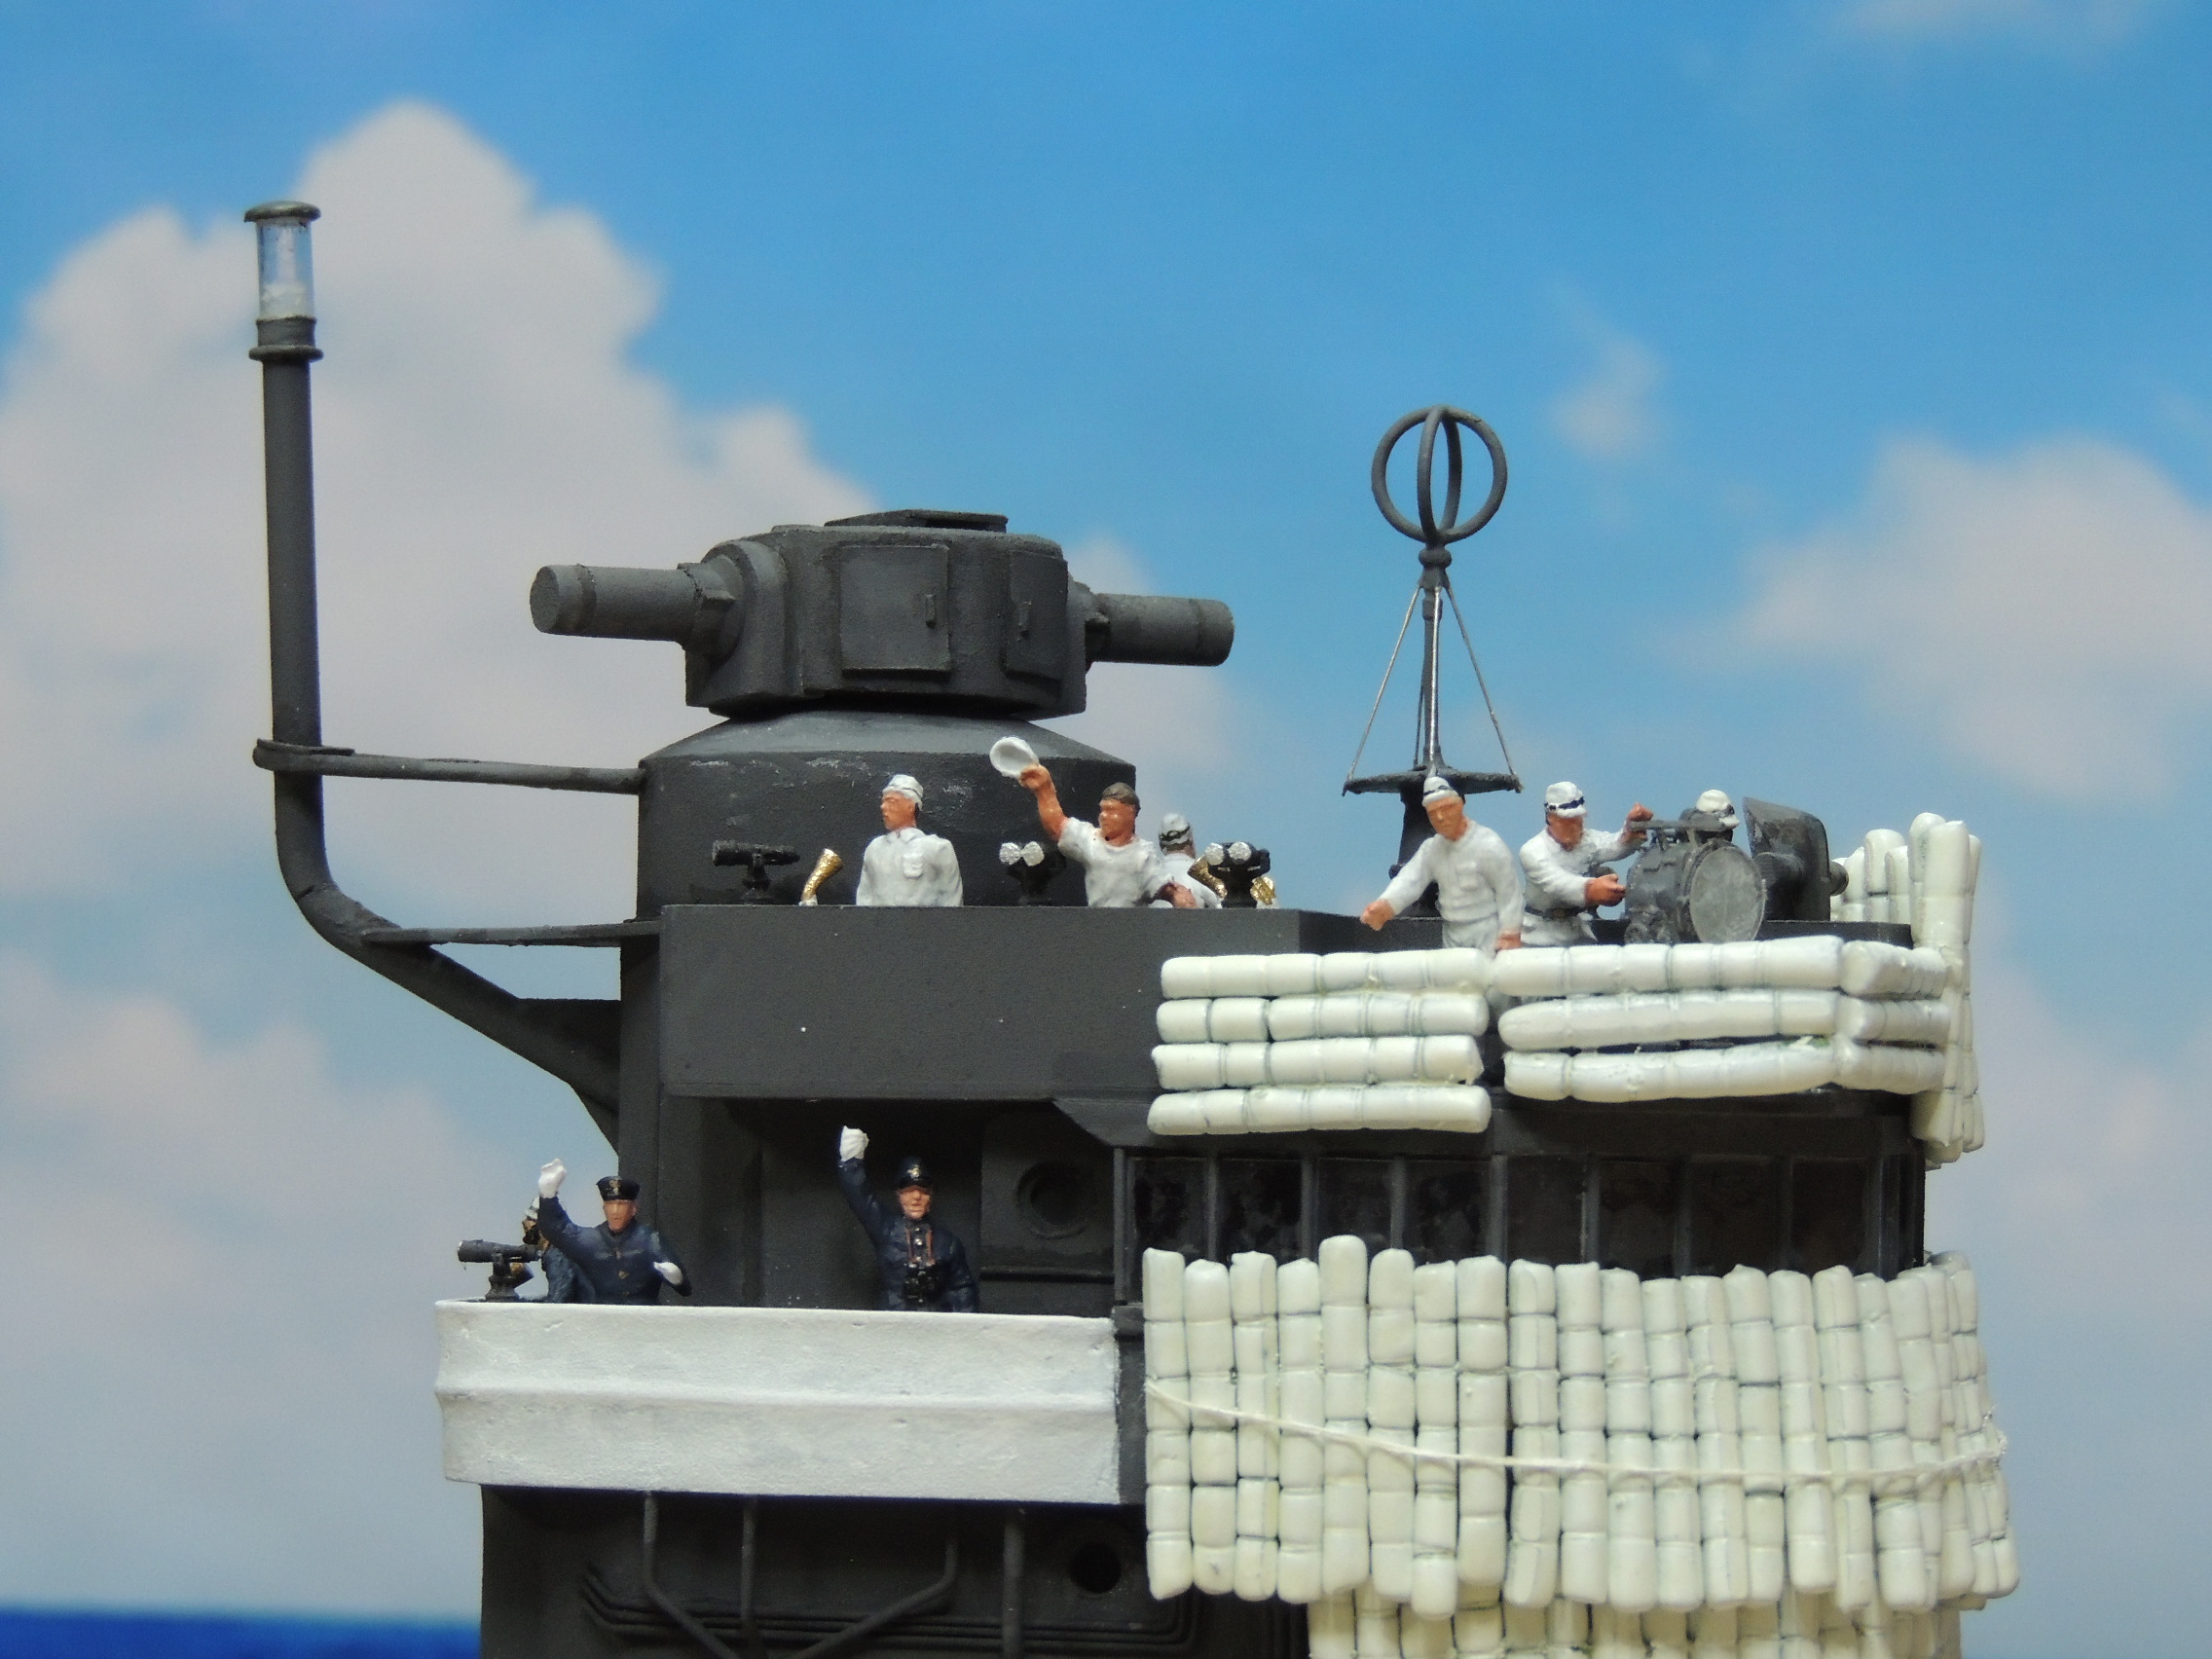
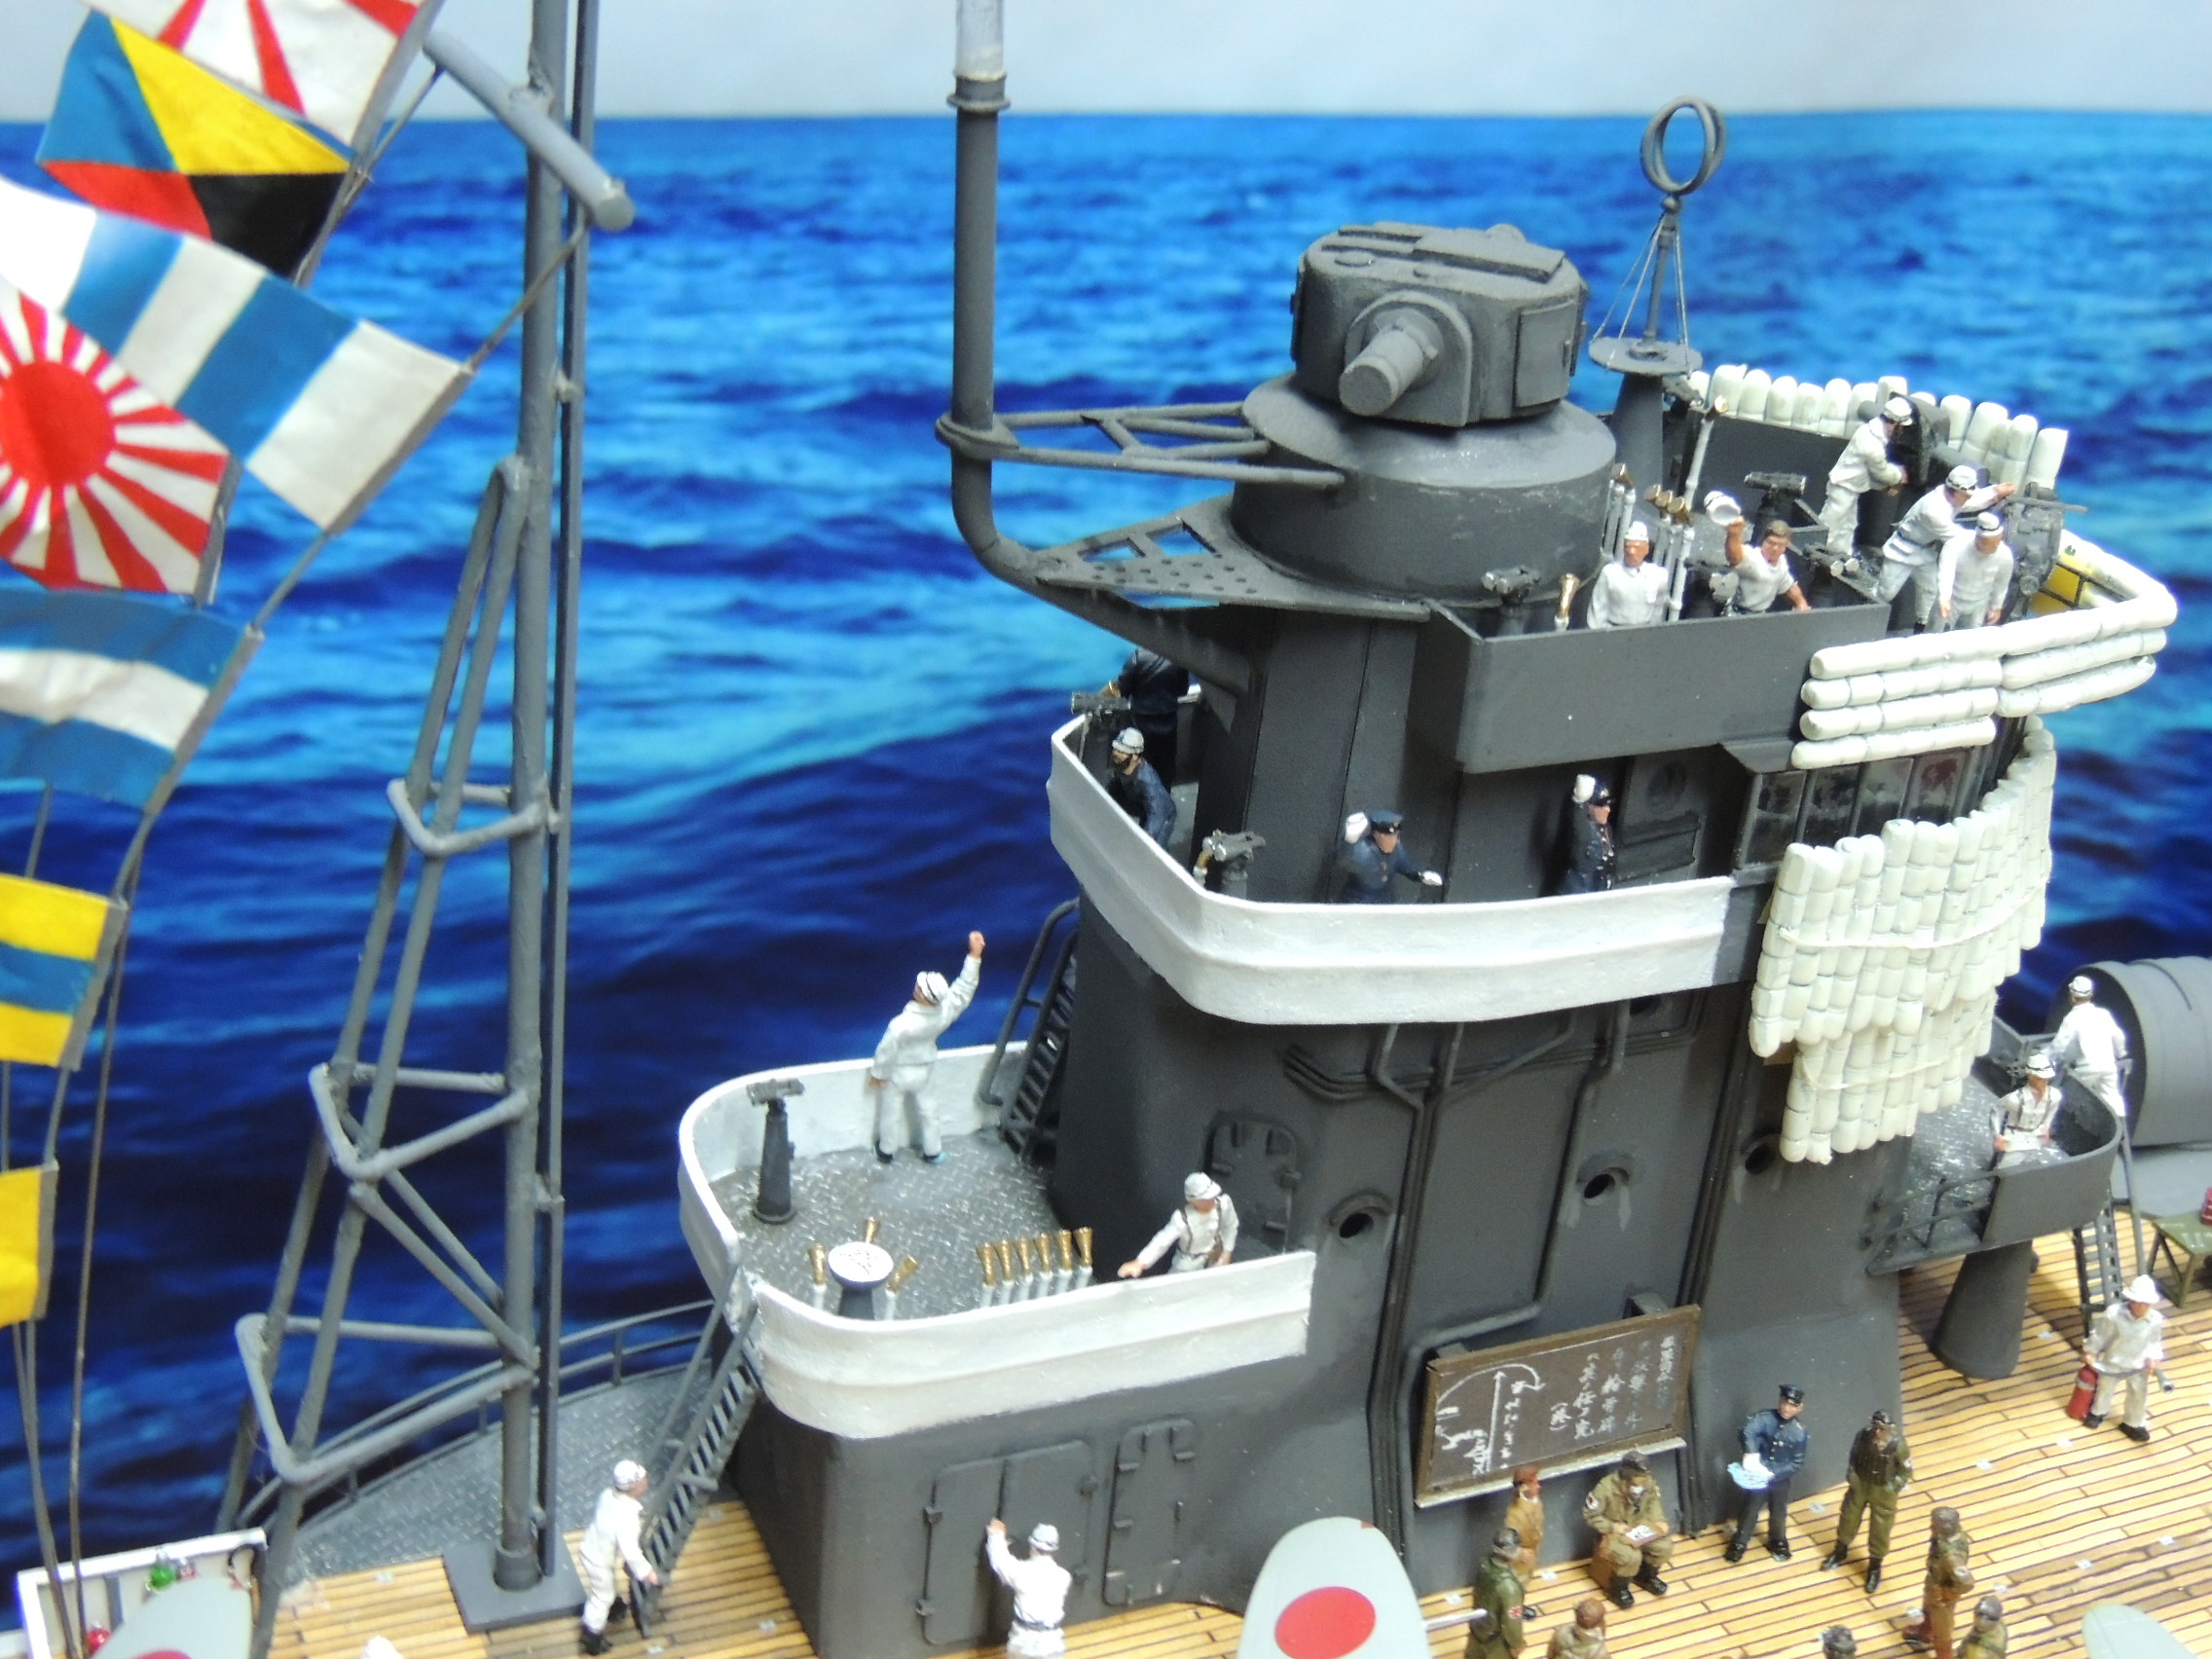
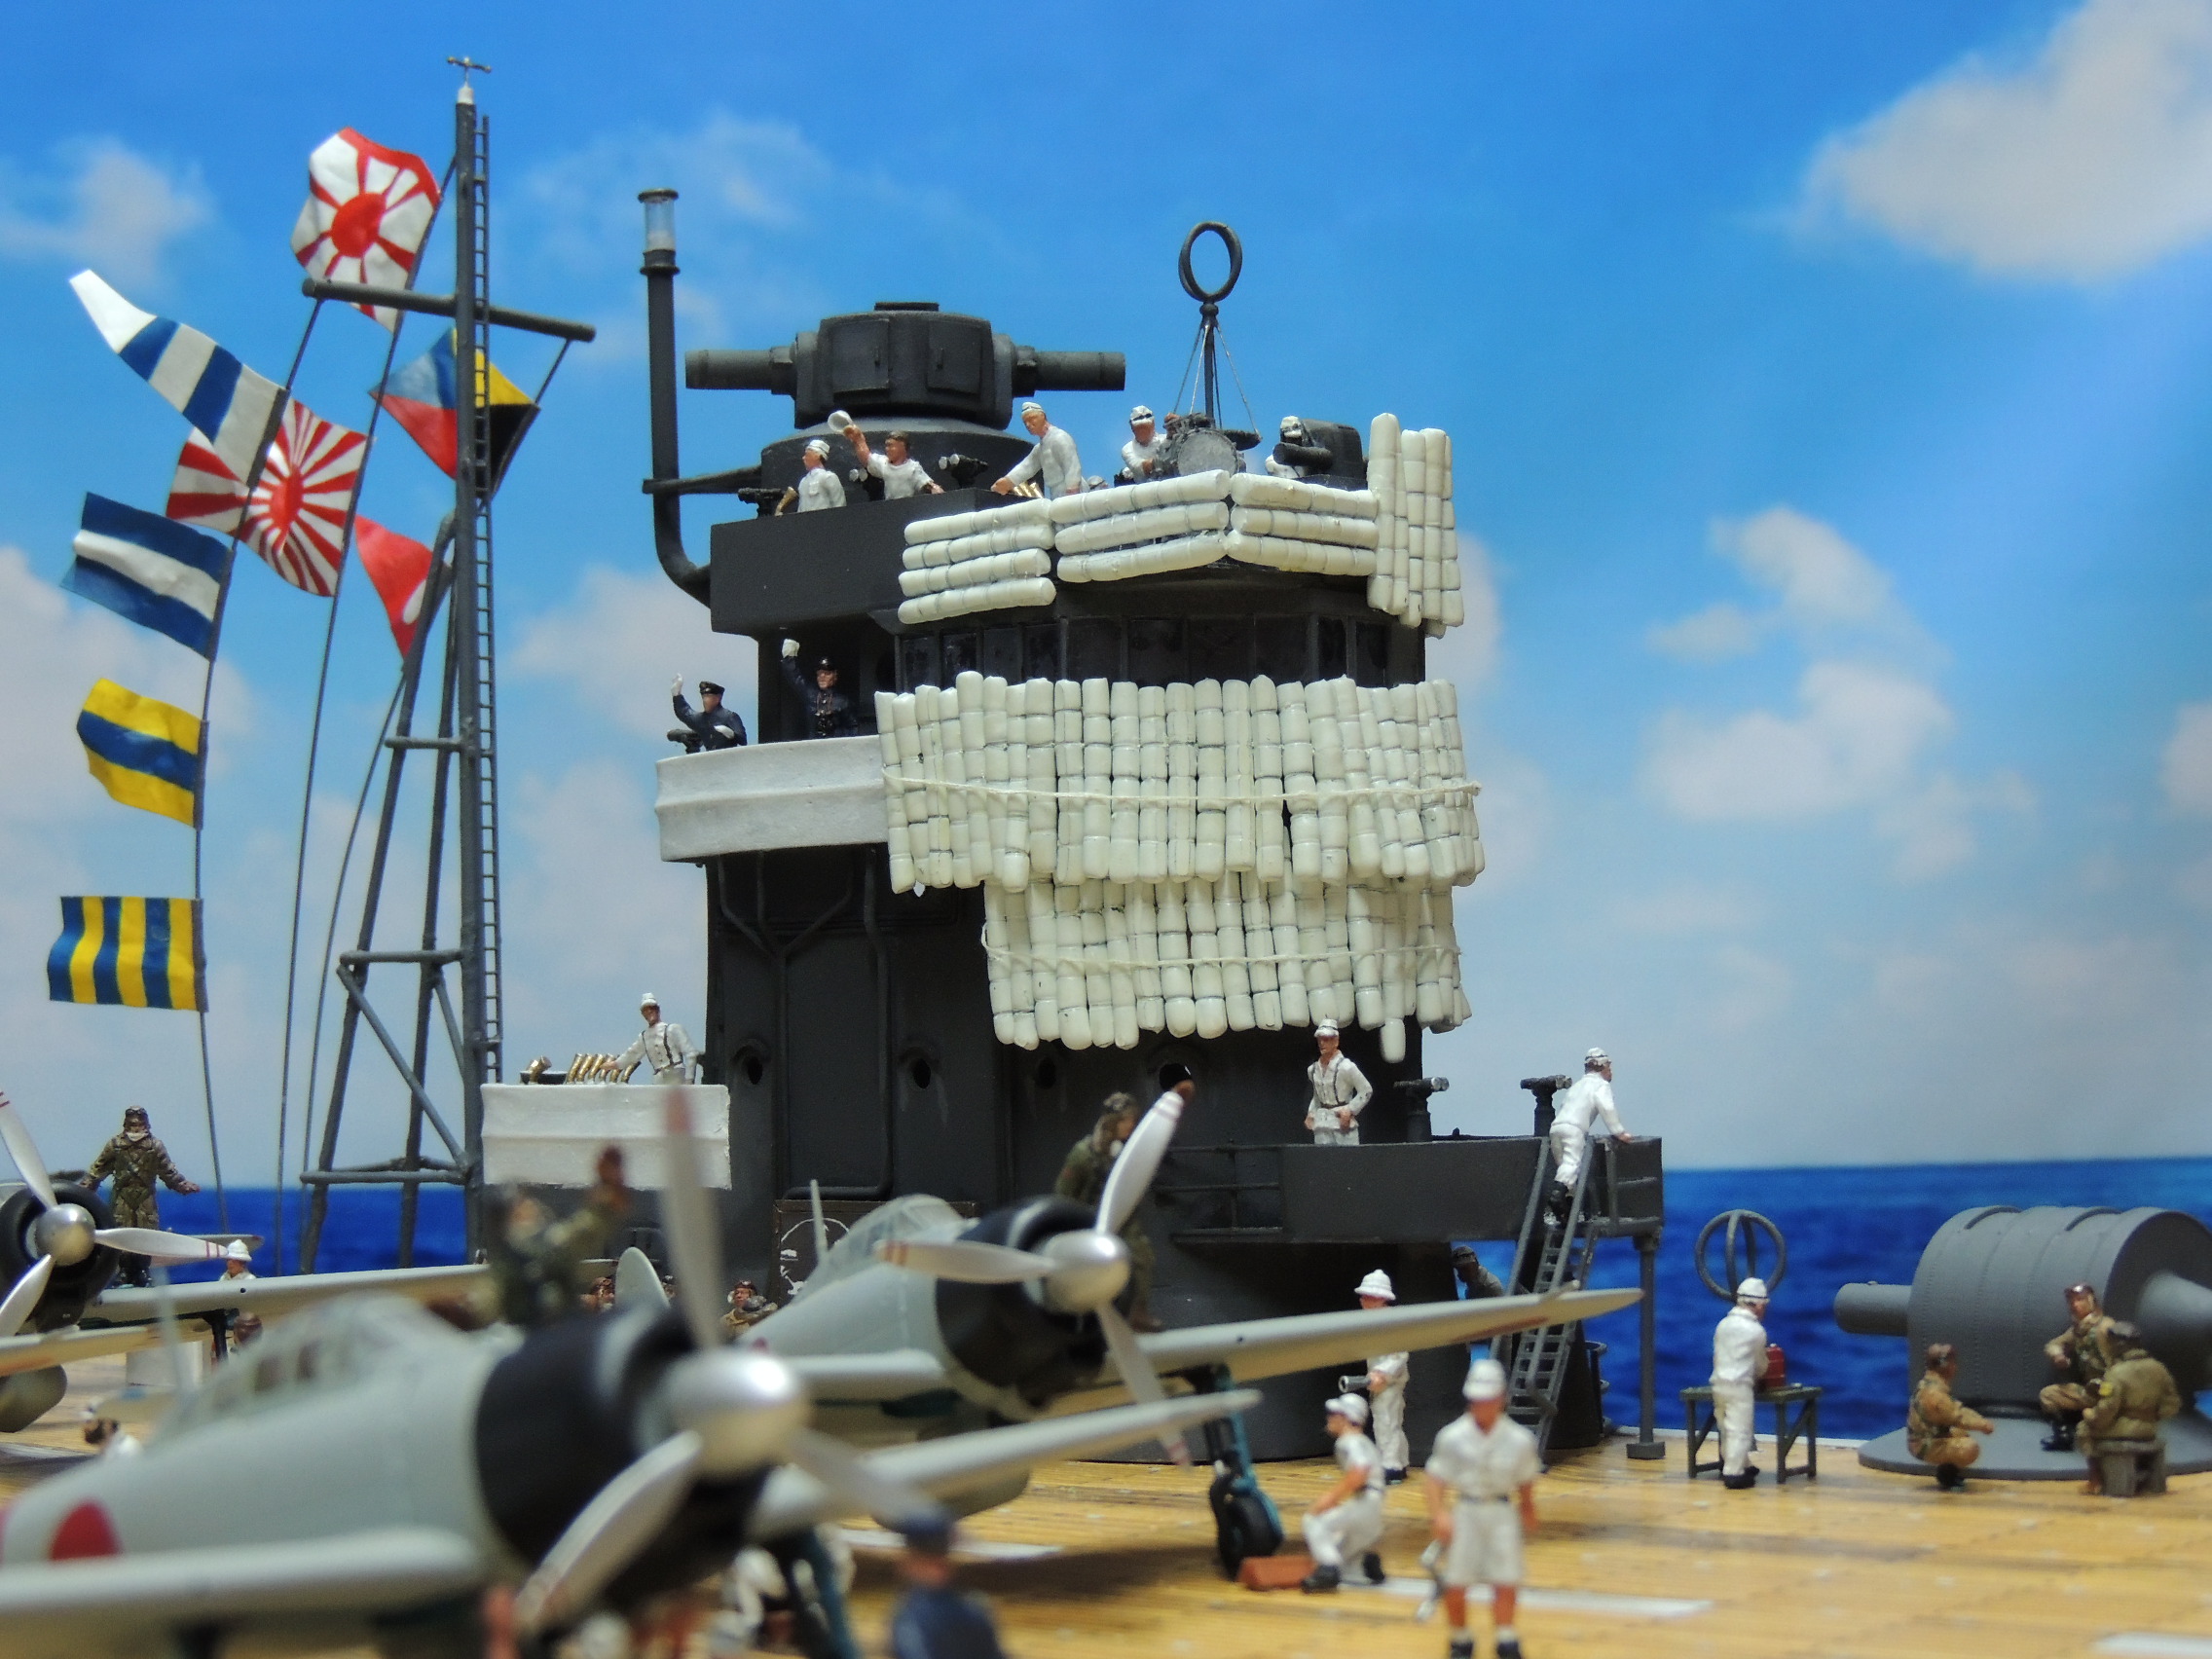
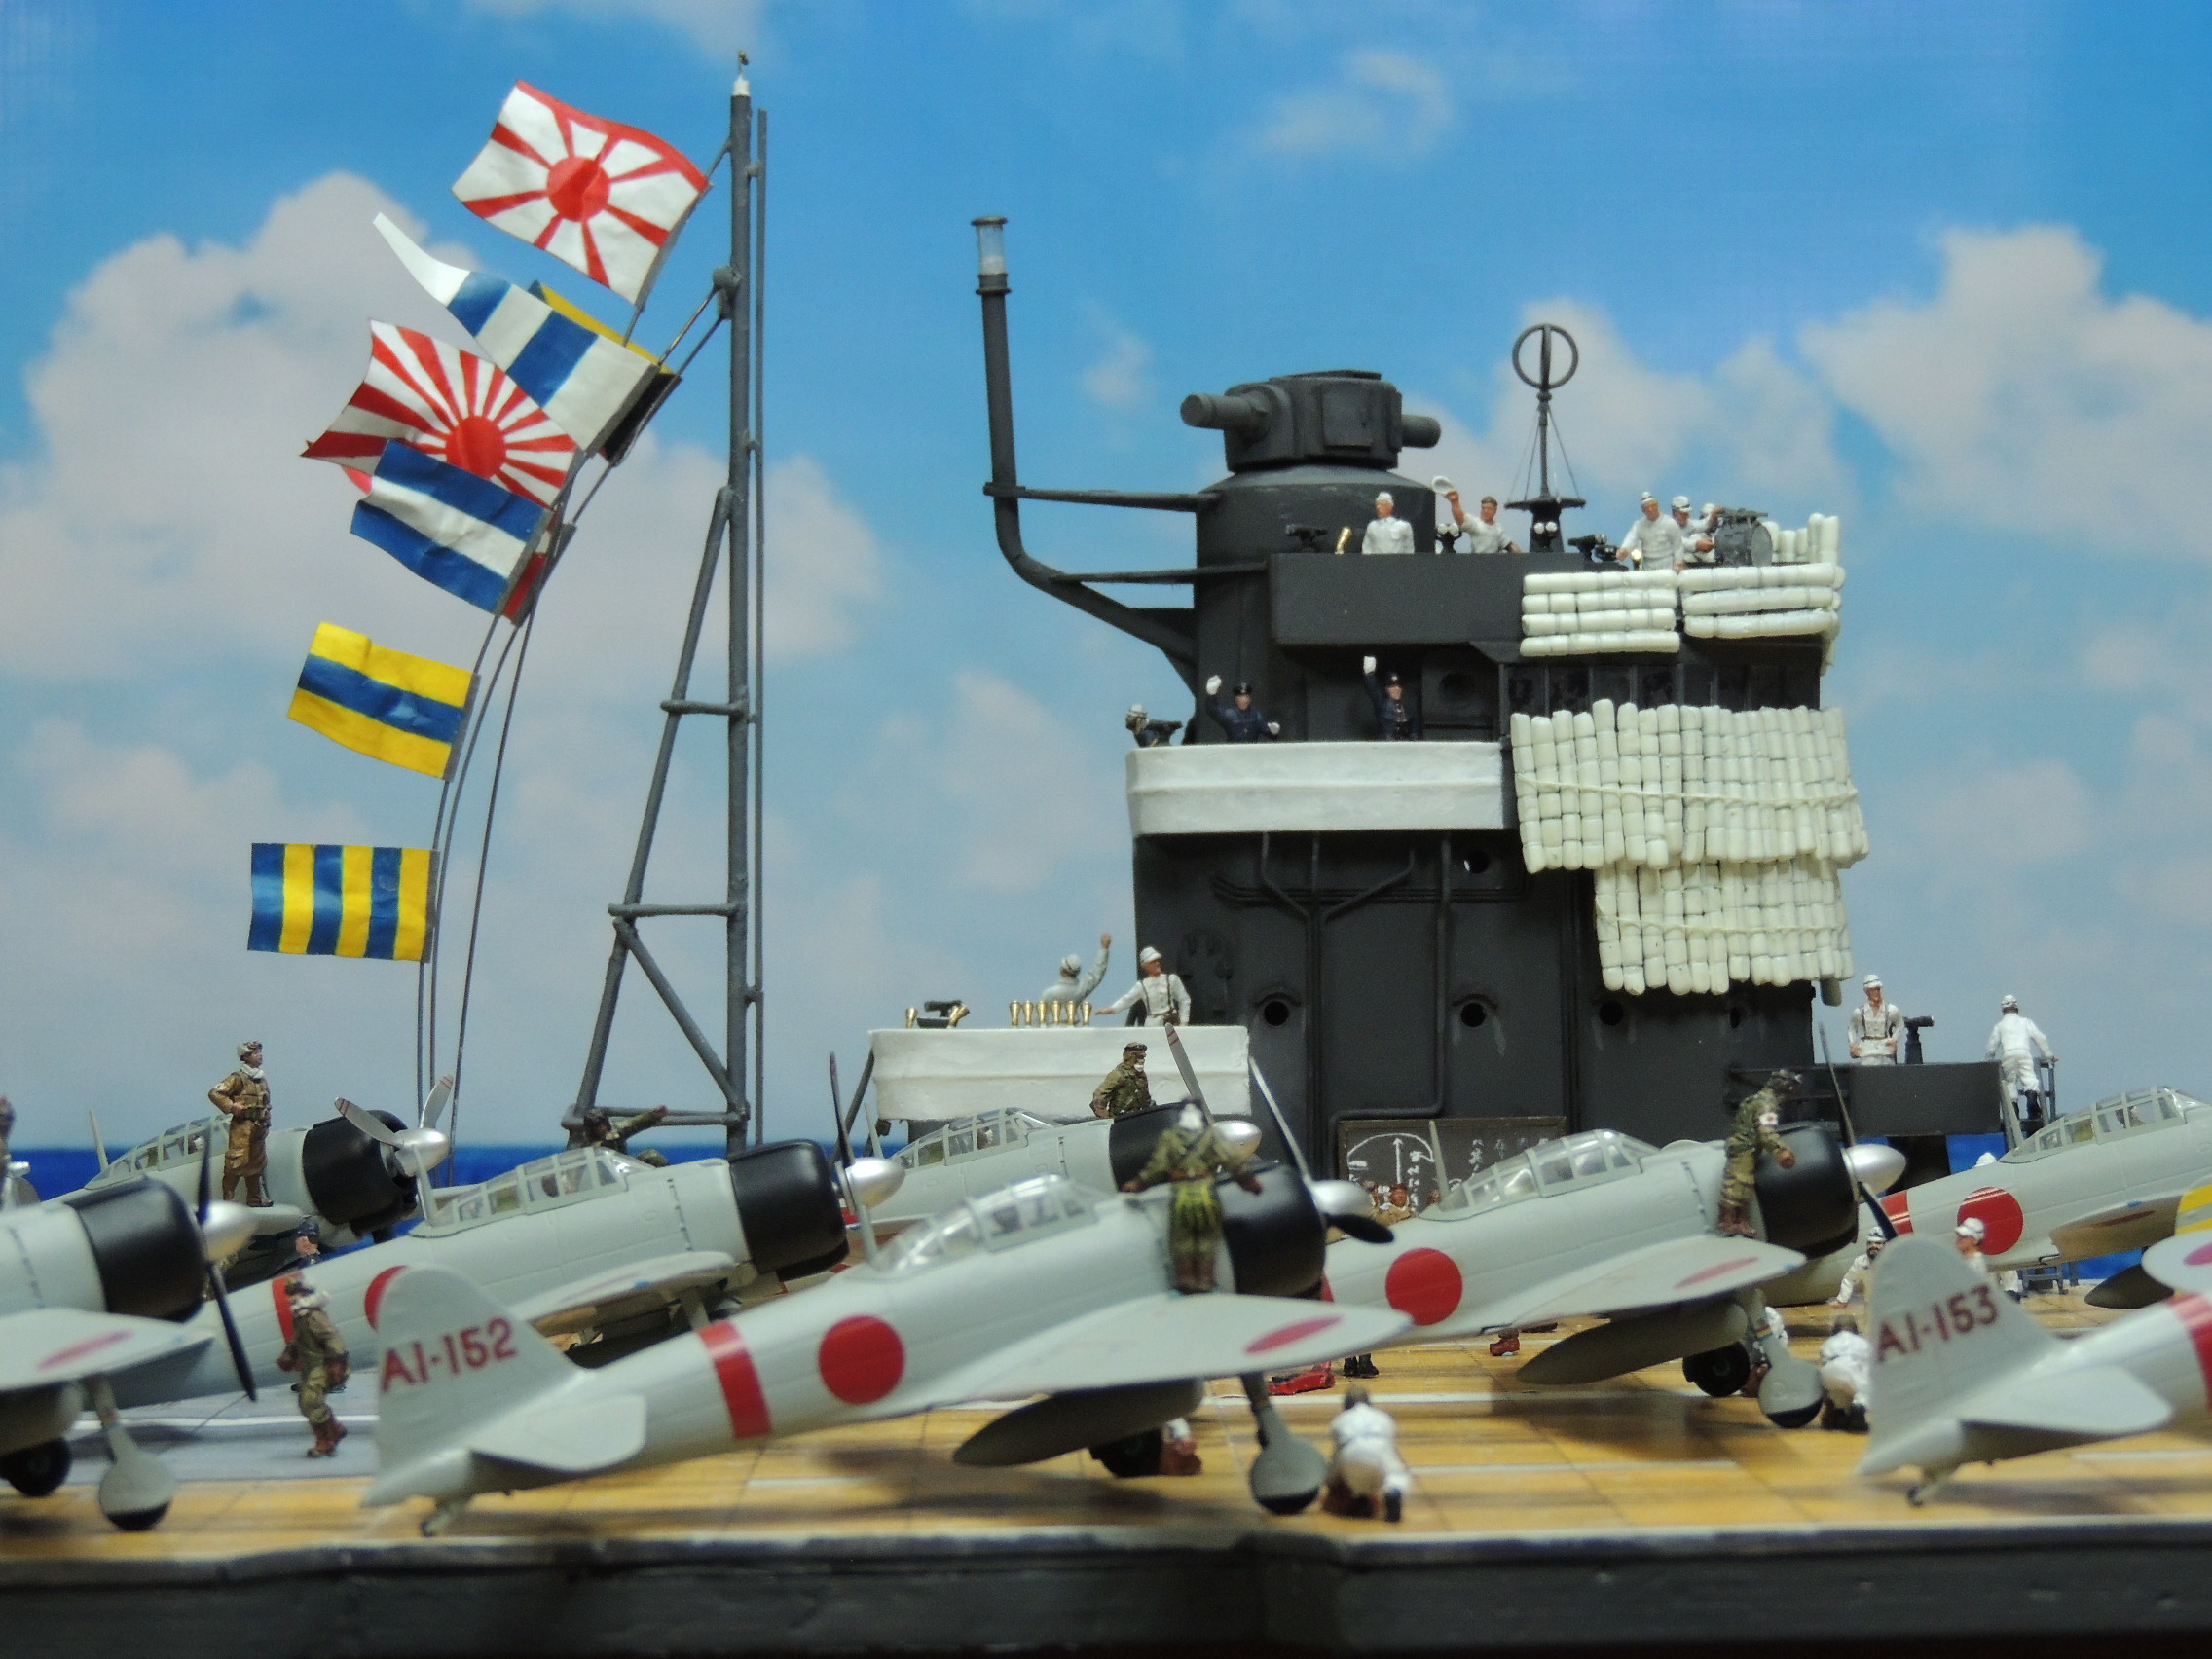
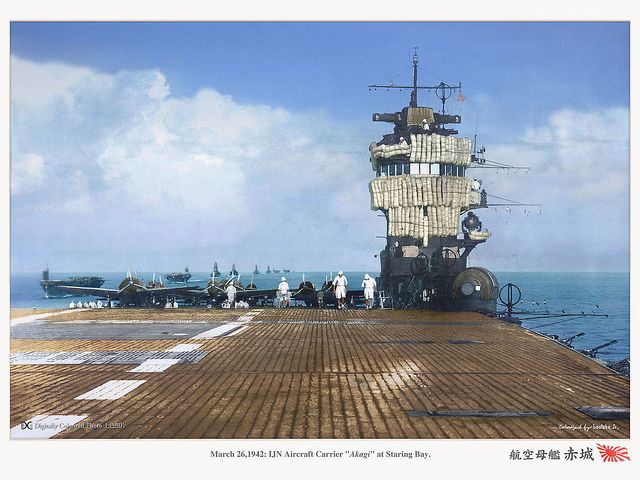
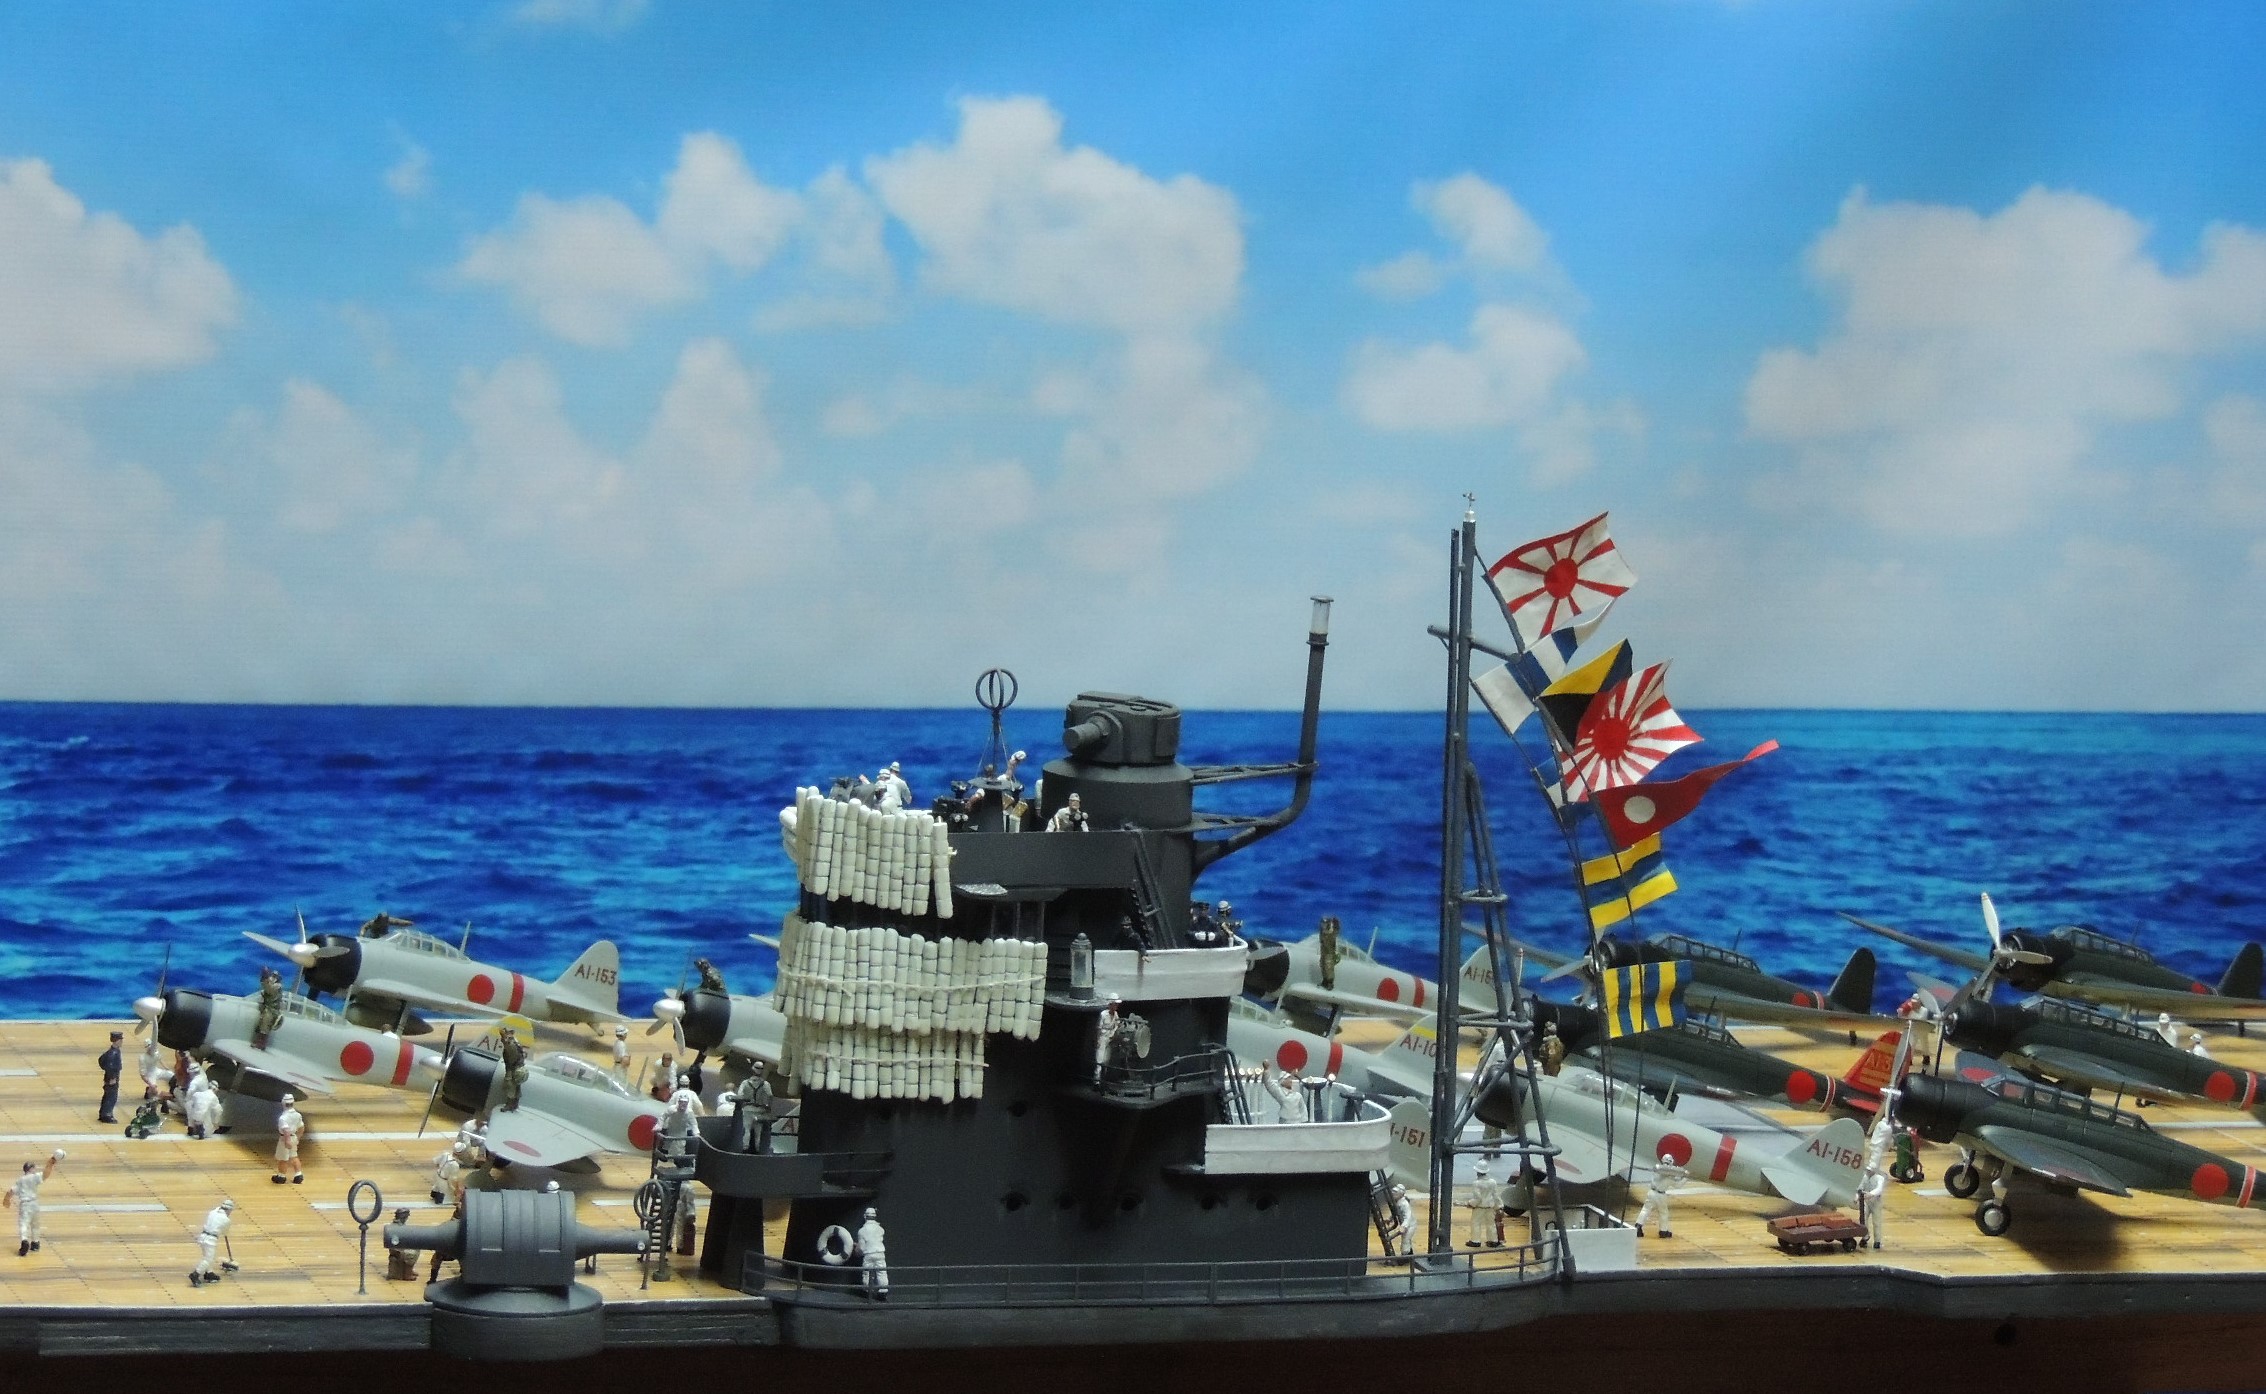
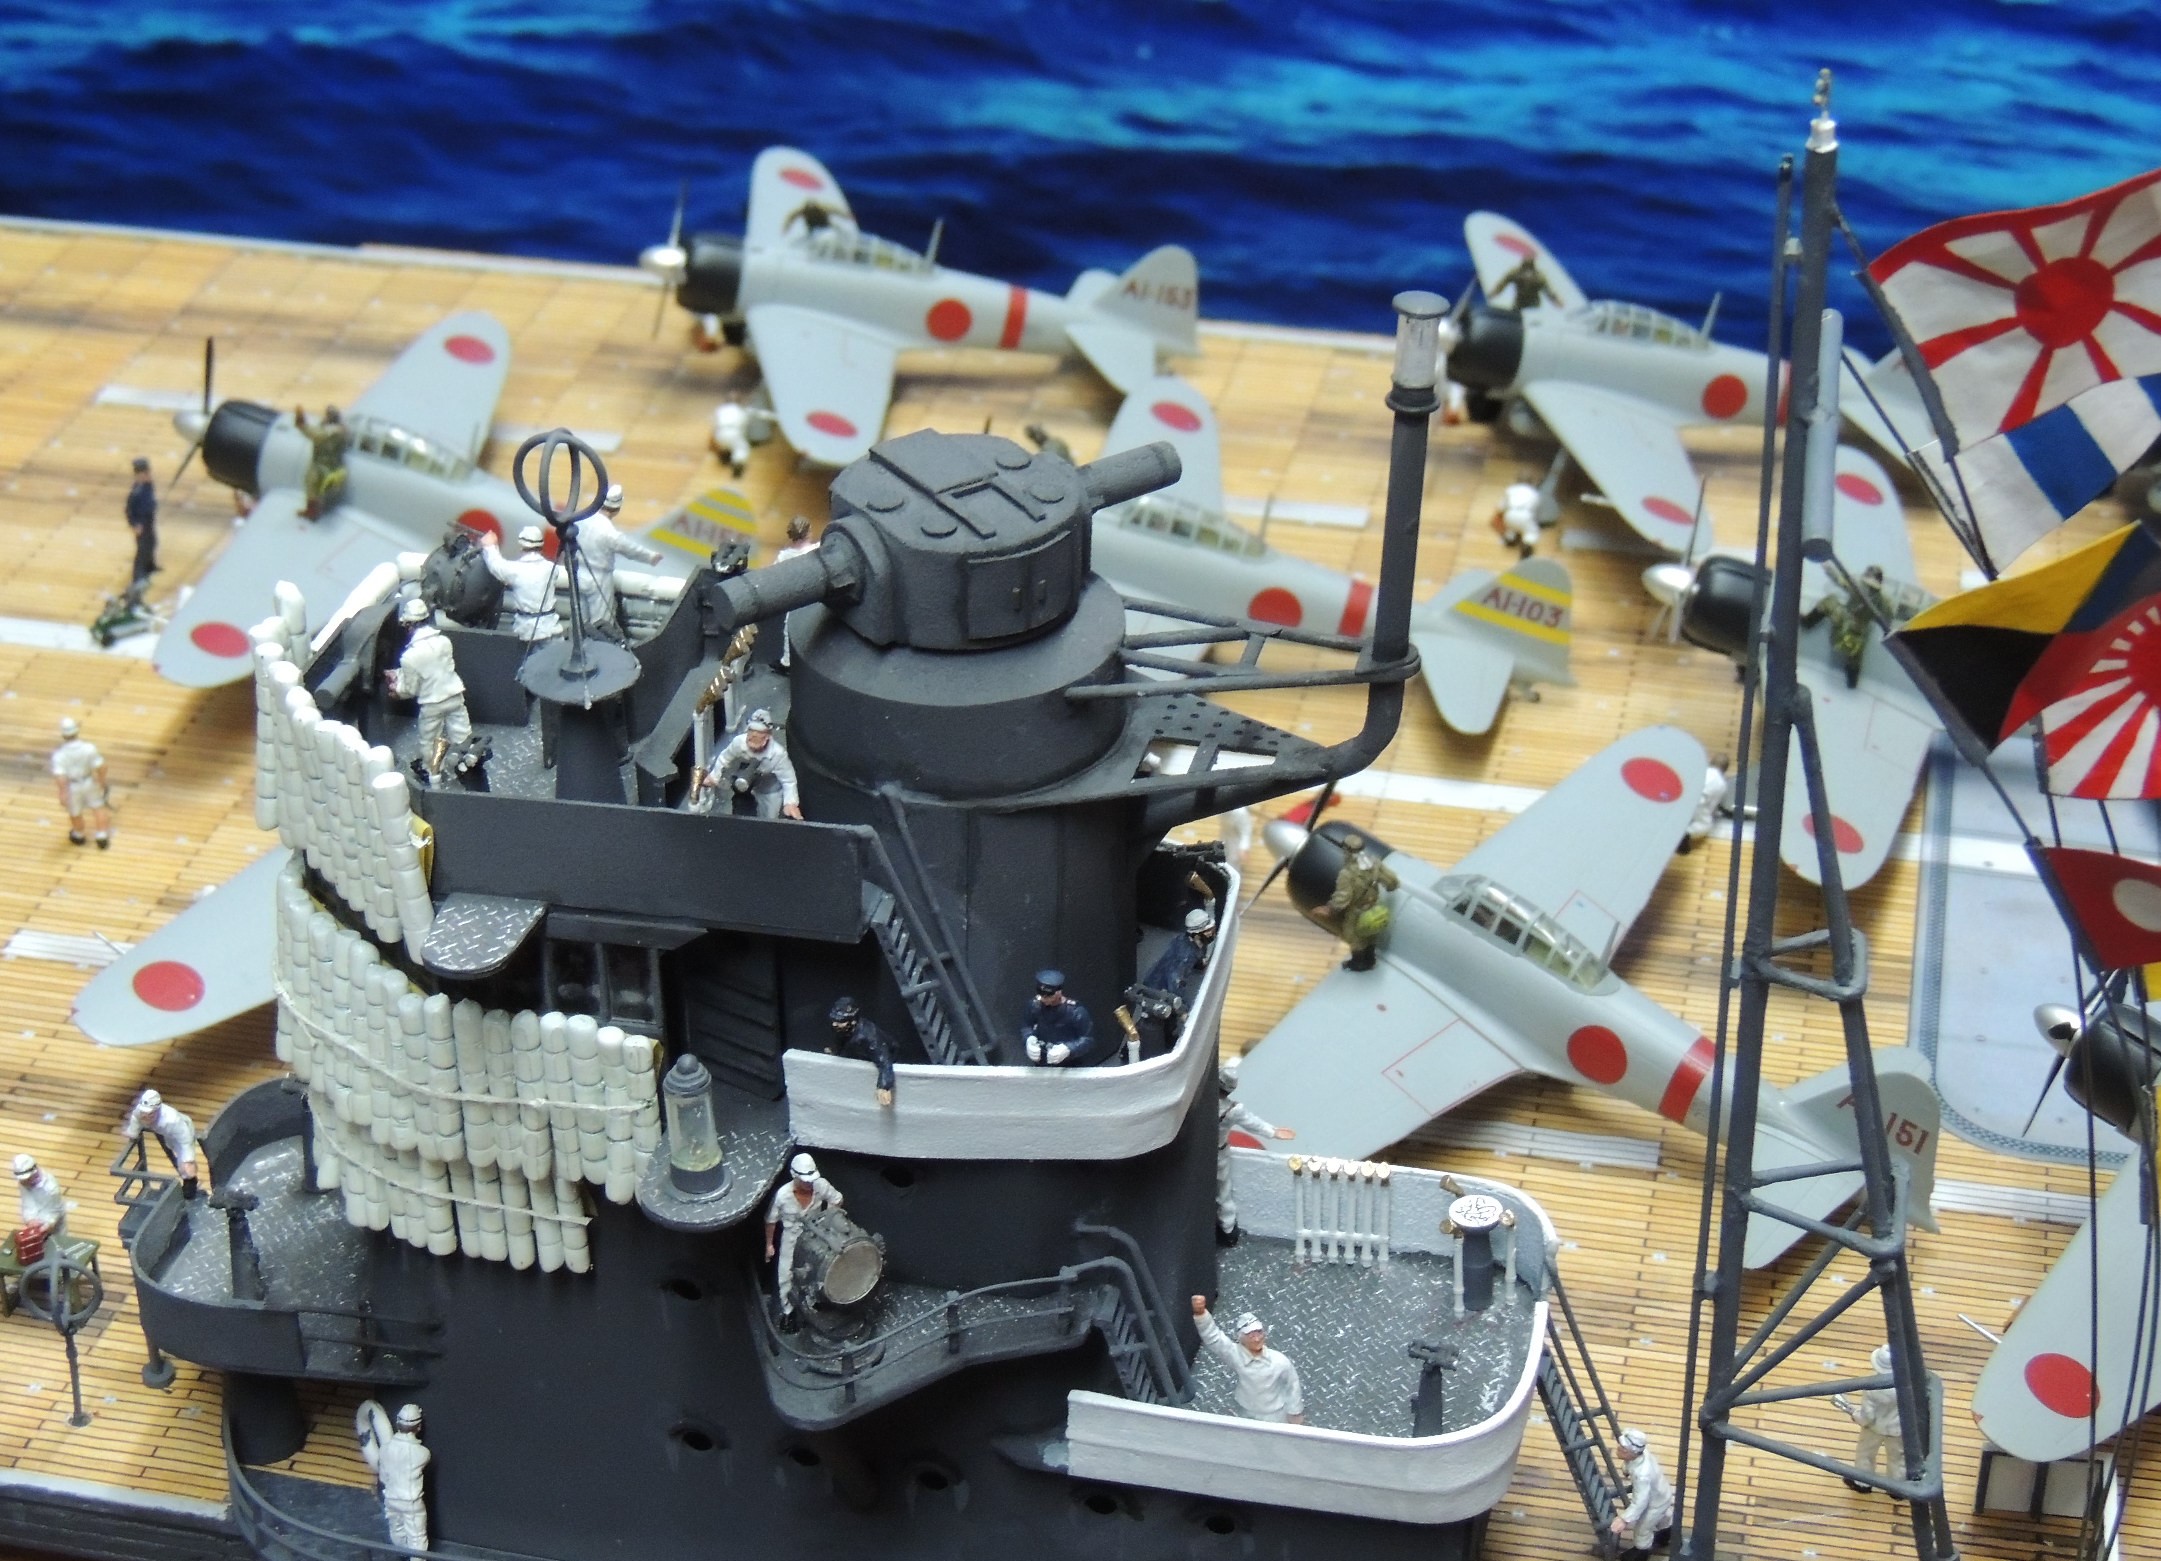
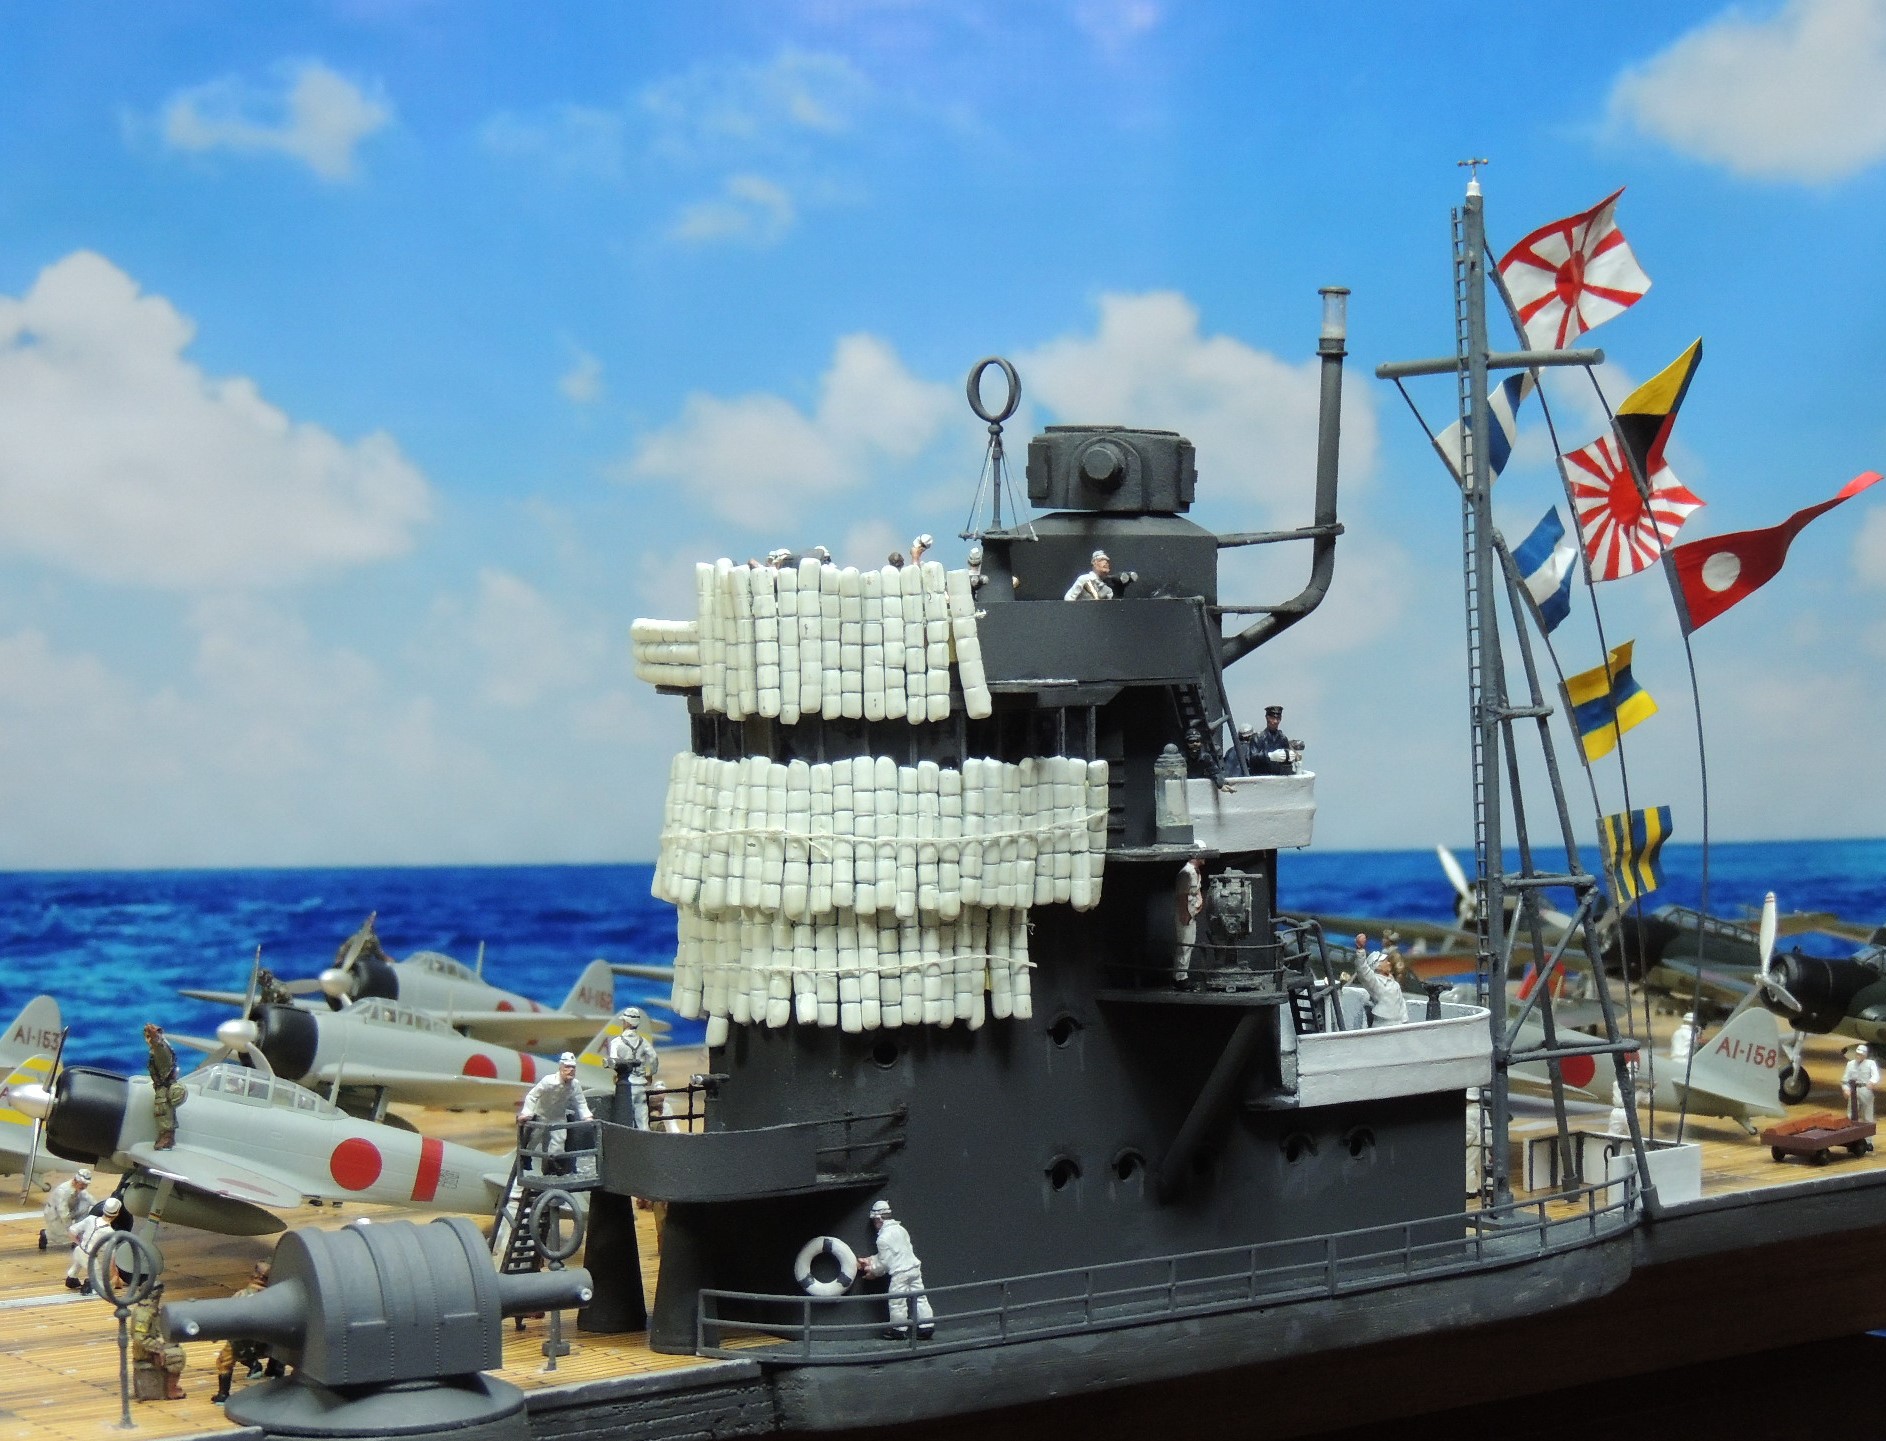
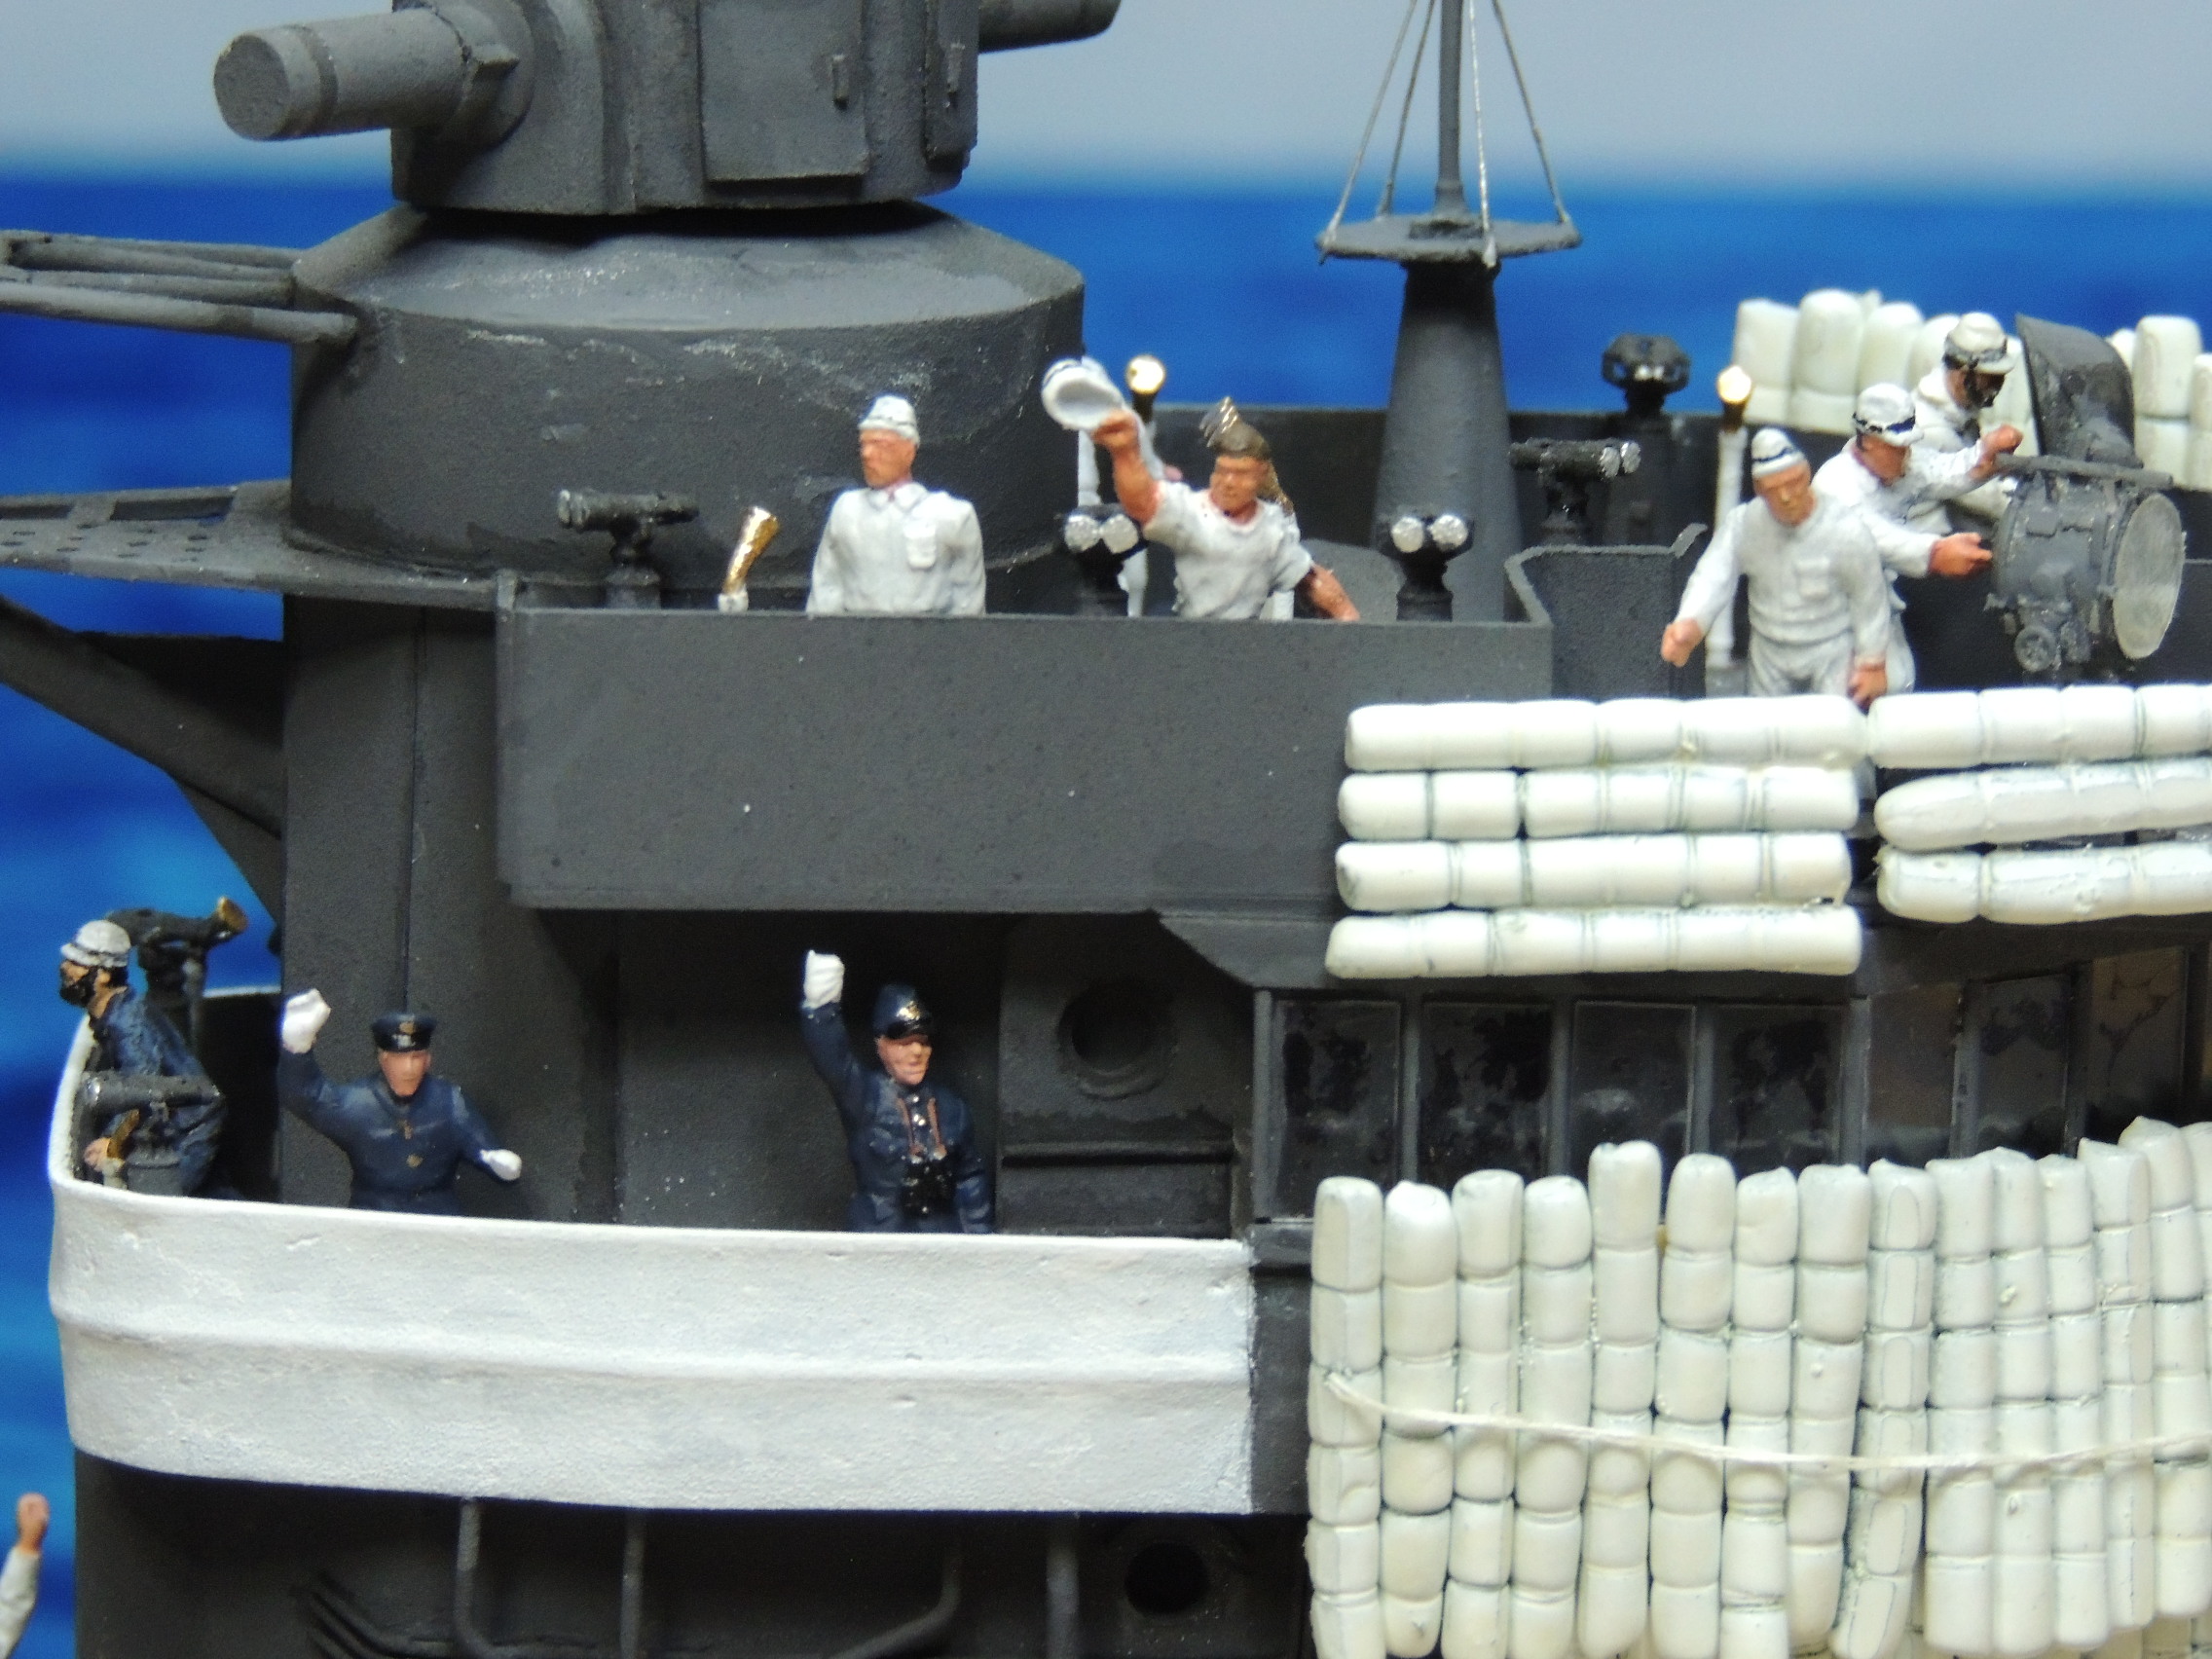
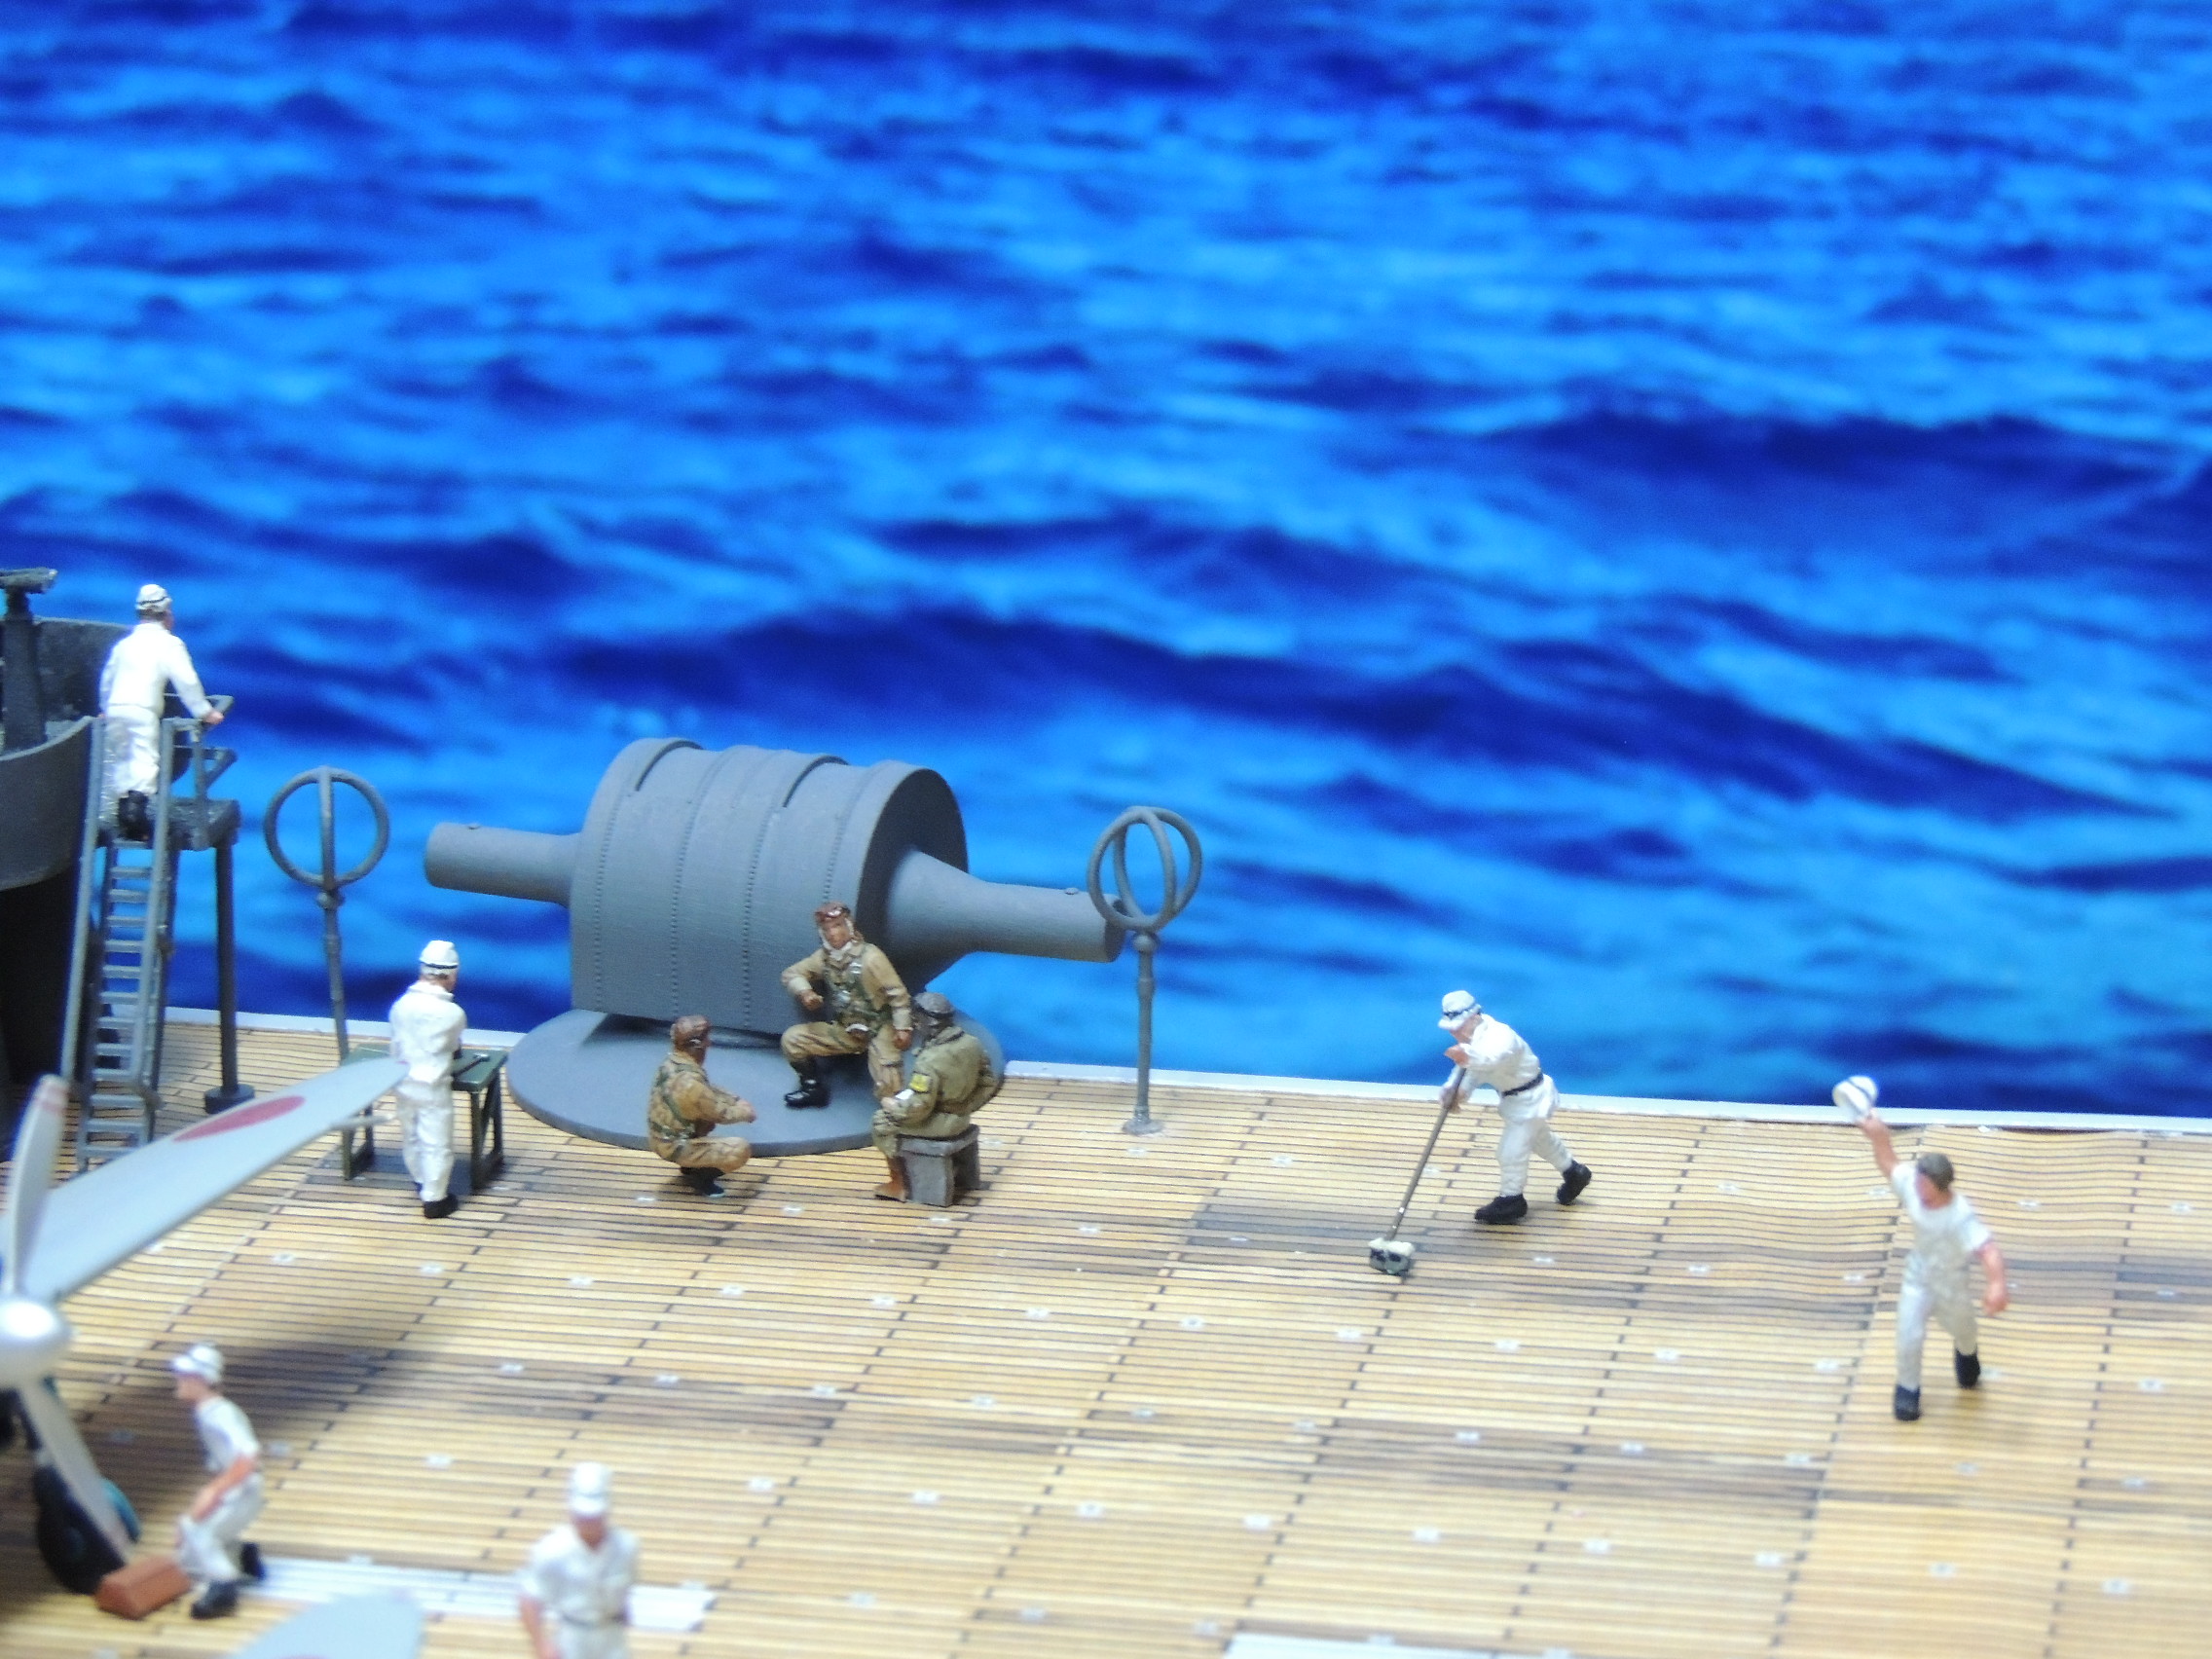
- The island, which was scratchbuilt, lacked some details, including voice tubes, proper staircases, and, notably, the rolled futons used during the Pearl Harbor attack to guard against shrapnel from the expected counterattack that never came;
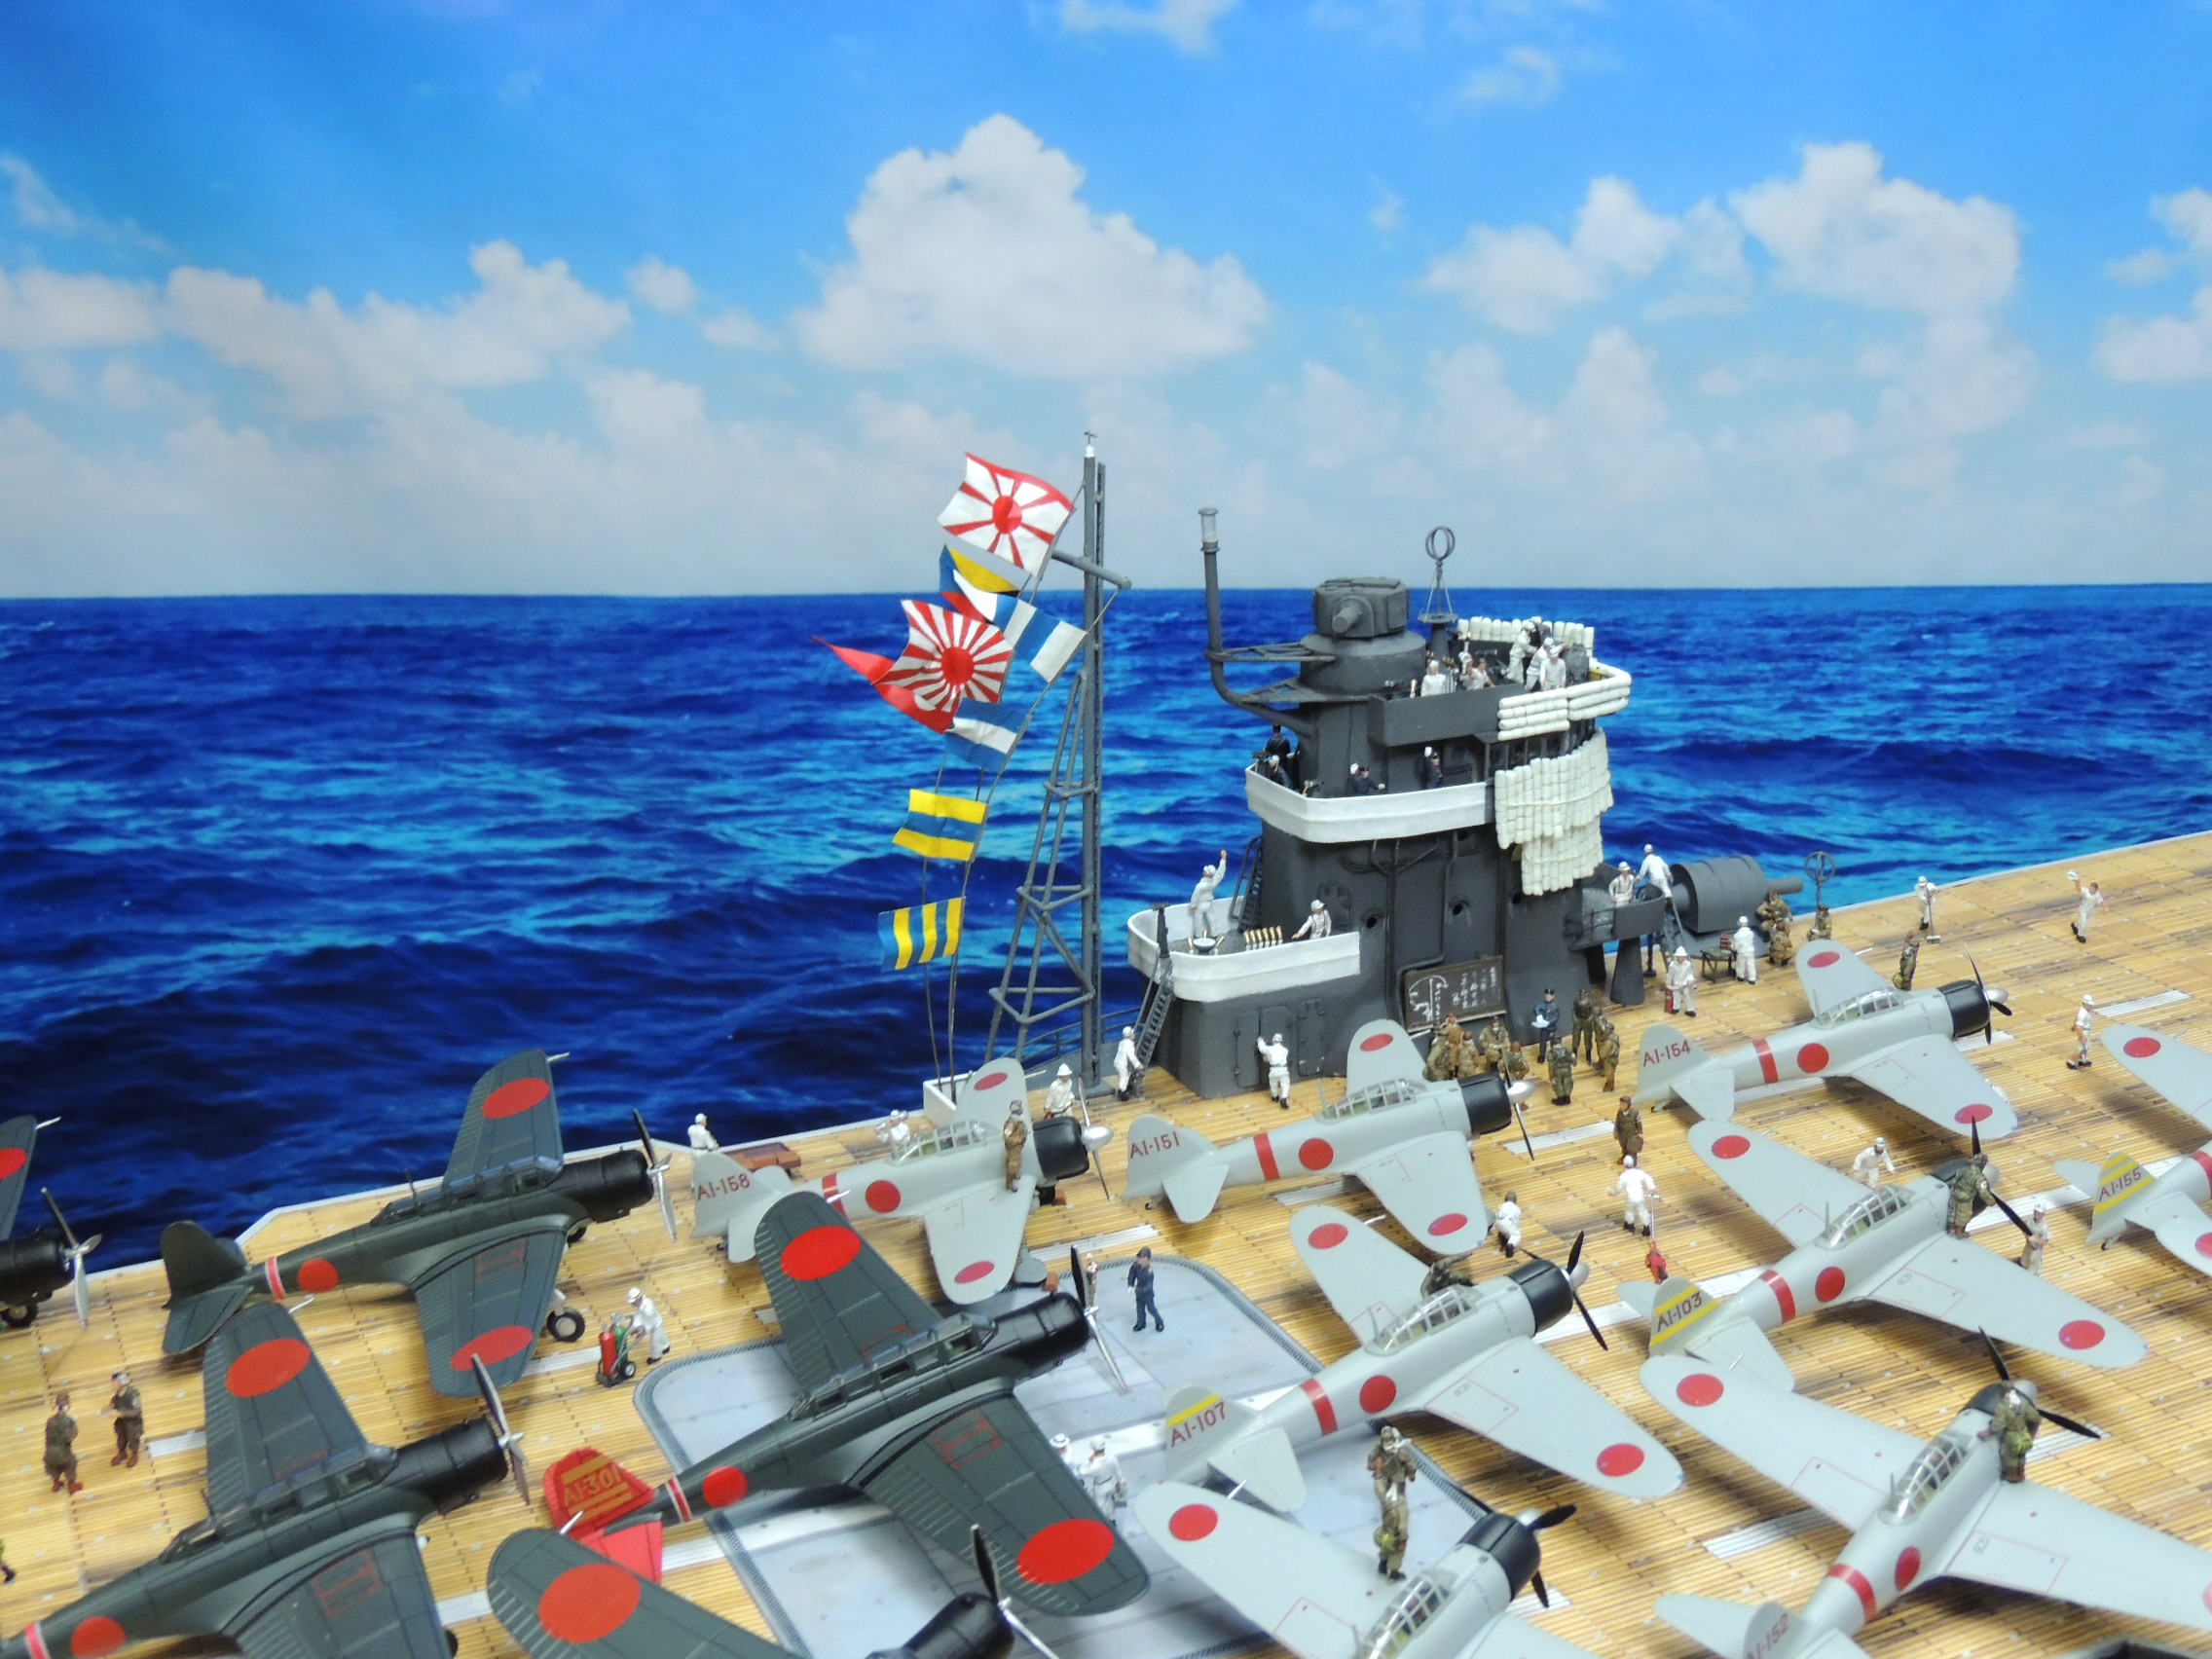
- The 4.5 meter rangefinder on the deck just fore of the island was missing, as were the two antennas fore and aft of the rangefinder;
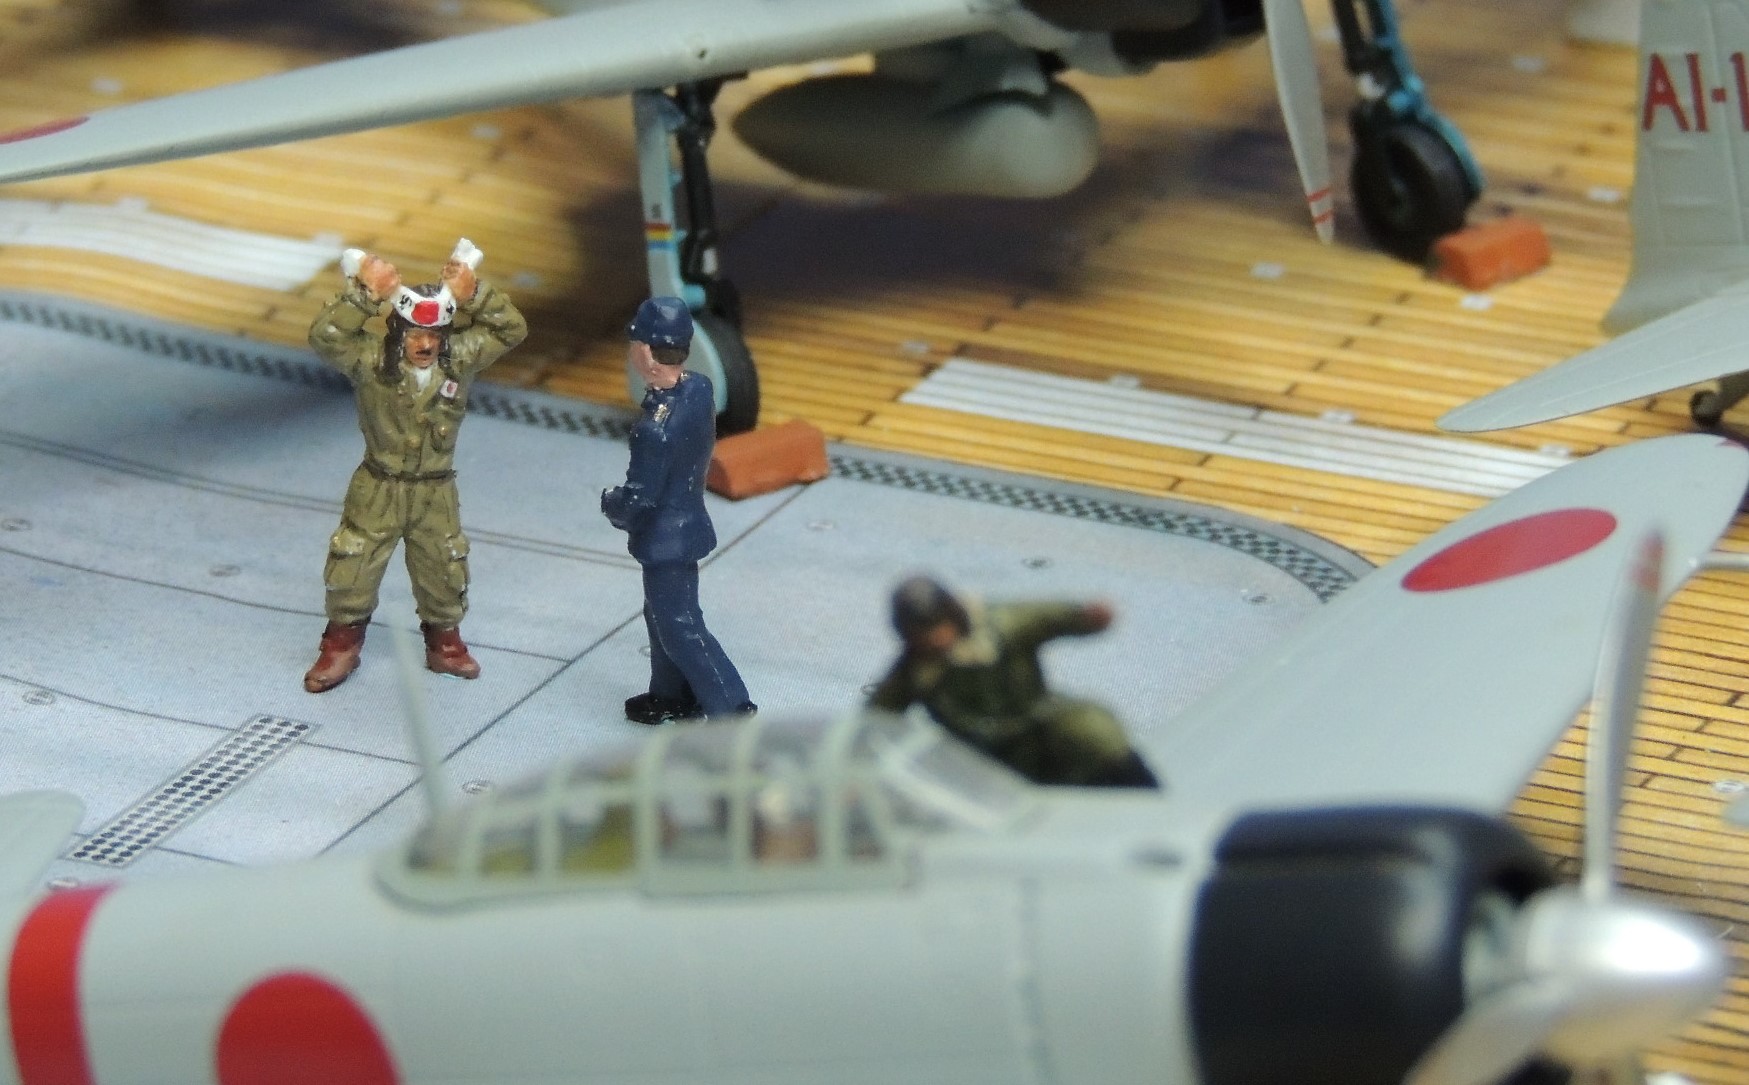
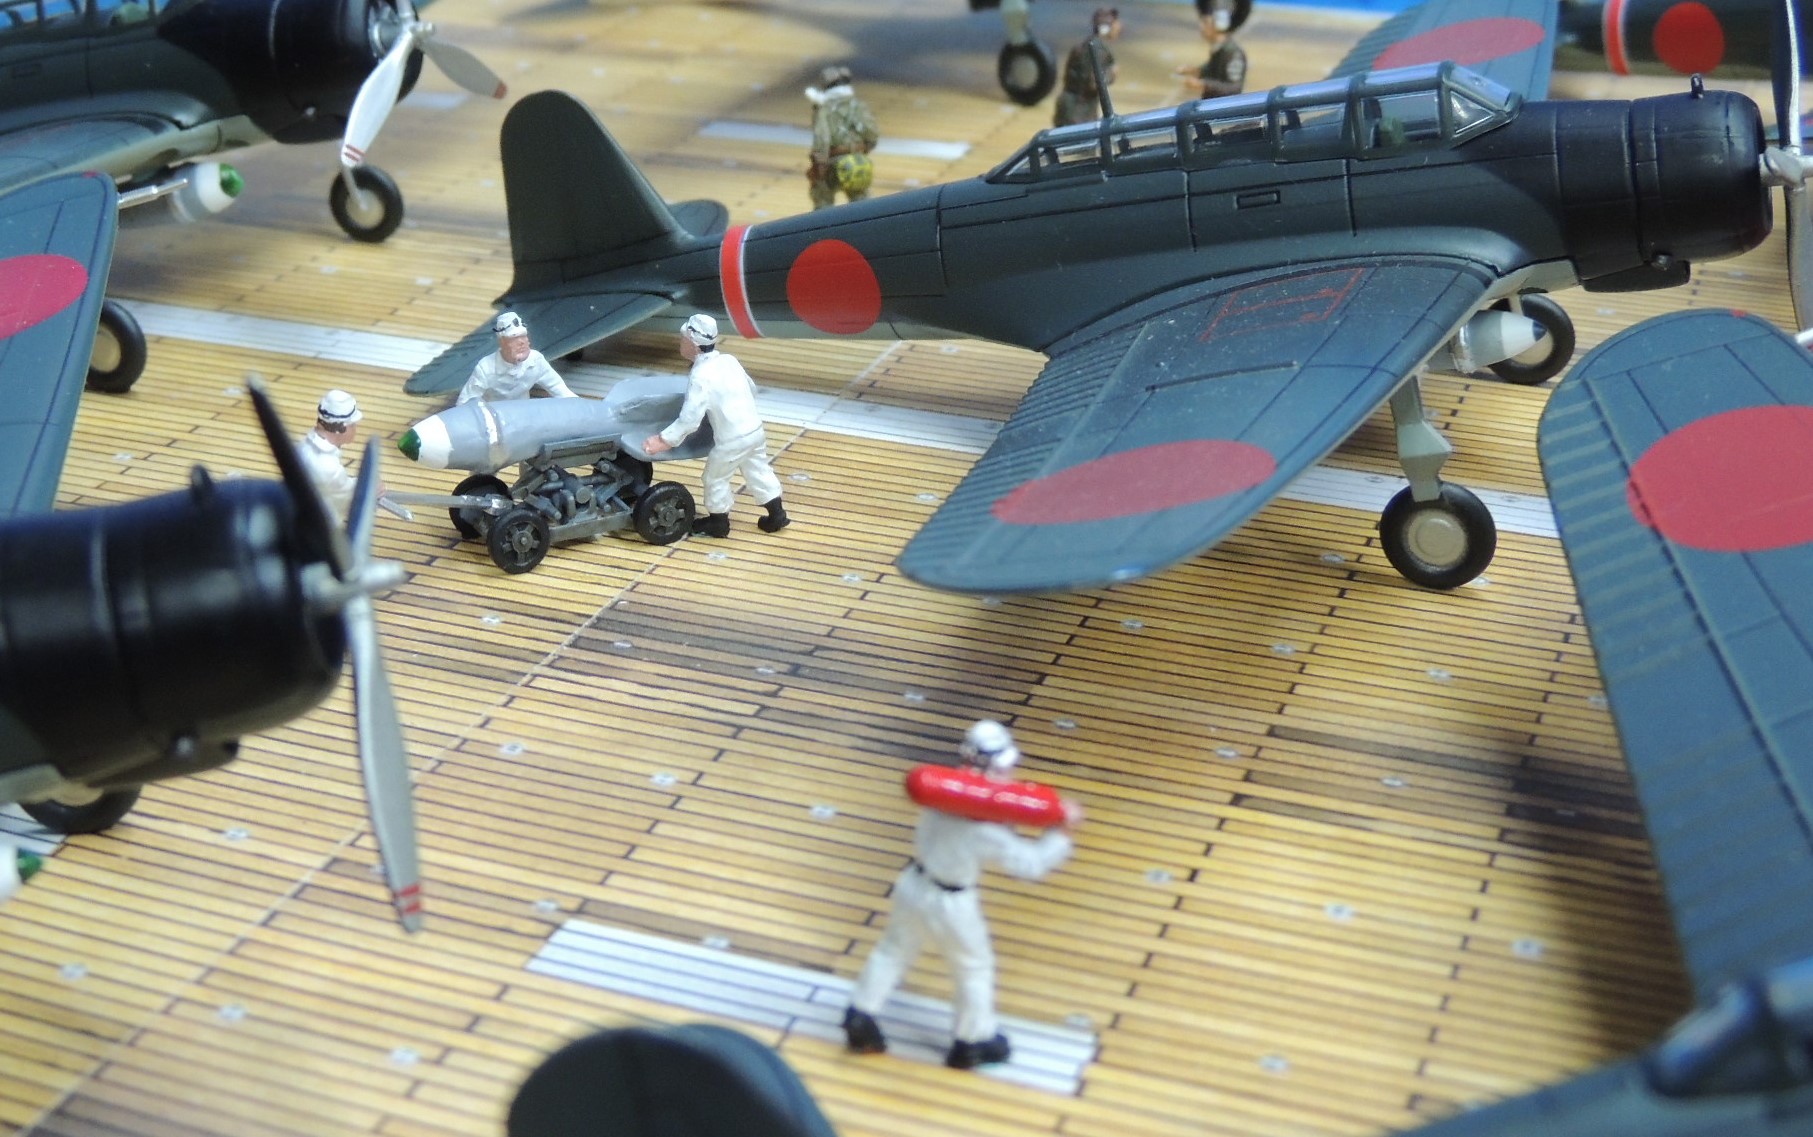
- The deck needed more figures to simulate the beehive of activity seen in actual photos; and
- The diorama needed a more appropriate backdrop.
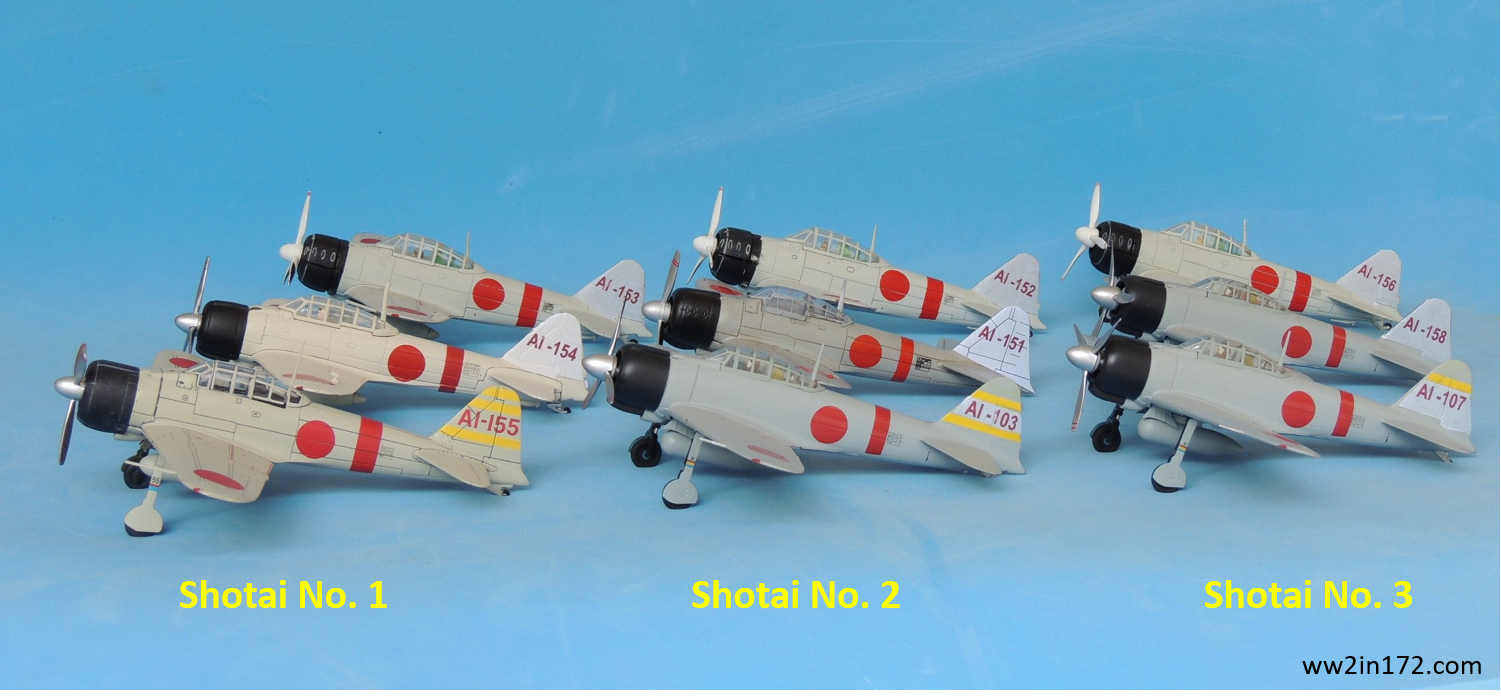
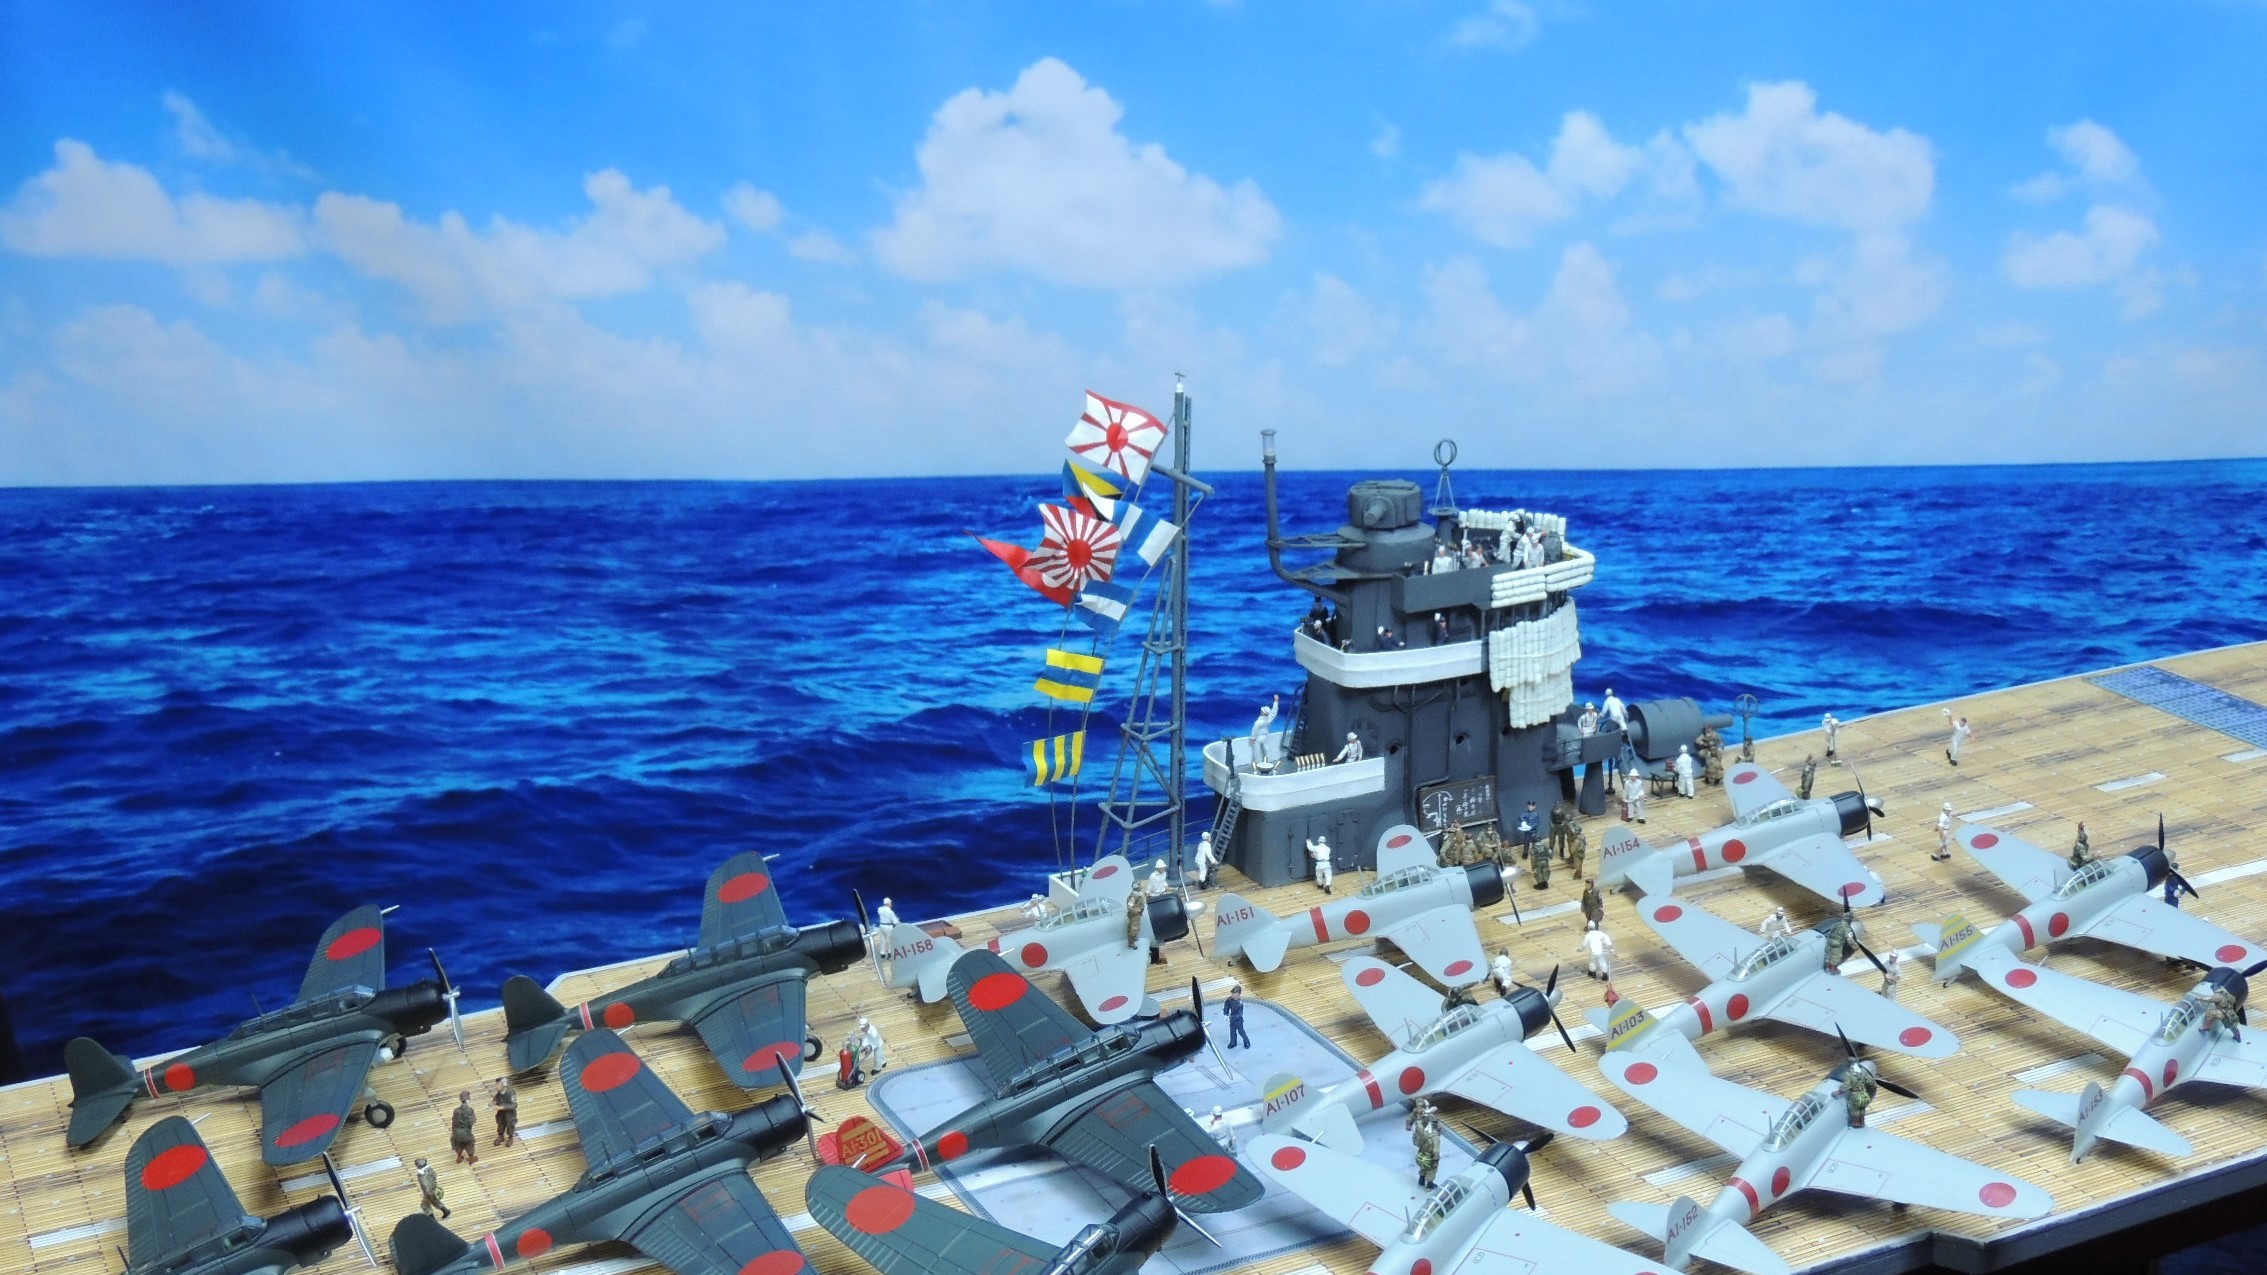
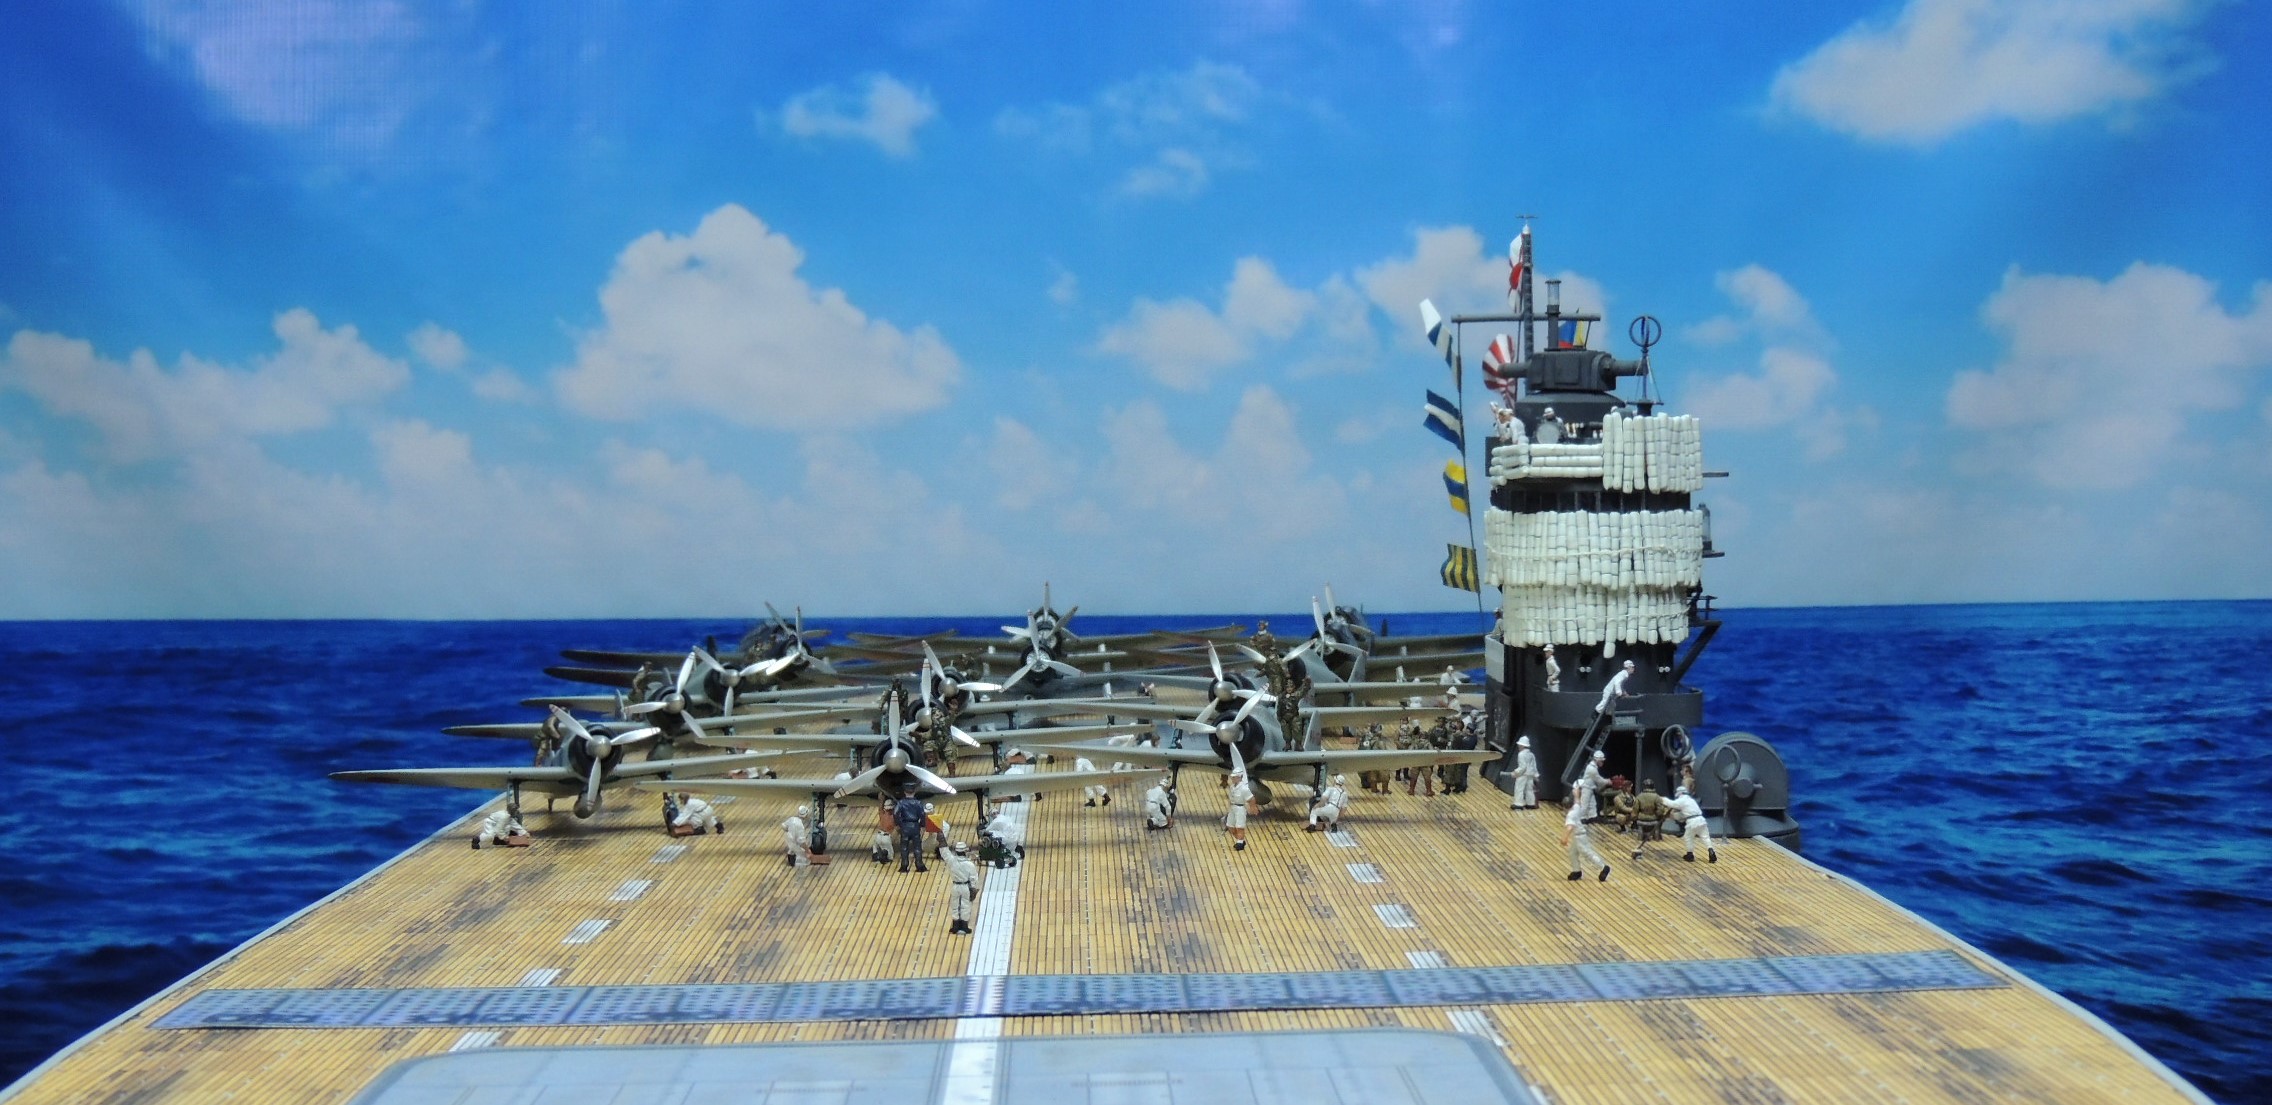
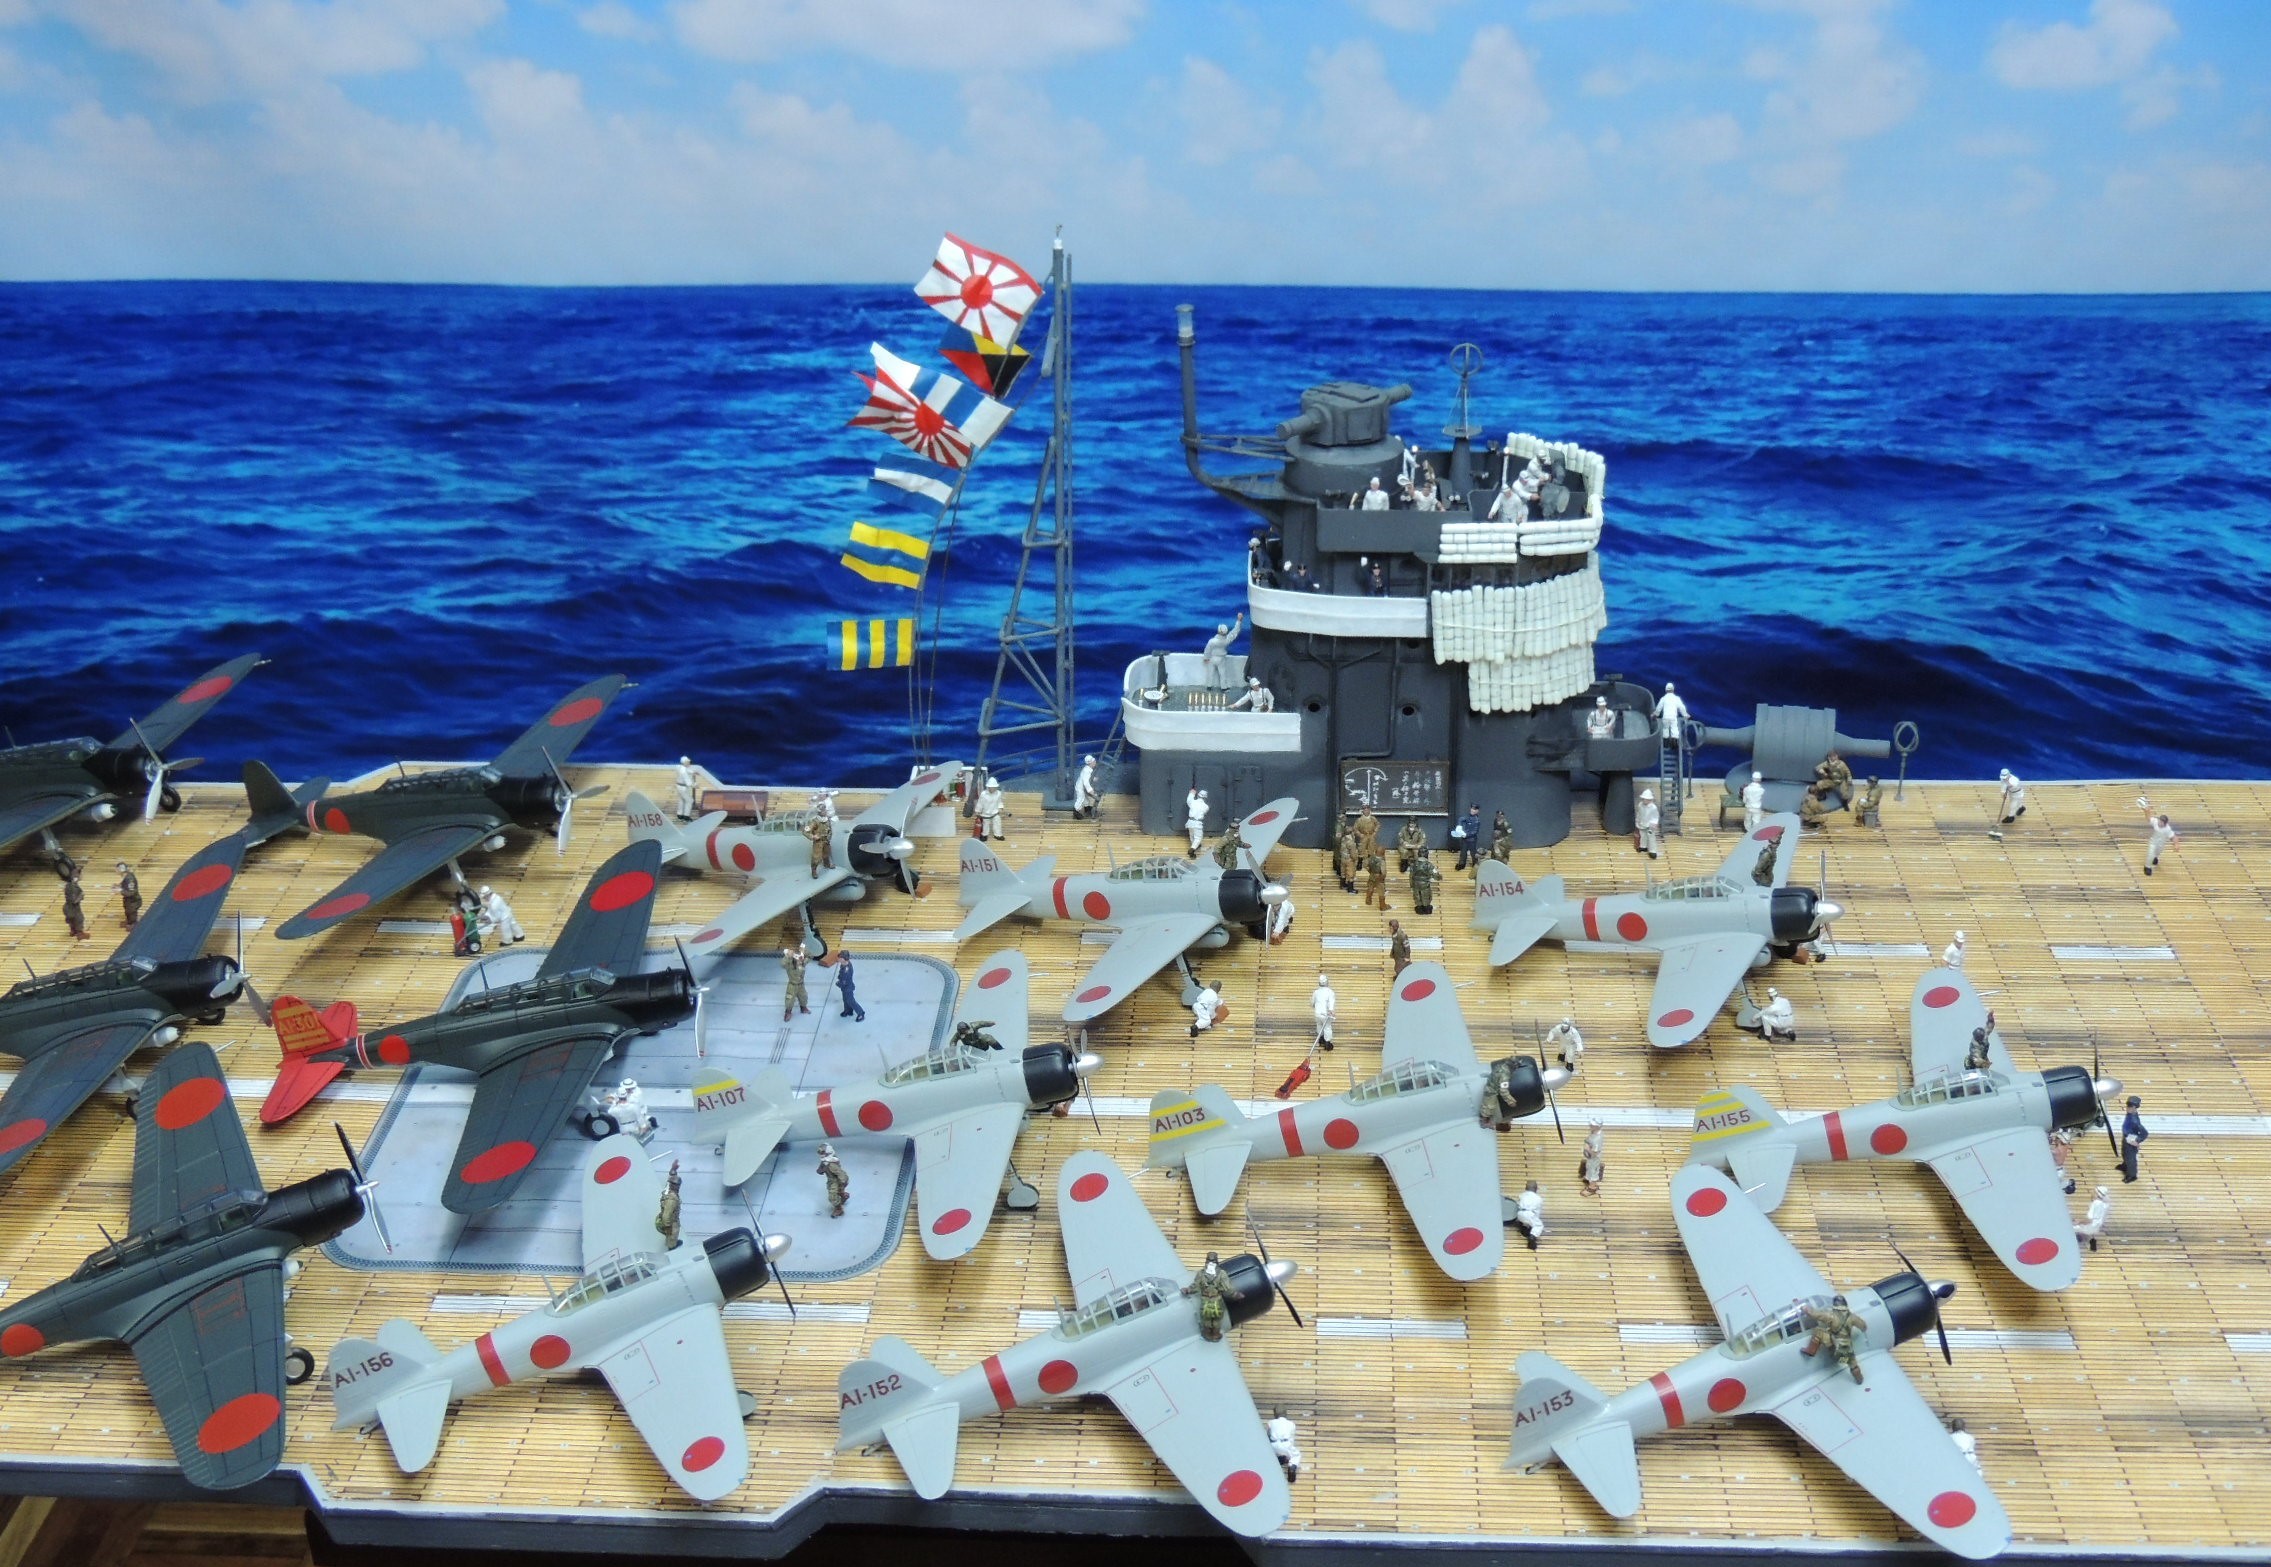
So I kept at it, as time permitted, slowly correcting all the aforementioned problems. I doubled the length of the deck, used nine identical Witty Zeros all with appropriately decaled tail numbers, included seven Kates, recreated the flags at the right scale and placed them on the proper side, added more details to the island, included the range finder just fore of the island, painted more figures (for a total of 85), and added a backdrop that showed the horizon at sea.
I finally finished the improved diorama this week, just in time to post these photos today, on the anniversary of the attack. Nonetheless, I will continue to detail how I constructed each piece of the diorama in future posts.
Starboard Shots
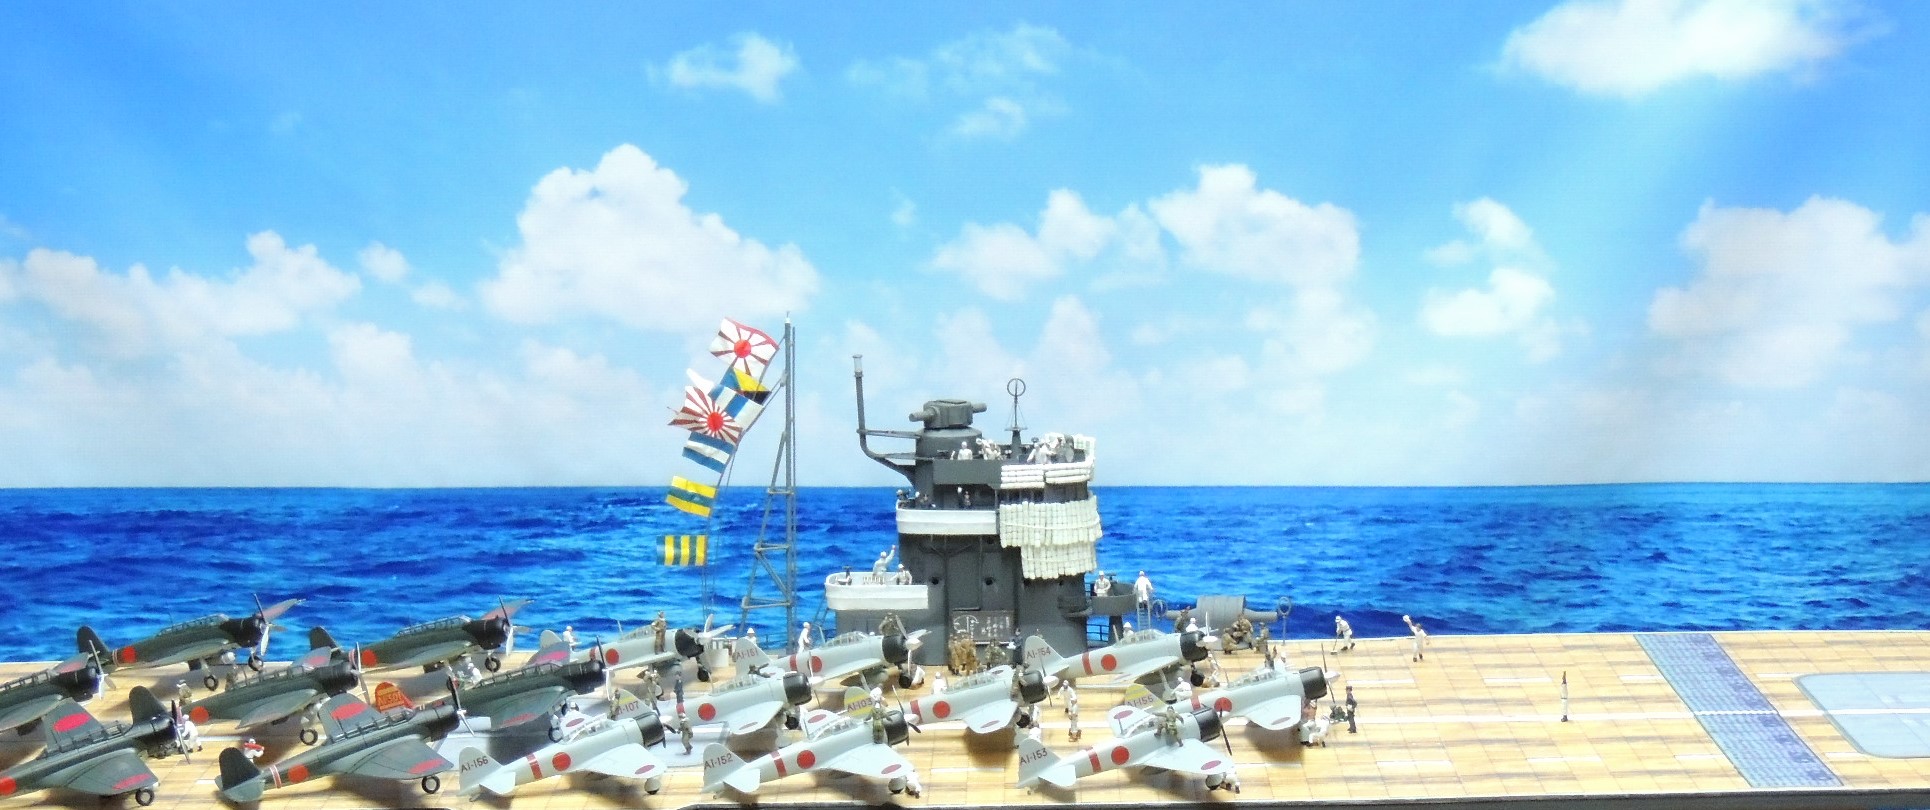
View from the Front
Portside Shots

View from the Rear
Overhead Views
Detail Shots

Lagniappe 360 Degree Video of Island
Below is a 360 degree video of the Akagi island without the futons used at Pearl Harbor to protect from shrapnel from the expected American counterattack that never materialized.
Thank you for your indulgence and I hope you enjoyed the photos and video. As always, comments, questions, corrections, and observations are welcome.
Once again I want to thank my friend and fellow collector Joe Buccellato, of NY, who painted all the best figures in this diorama. I also want to thank Tim Lau, of Maryland, who created the decals for the Zeros and gave me solid advice when I was stuck, and Chris Pflueger, of California, who gave me some great tips on photographing the diorama. I also want to acknowledge Sidnei Maneta, of Brazil, who took the time to provide great information on the Kate tail numbers, which will be covered in a future post. I’d also like to thank Sasa Drobac of Serbia, who designed the incredibly detailed 3D printed binoculars, searchlights, and rangefinders used on the island. Finally, I want to thank Ara Hagopian, of Massachusetts, whose constant encouragement provided the push I needed to actually turn my ideas into these 1/72 scale scenes.