This is a follow-up to the two previous posts, The Doolittle Raid, Parts 1 & 2. For details of the actual raid and B-25 Mitchells in 1/72 scale, please refer to those posts.
The well-known photo below, taken from The Doolittle Raid 1942, Osprey Campaign 156, by Clayton Chun, shows a B-25 Mitchell about to take off from the deck of the USS Hornet on April 18, 1942. I believe the photo is a still from newsreel footage of the actual take-off. Note the choppy waters caused by high winds on that cold, damp morning. The harsh weather conditions forced the planes to burn more fuel than they would have otherwise.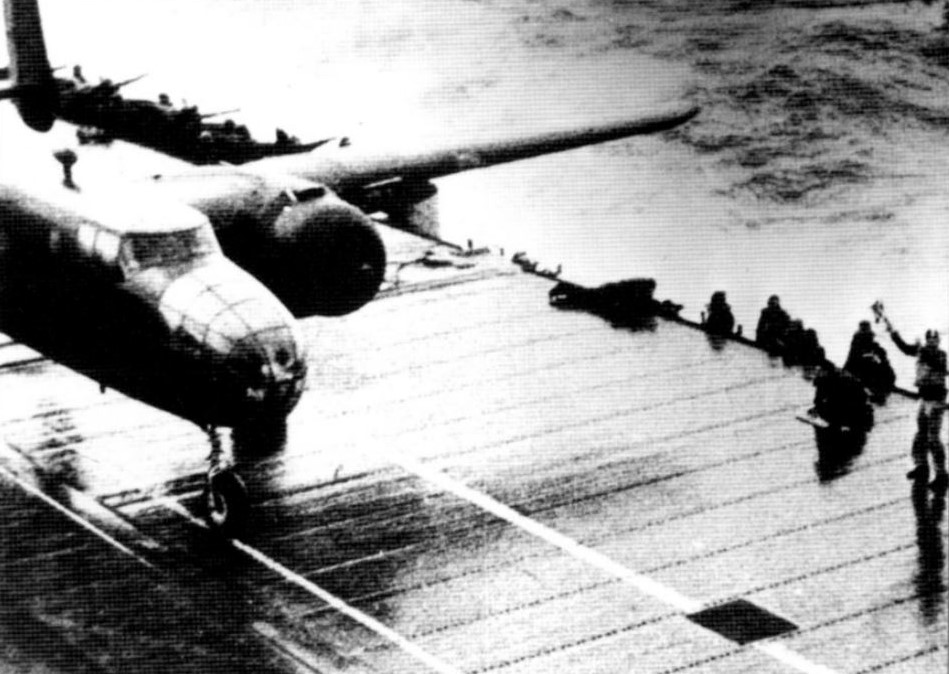 Here’s a 1/72 scale recreation. As always with these diorama photos, there is no photoshopping. It’s one of my self-imposed constraints.
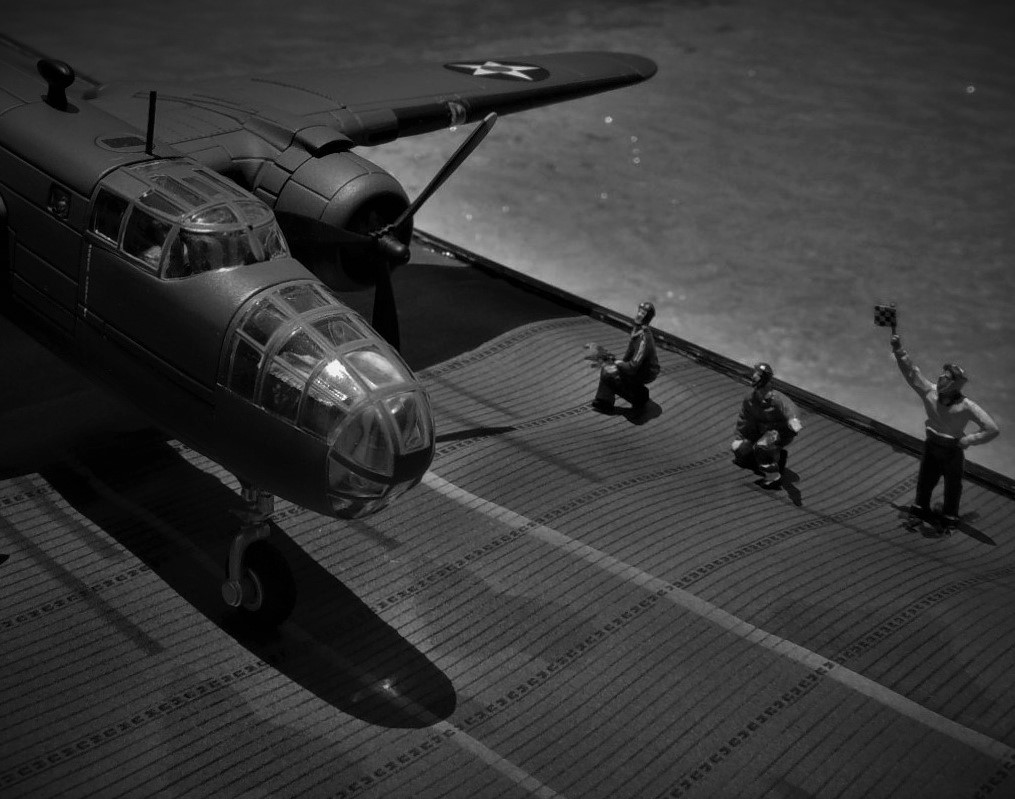 Here’s the same photo in full color.
  The model is the Corgi AA35312 B-25B Mitchell “Ruptured Duck,” flown by Lt. Ted Lawson, author of Thirty Seconds Over Tokyo. For a review of this model, see the previous post.
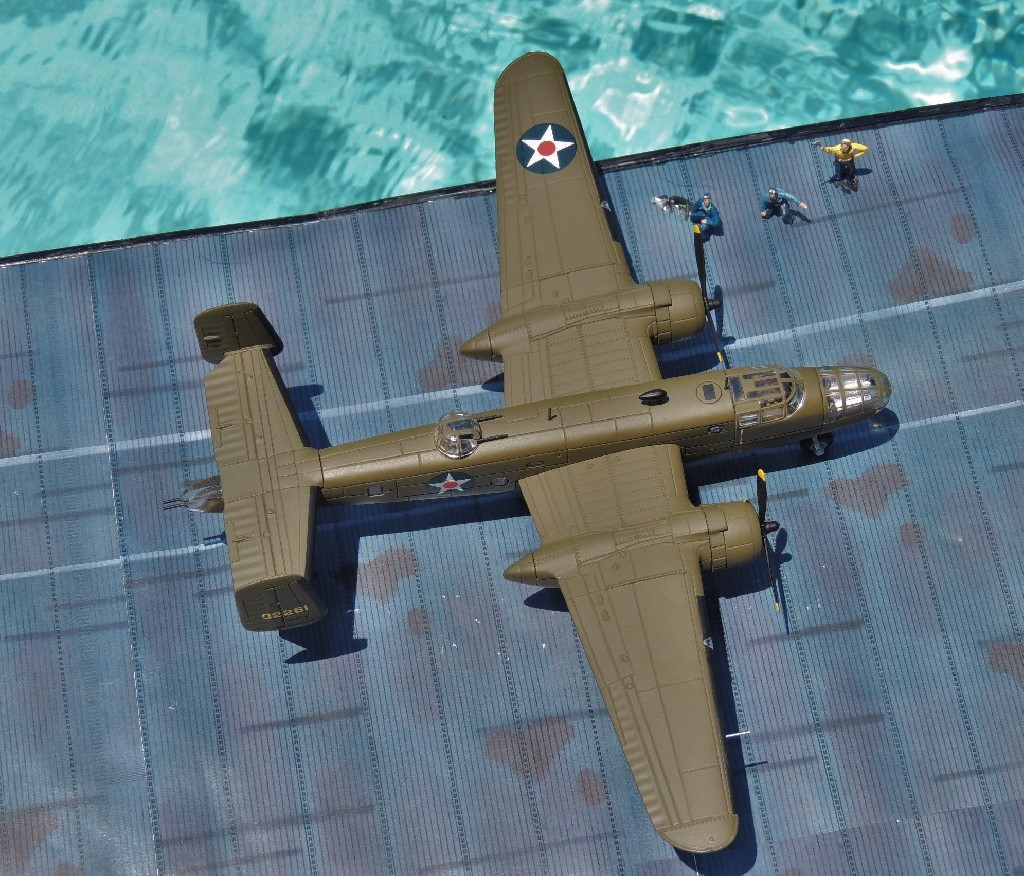 The figures are from the Corgi US61005 F4U-1D Corsair. I made the checkered flag from cardboard and added it to the signal officer to match the original photo. It’s 1/4 the size of Lincoln’s head on a penny.
 I built a section of the USS Hornet’s deck on a large styrofoam base using a scanned copy of the 8″x8″ aircraft carrier deck base included in the Corgi US61005 F4U-1D Corsair. After scanning the Corgi base, I reproduced it a dozen times and then combined the scans with graphics software to make a larger deck, ensuring the plank segments matched. The only difficulty was in blending in the white guidelines. I then printed the entire deck section on paper and glued it to the styrofoam base. Unfortunately, being made of paper, the miserable thing warped from the glue. I was so focused on the plane when taking the photos that I failed to notice the warping until I was cropping the photos. Rats!
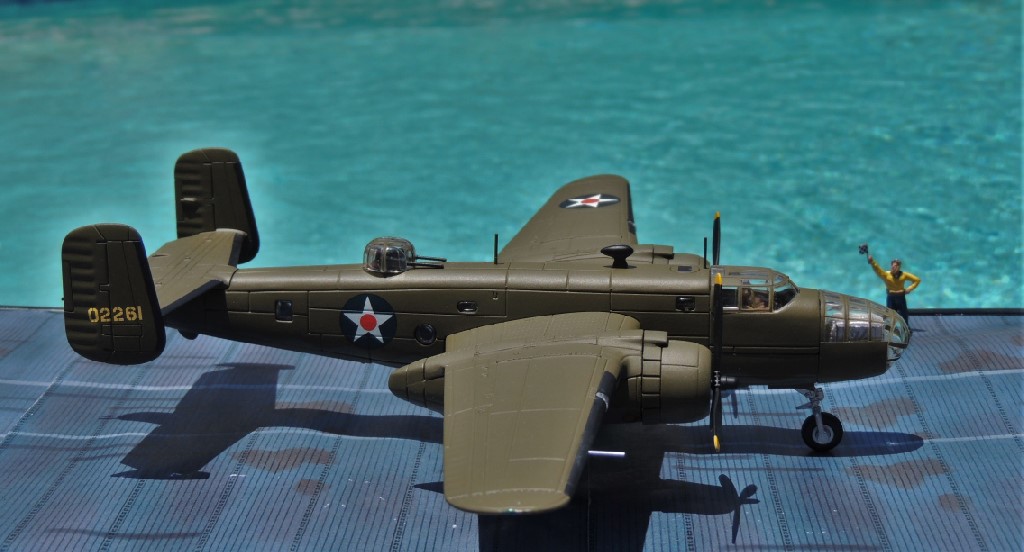 I photographed the scene by the side of the swimming pool next to one of the pool jets to ensure some “turbulence,” such as it is. The result exceeded my expectations, something entirely too rare.
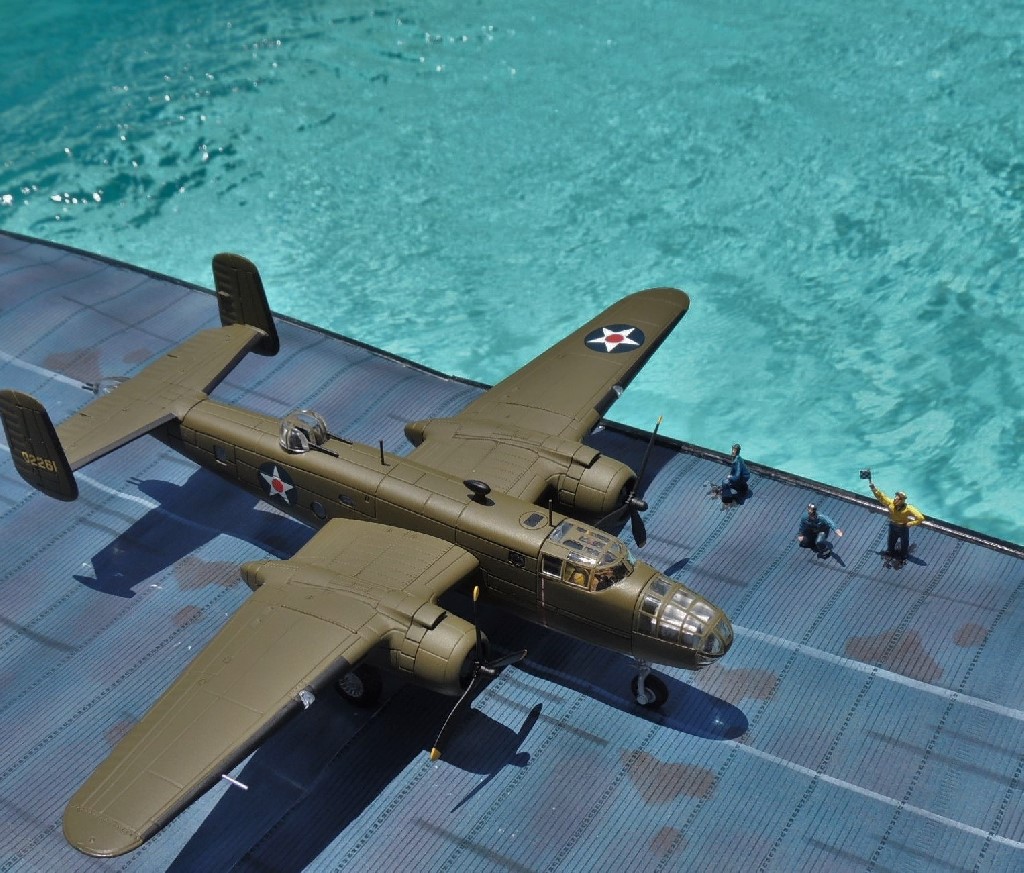 Here’s a view from the front. Note the two white lines on the deck that the pilots used as guides. The different widths of the lines and the distance between them and the edge of the deck are at scale. The propellers turn freely and I considered placing a fan in front of them for a spinning effect as I took the photo. Alas, I managed to resist the urge. Compulsive personalities will likely relate to the comment. 🙂
 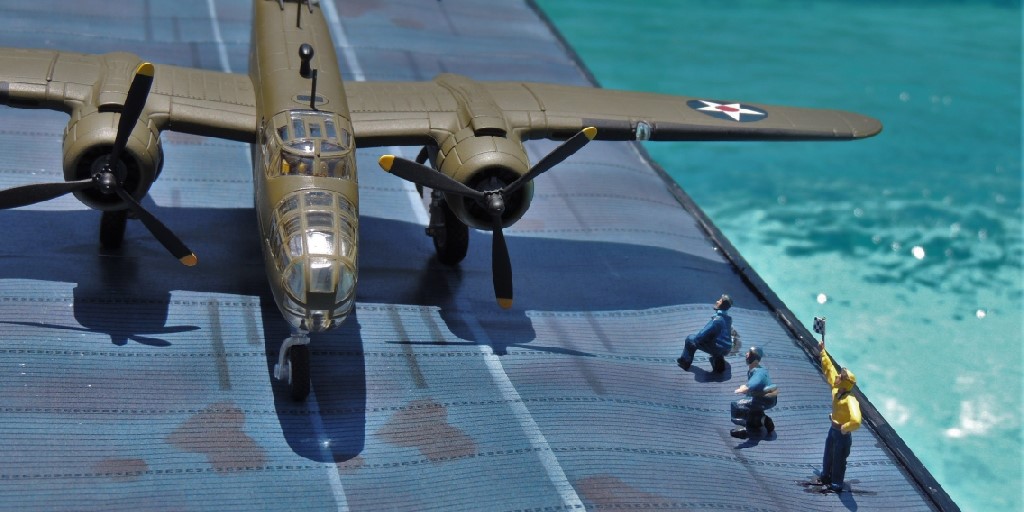 Here’s a lagniappe photo of a B-25 Mitchell taking off from the USS Hornet. I captured it from a widely available newsreel clip of one of the B-25 Mitchells taking off. Note the flag used by the signal officer — clearly a 4×4 checkered flag. Again, note the choppy waters. The take-off runs for the Doolittle Raid were timed to coincide with the B-25 Mitchells reaching the Hornet’s bow when it was at its high point on a swell, rather than its low point on a trough, thus assisting with the take-off.
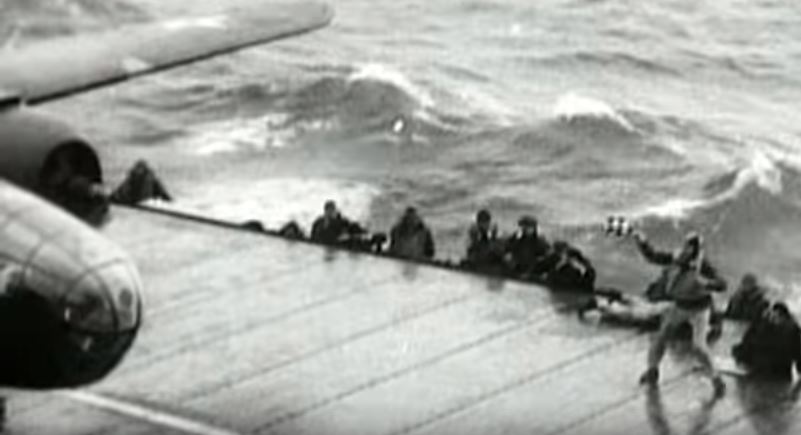 I hope you enjoyed this simple diorama. As always, comments, questions, corrections, and observations are welcome. Stay tuned next week for Part 4, regarding potential Doolittle Raid liveries for consideration by diecast manufacturers.
Chris says:
I’m not sure I had looked closely at these recently, Chules — well done! I particularly like the effect of the B&W shot!
Dwayne Rebello says:
How did you get the carrier deck look ?